Disks
30
ReadyDATA Desktop Storage Systems
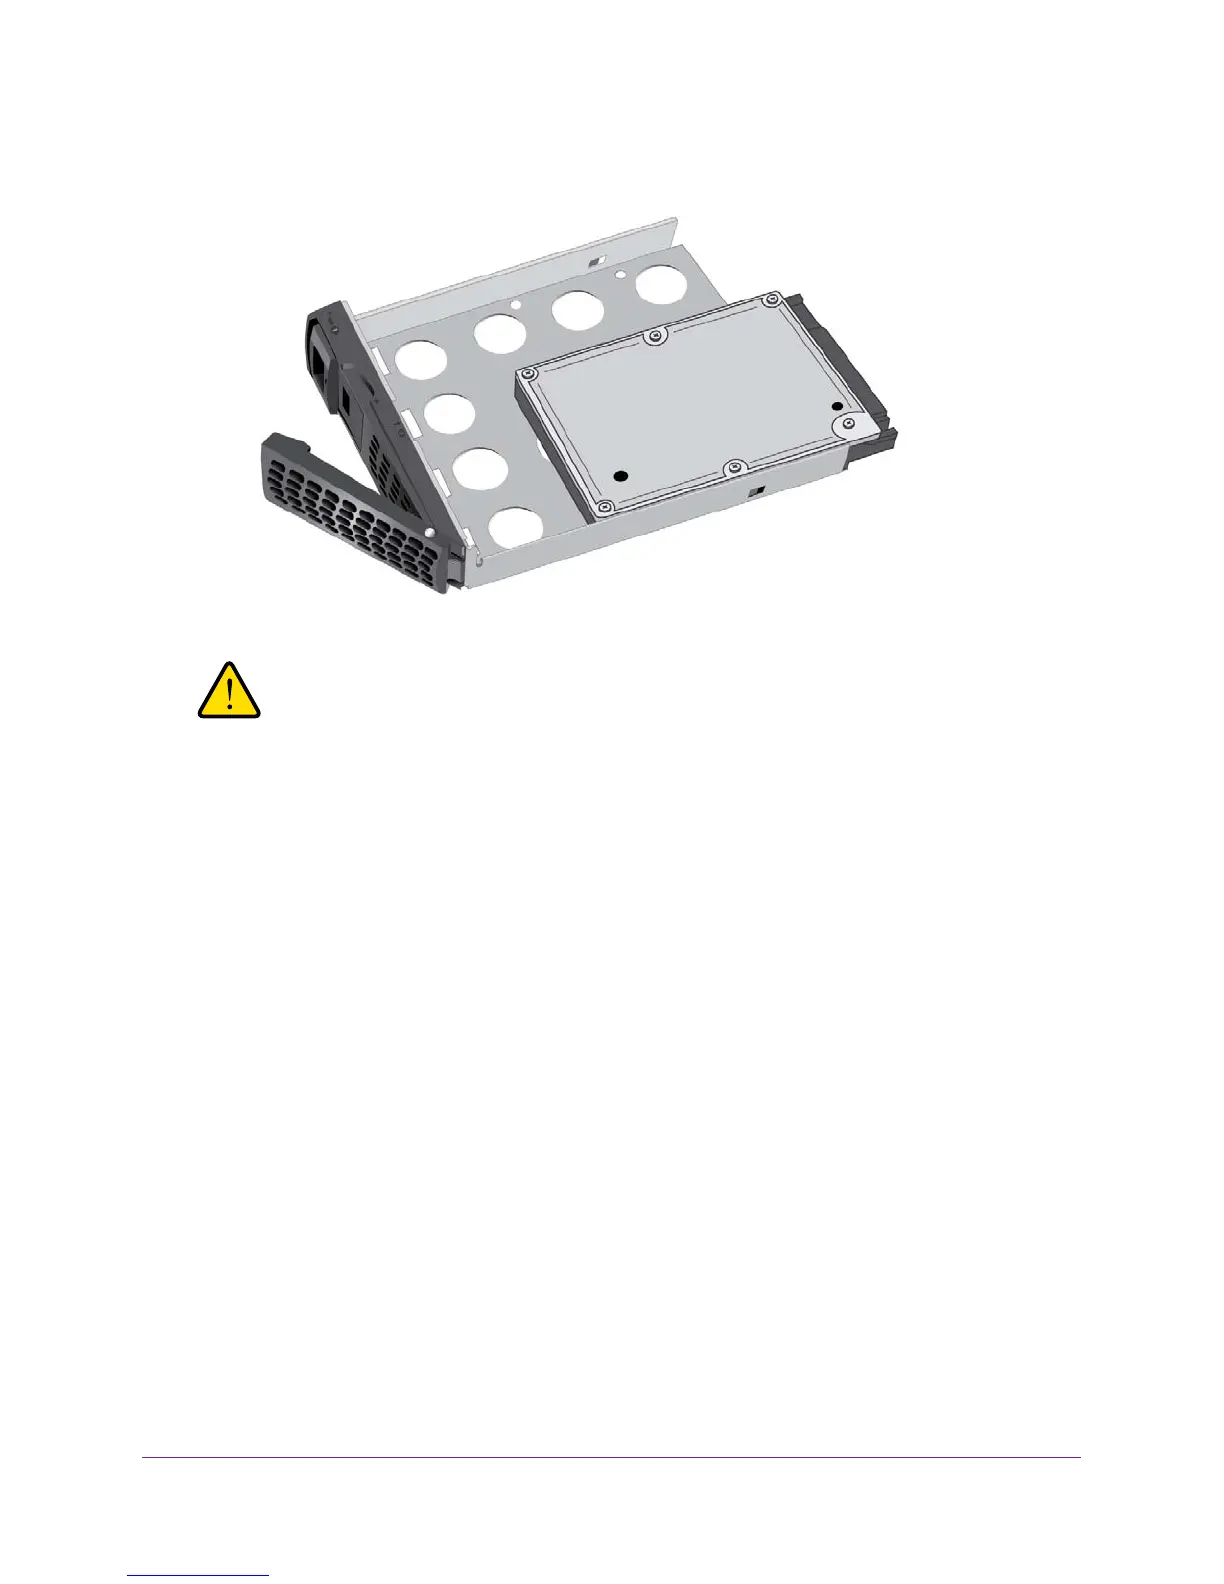
The following figure shows a correctly assembled disk tray with a 2.5-inch disk:
WARNING:
To prevent damage to your system, make sure that the disk tray is
correctly oriented before inserting it into the drive bay.
4. Insert the disk tray back into the drive bay of the storage system.
Make sure that the disk tray release latch is on the left side of the system.
5. Press down on the disk tray handle until it latches closed.
The disk tray is secured in the drive bay.
If the volume that contained the failed disk uses a protected RAID configuration, the
system automatically resynchronizes the volume using the new disk. Resynchronization
might take several hours, depending on the disk size.
You can continue to use your
storage system, although access is slower until the volume resynchronization finishes.
For more information about RAID configurations, see the ReadyDA
TA OS Software
Manual, which is available at www.netgear.com/readydata.