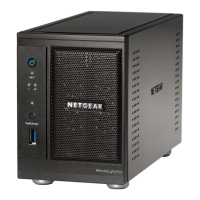
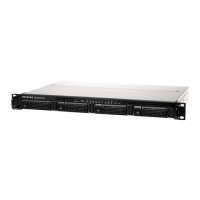
ReadyNAS supports hot-swap drive bays, so you do not need to power down your
storage system when replacing a disk.
If you are replacing a disk with a previously formatted disk, see the instructions in
Previously Formatted Disks on page 80.
WARNING: Replace one disk at a time. Wait for the volume to resynchronize your data
before replacing another disk. If you attempt to replace more than one disk at a time,
the system crashes.
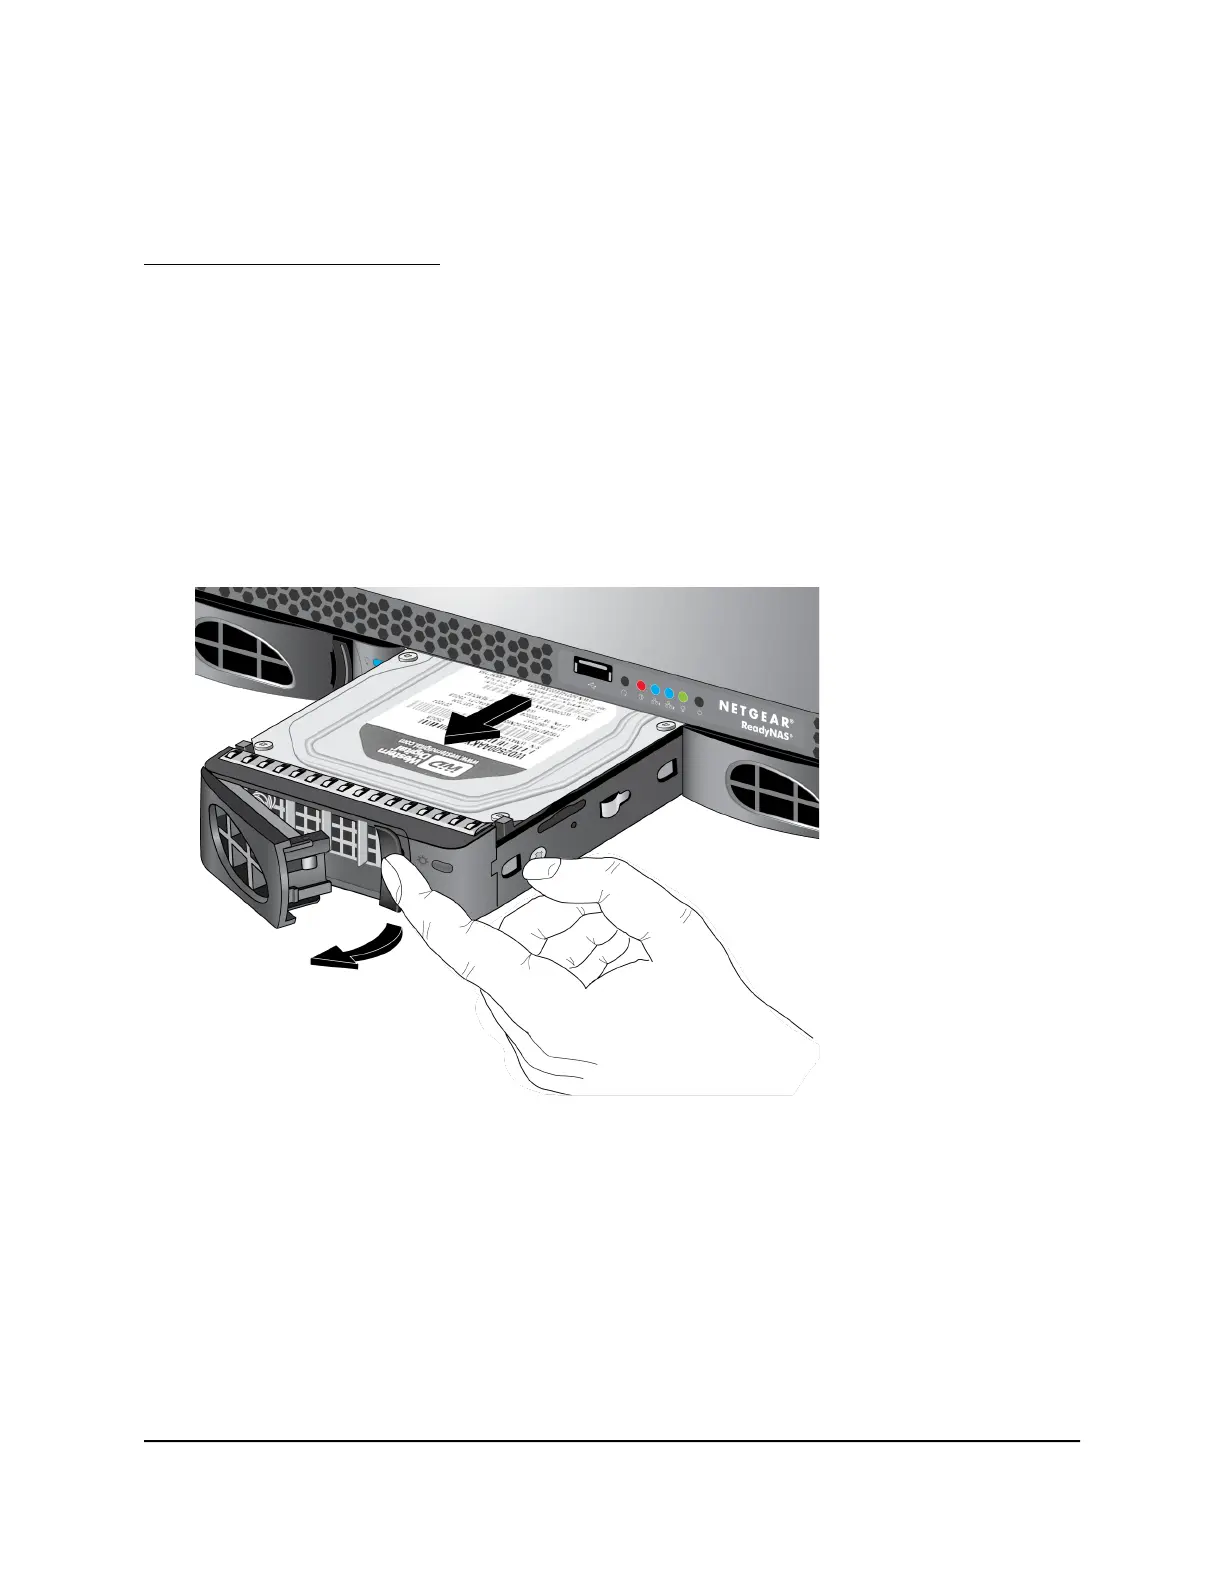
Replace a 3.5-Inch Disk
To replace a 3.5-inch hard disk drive (HDD):
1. Press the disk tray release latch.
The disk tray handle pops out.
2. Pull out the disk tray.
3.
Remove the screws and the old 3.5-inch HDD from the tray.
4. Place the new 3.5-inch HDD in the disk tray.
Hardware Manual91Disks
ReadyNAS OS 6
 Loading...