Getting Started
10
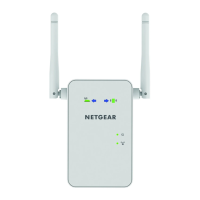
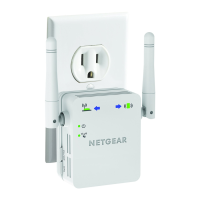
Universal WiFi Extender - Powerline Edition (XAVN2001)
Set Up the Powerline Network
You can set up a new Powerline network that includes the WiFi extender or you can add the
WiFi extender to an existing Powerline network.
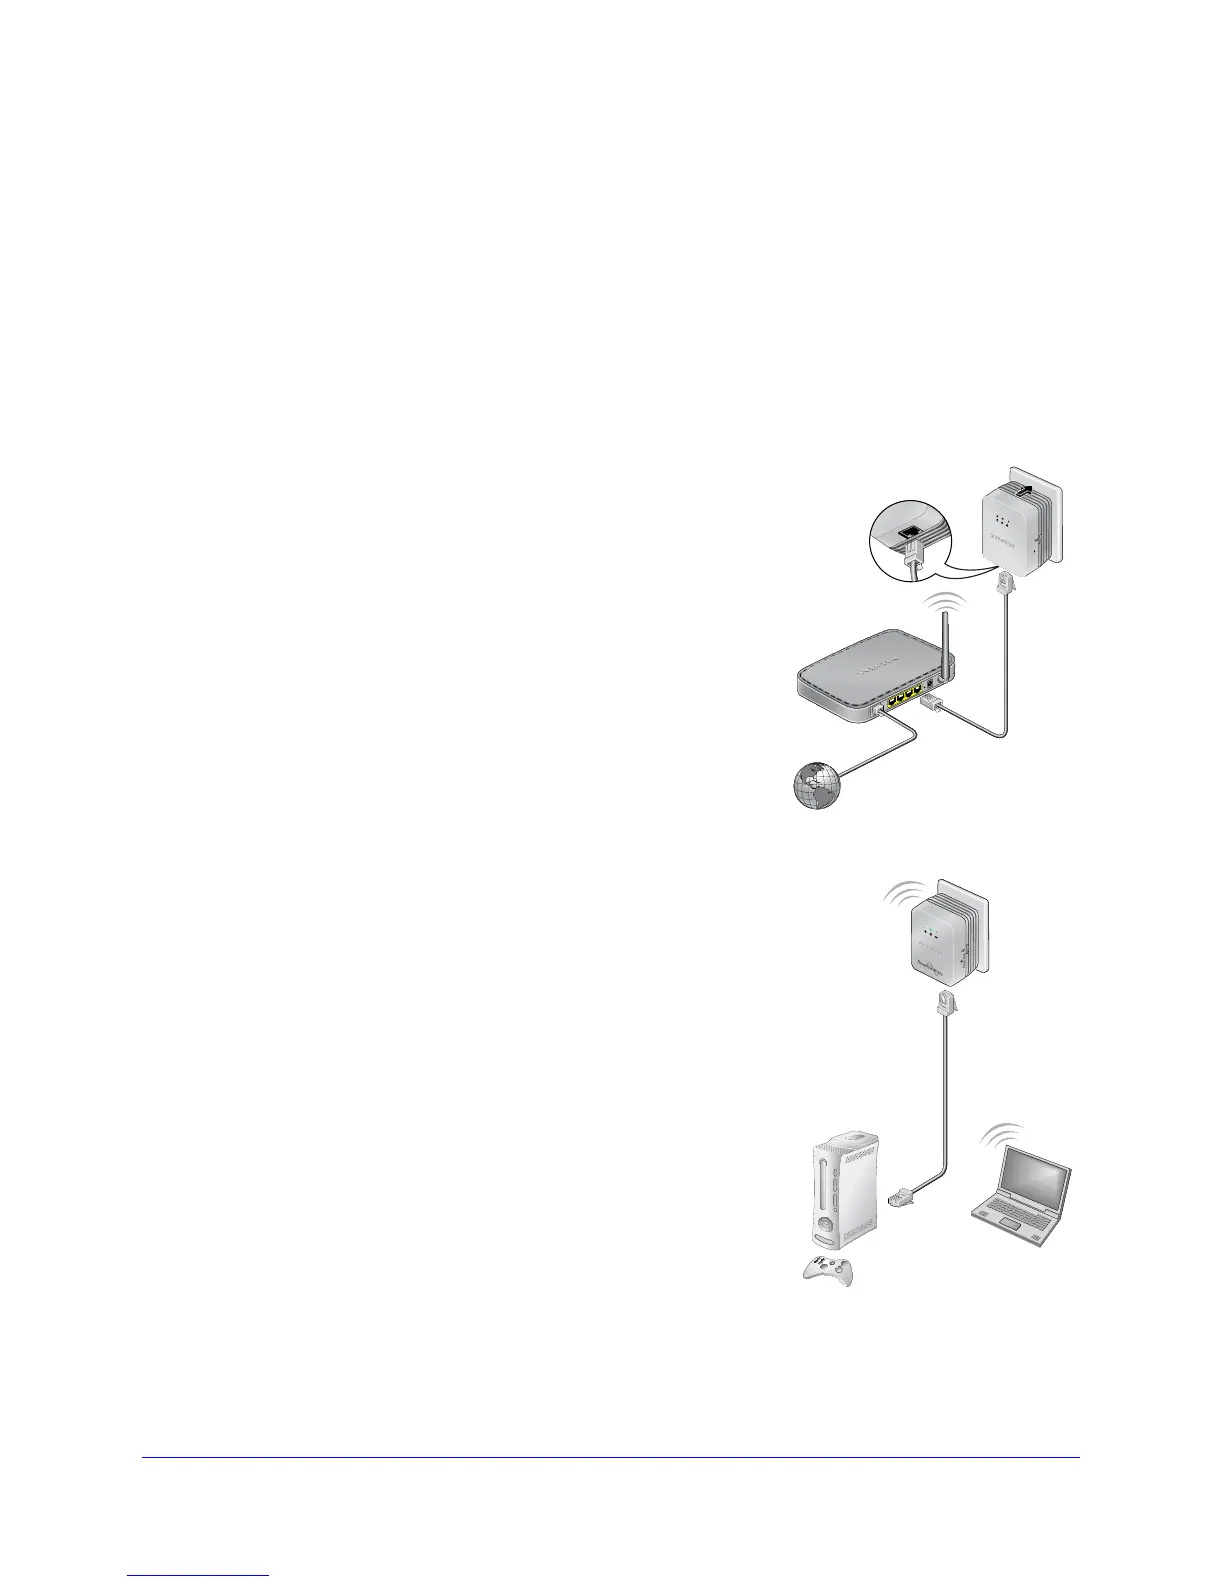
Set Up a New Powerline Network
Different Powerline models can share the same Powerline network. All NETGEAR Powerline
AV products are compatible.
To set up a new Powerline network:
1. Make su
re that your wired Ethernet connections are
working. If you have an existing wireless network,
make sure that it is connected to the Internet.
a. On
a computer that is connected to your router or
gateway using an Ethernet cable, open a web
browser and navigate to a web page.
b. On
a computer or device that is connected to your
wireless network, open a web browser and
navigate to a web page.
2. Plug the first
Powerline device (sold separately) into a
wall outlet near your router or gateway. Then, connect
the device to the LAN port on your router or gateway
using an Ethernet cable.
3. Plug the WiFi extend
er into a wall outlet where you need
wireless coverage.
4. (Opt
ional) You can use the provided Ethernet cable to
connect the WiFi extender to an Ethernet port on a computer,
game console, Blu-ray player, or other peripheral device.
The Powerline devices attempt to detect each other and
form a Powerline ne
twork.
5. W
ait for each Powerline device to be recognized by the
Powerline network. This process could take as little as 5
seconds or up to 80 seconds.
When the Power and Powerline LEDs stop blinking, the
process is comple
te. If the Powerline LEDs are green or
amber, the devices are successfully connected to the
Powerline network. A red Powerline LED indicates a slow
link rate. In this case, move the Powerline device to
another electrical outlet with a faster connection.
6. S
et up the WiFi extender wireless network as explained in Set Up the WiFi Extender
Wireless Network on
page 12.
Reset
First
Powerline
device
 Loading...