To specify the pool of IP addresses that the router assigns:
1.
Launch a web browser from a computer or mobile device that is connected to the
router network.
2.
Enter http://www.routerlogin.net.
A login window opens.
3. Enter the router admin user name and password.
The user name is admin. The password is the one that you specified the first time
that you logged in. The user name and password are case-sensitive.
The Dashboard displays.
4. Select Settings > Setup > LAN Setup.
The LAN Setup page displays.
5. Make sure that the Use Router as DHCP Server check box is selected.
6.
Specify the range of IP addresses that the router assigns:
a.
In the Starting IP Address field, type the lowest number in the range.
This IP address must be in the same subnet as the router.
b.
In the Ending IP Address field, type the number at the end of the range of IP
addresses.
This IP address must be in the same subnet as the router.
7. Click the Apply button.
Your settings are saved.
The router delivers the following parameters to any LAN device that requests DHCP:
•
An IP address from the range that you define
•
Subnet mask
•
Gateway IP address (the router’s LAN IP address)
•
DNS server IP address (the router’s LAN IP address)
User Manual87Manage the Router’s Network
Settings
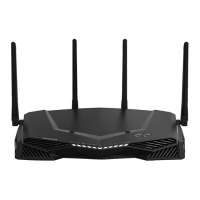
XR450 Nighthawk Pro Gaming Router
 Loading...