2. Camera to Mount locking screw
The camera can be secured to the mount to prevent un-authorised removal.
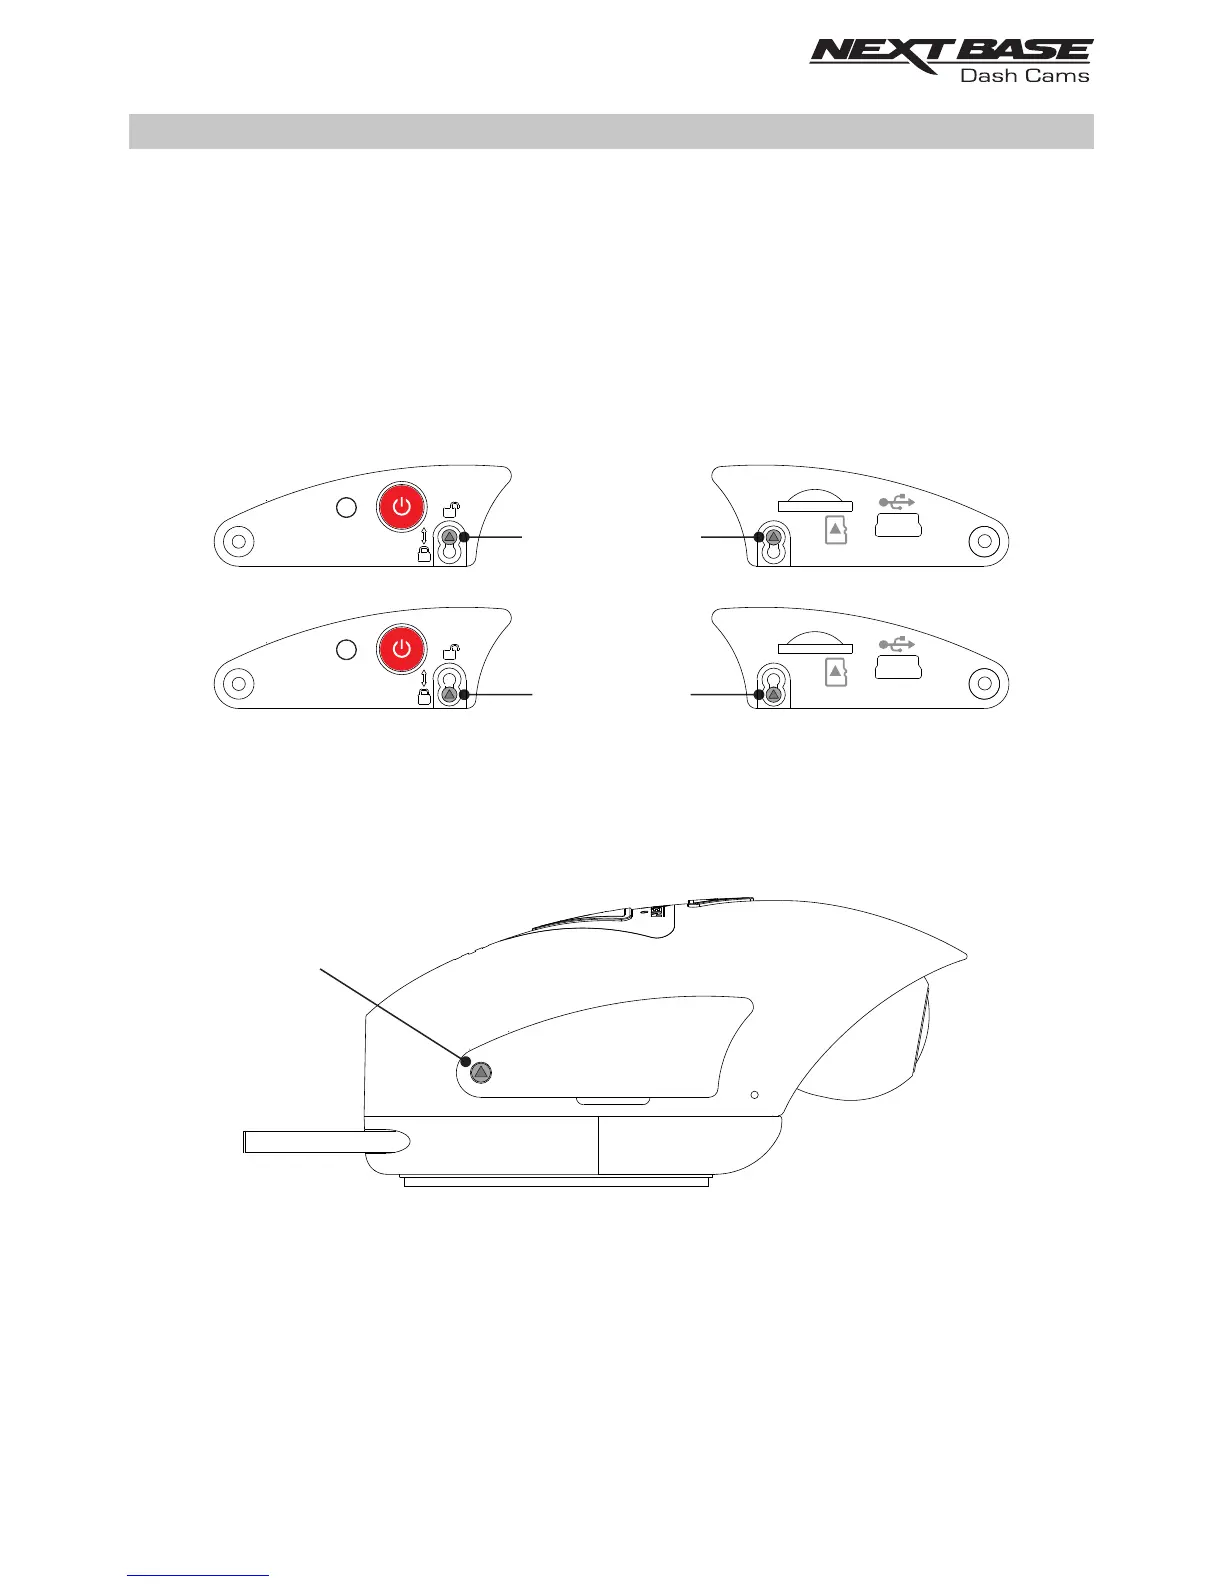
Remove the two side covers to gain access to the ‘camera to mount’ locking screws, these
are found on both sides of the camera.
With the camera attached to the mount and using the supplied security screwdriver, loosen
the two anti-tamper screws, taking care NOT to remove them fully.
Slide the anti-tamper screws down into the ‘locked’ position and then re-tighten.
3. Locking covers
Replace the normal side covers with the two locking covers and secure them to the camera
using the anti-tamper screws (machined screws).
Carefully insert the supplied rubber dust caps, covering the heads of the anti-tampers screws.
Note:
- To prevent un-authorised user's from accessing the camera via the Cam Viewer App,
remember to change the Wi-Fi Password within the Setup menu.
ANTI-TAMPER INSTALLATION (CONTD.)
locked position
unlocked position
Reset
Reset
Anti-tamper screw
(machined)
31