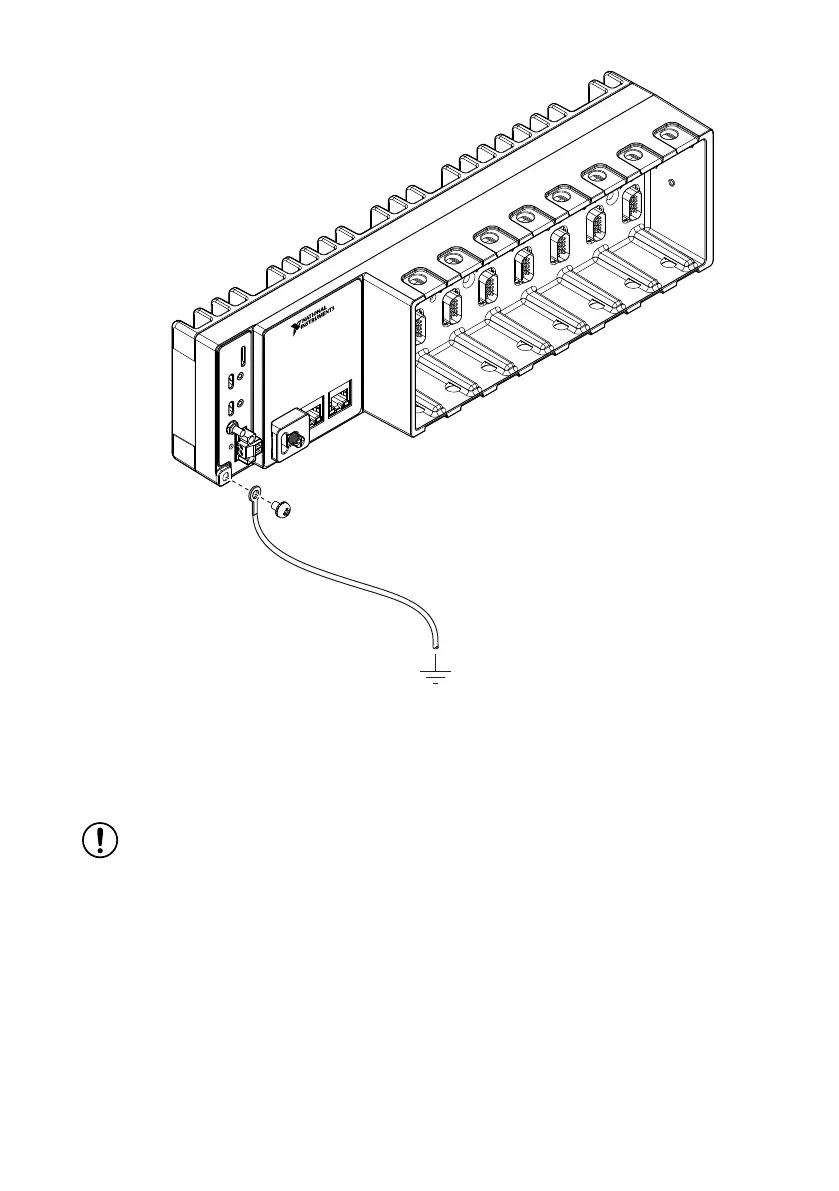
3. Attach the ring lug to the grounding terminal.
4. Tighten the grounding screw to 0.5 N · m (4.4 lb · in.) of torque.
5. Attach the other end of the wire to the chassis safety ground using a method that is
appropriate for your application.
Notice If you use shielded cabling to connect to a C Series module with a plastic
connector, you must attach the cable shield to the chassis grounding terminal using
1.3 mm
2
(16 AWG) or larger wire. Attach a ring lug to the wire and attach the wire
to the chassis grounding terminal. Solder the other end of the wire to the cable
shield. Use shorter wire for better EMC performance.
For more information about ground connections, visit ni.com/info and enter the Info Code
emcground.
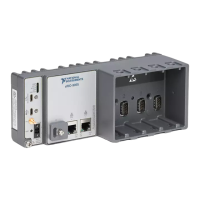
Connecting the Controller to Power
The cRIO-905x requires a 9 V to 30 V DC external power supply. The cRIO-905x filters and
regulates the supplied power and provides power for the C Series modules.
6 | ni.com | cRIO-905x Getting Started Guide
 Loading...