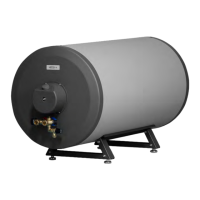
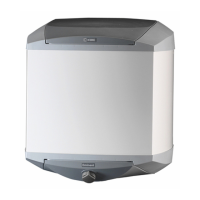
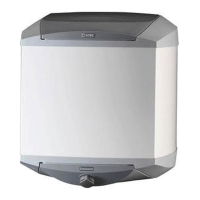
INSTALLATION
MOUNTING
It is recommended that the water heater is installed in a
room with a floor drain.
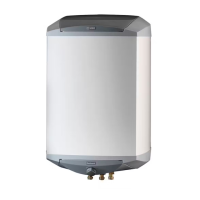
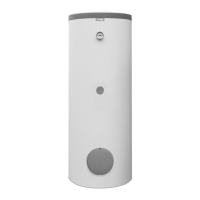
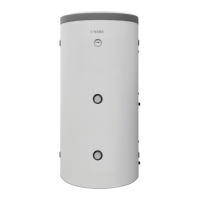
The copper-lined water heater must be installed upright and
can be aligned using the adjustable feet (UL1).
When installing, ensure that there is sufficient space for re-
moving the thermostat or immersion heater in front of the
junction box (approx. 400 mm).
Enclosed kit
Safety valve included in
ES 160, ES 210, ES 300
Reduction from
Ø 28 to Ø 22 mm included only in ES 300
PIPE INSTALLATION
NOTE
Fit the cover discs before the pipe installation is
made.
Pipe installation must be carried out in accordance with
current norms and directives.
The water heater is supplied with compression ring couplings
for copper or plastic pipes. Internal support bushes must be
fitted when a plastic or annealed copper pipe is used.
ES 300 is supplied with a reduction kit from Ø28 mm to
Ø22 mm, which can be used if the hot water heater is in-
stalled where a Ø 22 pipe already exists or is required.
An overflow pipe must be routed from the safety valve to a
suitable drain. The overflow pipe must be at least the same
size as the safety valve. Route the overflow pipe from the
safety valve, sloping along its entire length, and ensure that
it is frost proof. The mouth of the overflow pipe must be
visible and not placed close to electrical components.
Ensure that incoming water is clean. When using a private
well, it may be necessary to supplement with an extra water
filter.
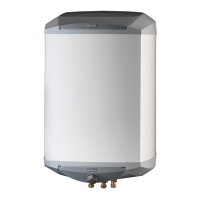
The following equipment must be installed on the cold water
pipe:
Shut-off valveQM35
Non-return valveRM1
Safety valve (supplied)FL1
Vacuum valveFL6
Mixer valve (if the tap water temperature exceeds 60 °C)FQ1
When the water heater is installed without a mixing valve,
the thermostat must be set to prevent the tap water tem-
perature from exceeding 60°C. If a higher temperature is
required, follow the relevant directions for the application.
If uncertain, contact a plumber alternatively see applicable
standards.
Filling
The water heater must be filled with water before the mains
supply is switched on. Filling takes place as follows:
• Check that the safety valve (FL1) is closed.
• Check that the drainage valve (QM3) is closed.
• Open the shut off valve by turning the knob (QM35) anti-
clockwise .
• Bleed the water heater by opening a hot water tap in the
system. This can be closed when only water comes out
of the tap. The water heater is now filled and the power
can be switched on.
Setting the mixer valve
Increase/decrease the tap water temperature by turning
the mixer valve knob (FQ1) anti-clockwise/clockwise. Setting
range approx. 40 – 65 °C.
17NIBE ES | EN