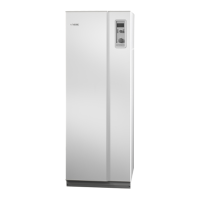
3.
Loosen/remove the two screws holding the cooling
module.
LEK
3
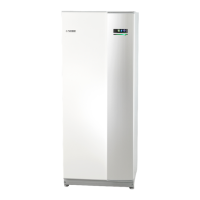
4.
Pull out the cooling module and transfer it to the new
unit. Install the screws and tighten them.
5.
Install the brine pipes with new O rings (supplied) on
the new unit. Insert them from behind and connect
connections (QM33) and (QM34) with securing plate.
Install the insulation for the connectors and secure
using the cable ties supplied.
40
4040
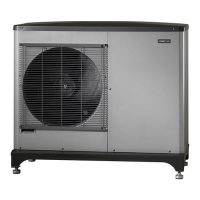
6.
Loosen the Conex nut on the HM return pipe from the
new unit charge coil. (Located on the rear edge, at the
top right.)
LEK
6
7.
Install the Conex angle (supplied) on the charge coil's
return line on the new unit.
8.
Transfer the HM return pipe to the new unit and
tighten the connection to the charge coil return pipe
and connect to the shut off valve (QM32) with securing
plate (remember new O-rings).
L
E
K
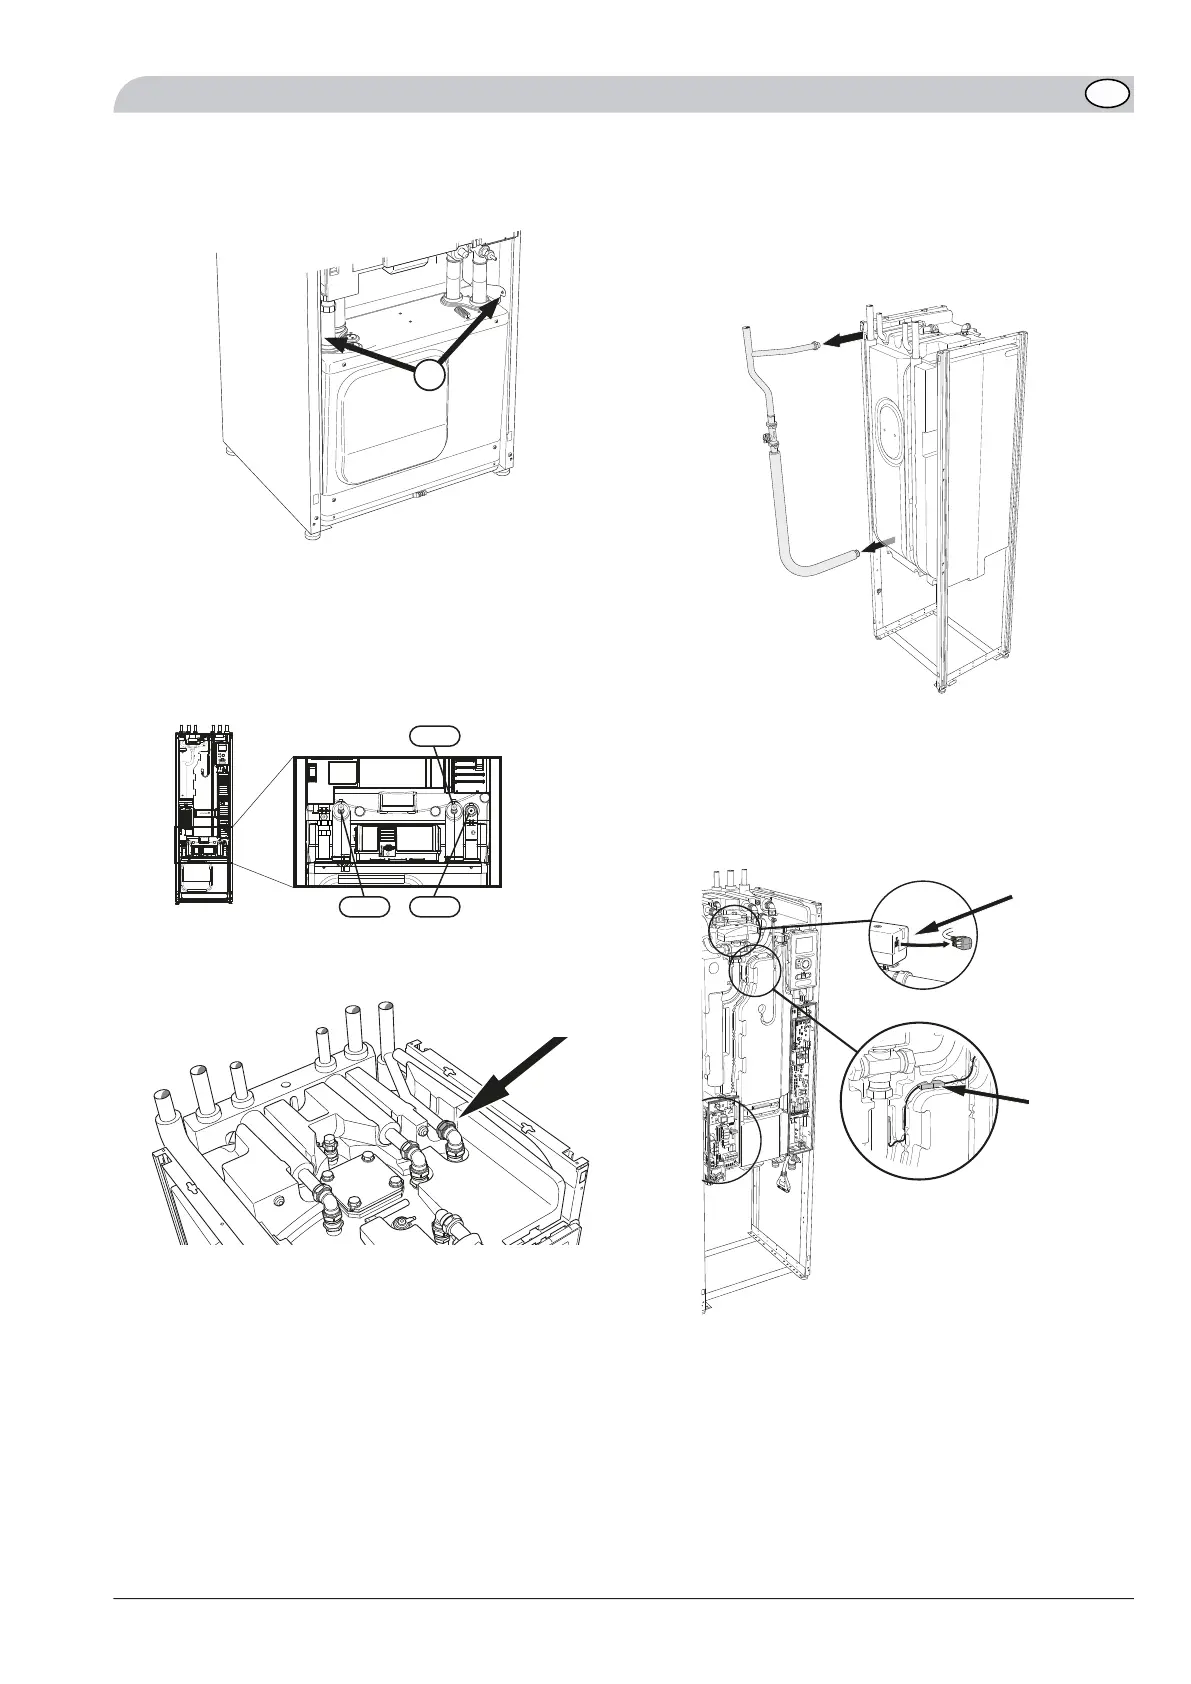
9.
Connect the wiring connectors from the cooling
module to the immersion heater circuit board (AA1)
and base circuit board (AA2).
10.
Position sensor (A, B) in the submerged tube.
11.
Connect the wiring connector on the reversing valve
(QN10) and connector for sensor (BT2). Ensure that
the wiring is in the correct cable ducts.
4.7?
BT2
QN10
21NIBE F1245/F1255
GB
 Loading...