Align the rail (a) over the center of the
operator head (b).
Slide the sprocket onto the shaft (c).
Tabs should t into the slots (d).
Attach the rail to the operator head by installing
four 1/4”-20 x 11/16” bolts.
Tighten the four bolts with a 7/16” socket.
a
b
1
3
2
4
c
d
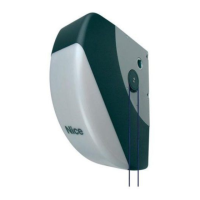
Attach operator to hanging
brackets using two 5/16-18 x 1”
hex bolts and two 5/16-18 keps
nuts (supplied). (c)
Insert bolts from the inside of
hanger brackets with the nuts on
the outside of the operator, and
then tighten nuts with a 1/2”
socket. (d)
The hanging brackets should be
angled to provide rigid support. (a)
Adjust the operator and wall
mounting bracket height so that it
is relatively level, and there is a
1.75" gap between the rail and the
high point of the door travel (b).
d
a
c
b
Assemble the two safety L-shaped brackets using
two 1/4”-20 x 11/16” bolts and 1/4”-20 keps nuts.
Position and mount assembled
brackets on each side of the
door so the center line of the
safety beam lenses will be
5-1/2” above the floor. Use the
index marks on the brackets to
make the bracket assemblies
equal lengths.
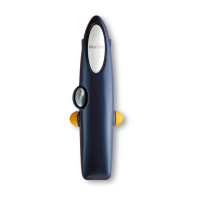
Strip back 1/2” of insulation, and connect a
wire to each of the two terminals on the back of
the wall station. Polarity does not matter. (a)
Mount the first screw in the location desired,
then hang the Wall Station. Securely mount
the Wall Station with the bottom screw. (b)
Connect either wire to the operator’s WALL
STATION terminal and the other wire to the
operator’s COMMON terminal. Polarity does
not matter. (c)
Insert the sender and
receiver into the
bracket holes so the
lenses of the units will
face each other (a).
Twist the units until the spring clips lock into a detent
mark on the brackets.
a
b
c
2 3
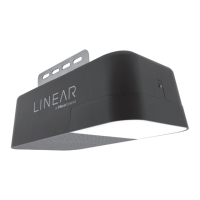
EN - Quick Start Guide
Smart Garage Door Operator
Linear 661
Wire / Mount the Wall Station
Install the Safety Beam
Attaching the Rail
Hanging the Operator