English – 8
Important – Ensure that the
clock is set precisely at the local
time.
Caution – The timed com-
mands are only enabled if the
“Timed command activa-
tion” is activated (ON) under the
heading “Options”.
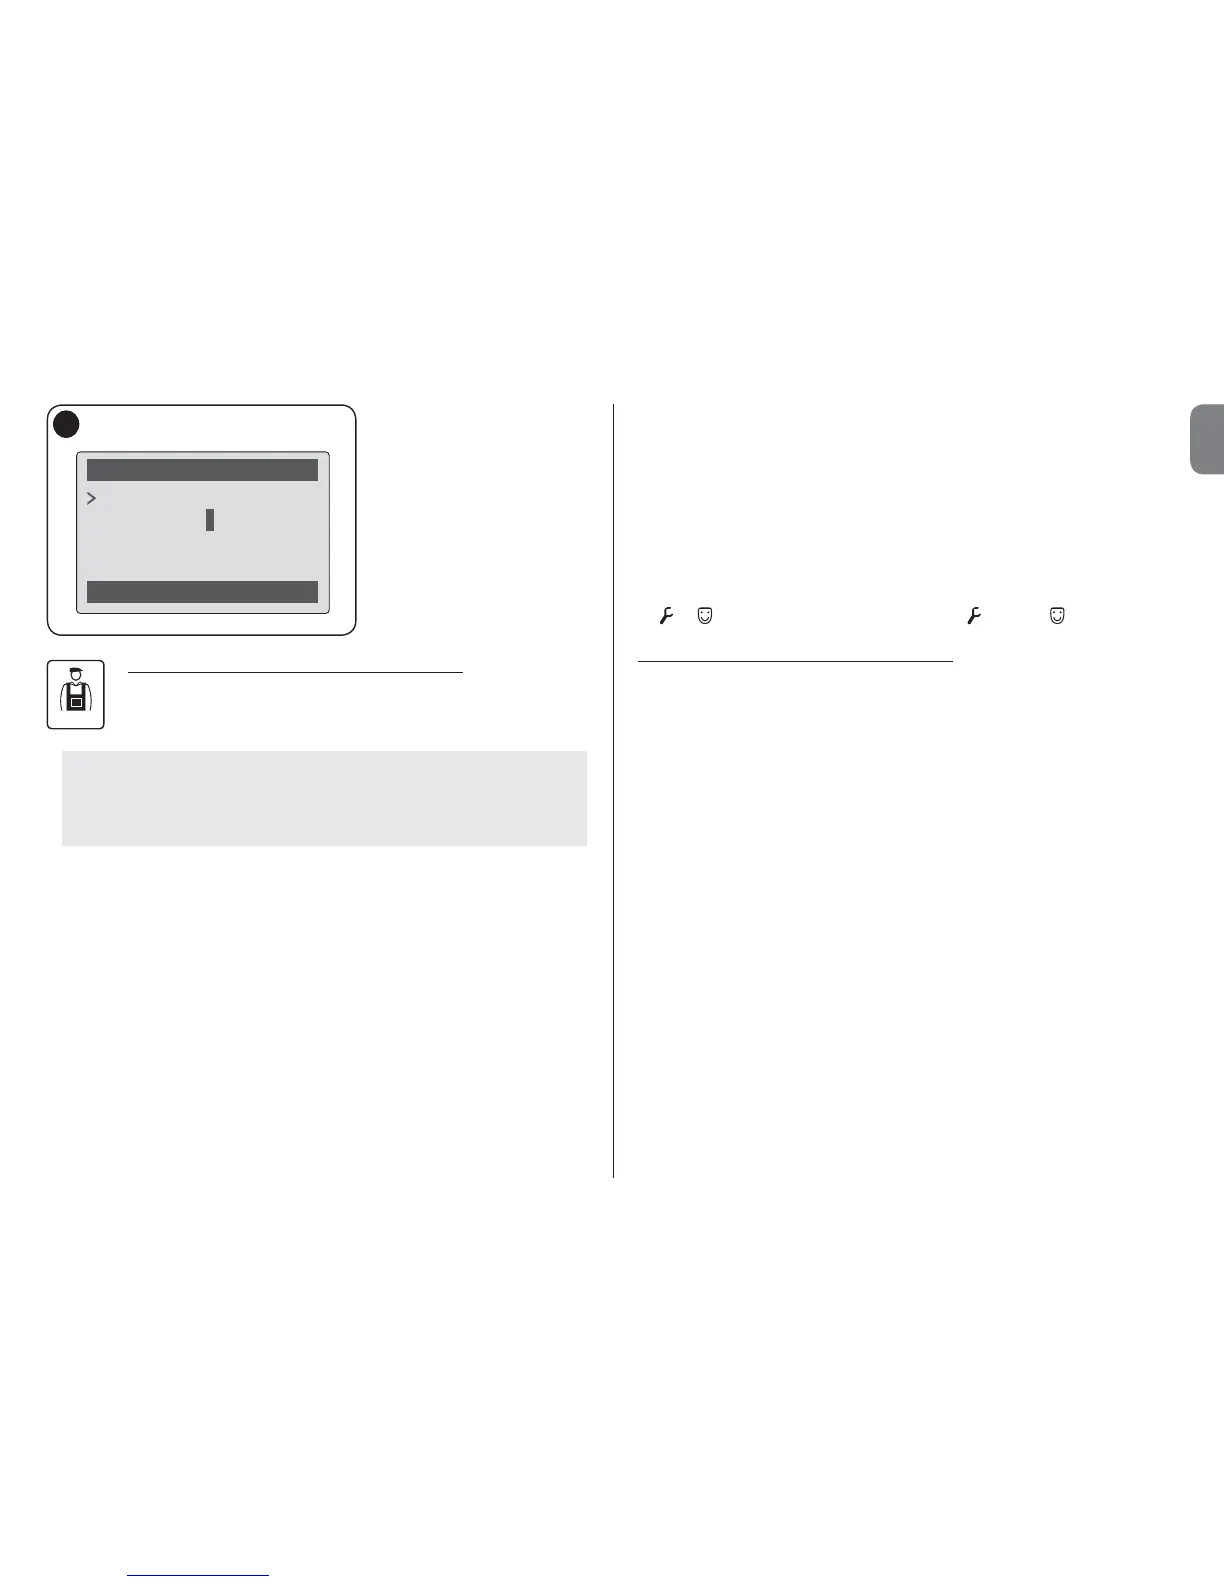
Timed commands
Back Select
on
22:50
mtwtfss
New
8
• Programming the control unit and receiver
To program the parameters of a device, proceed as follows:
WARNING – Access to the functions under the heading “automa-
tions” may require entry of a password, if the installer has decid-
ed to restrict access to the programming functions. For further
information refer to the paragraph “Working with passwords”.
a) Select the series to which the device to be programmed belongs.
b) In the home page (fig. 7) select “Menu” by means of key z (8 – fig. 6): the
window displays the list of devices connected and present in this series.
c) This window enables the user to:
– scroll through the list of names of devices present, using the arrow keys S
or T;
– access the next series by using arrow key X or the previous series by means
of arrow key W;
– confirm selection of a device, by means of key 8.
d) On confirmation of the selection, a window is displayed with a function menu.
This menu normally comprises the following items:
– “Control unit functions” (functions specific to the control unit);
– “Radio functions” (functions specific to the receiver);
– “Common functions” (containing the functions present on all control units
and receivers);
– “Advanced functions” (special functions present on all control units and
receivers);
– “Log in” (required to access an automation if a password has been previ-
ously set);
– (etc......)
Note – The presence or absence of some of the items in the “functions menu”
depends on the type of device selected.
Once an item has been selected, confirm with “Select”. At this point a screen
will appear with the functions relating to the device. Lower down there is an
icon
or which indicates the access mode: installer, user.
• Setting the Oview operating parameters
• To set the Oview operating parameters, enter the home page (fig. 6), and
select “Options” by means of the key z (7 - fig. 6) and then select “Oview
Settings”.
The window displays the list of parameters available: “Name” - “Date/time”
- “Display brightness”- “Key brightness” - “Oview Password” - “Lan-
guage” - “Information” - “Network options”.
To display and modify individual parameters, select and proceed in the window
displayed.
– Name: used to assign a personal name to Oview, for easy identification in a
device network;
– Date/time: used to set the local date and time. The arrow keys W and X
(2 and 4 – fig. 6) enable the user to move between fields for the date and
time and keys S and T (3 and 5 – fig. 6) enable modification of the relative
values;
– Display brightness: used to adjust the display brightness. This can be set
with a value from minimum 0% to maximum 100%. Note – After 30 seconds
of inactivity, the display brightness is reduced to the minimum set value;
– Key brightness: used to adjust the key brightness. This can be set with
a value from minimum 0% to maximum 100%. Note – After 30 seconds of
inactivity, the brightness is reduced to the minimum set value;
– Oview Password: refer to paragraph “The Oview password”;
– Language: used to set the required language;
– Information: used to display the Oview technical data without the option for
modification;
EN

 Loading...


