EN
4 – English
3
INSTALLATION AND ELECTRICAL CONNECTIONS
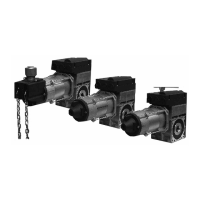
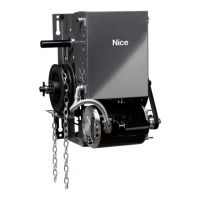
3.1 - Gear motor installation
,PSRUWDQW%HIRUHLQVWDOOLQJWKHJHDUPRWRUVHHFKDSWHUFKHFNWKHSDFNDJLQJFRQWHQWVDQGYHULI\WKHPDWHULDOVXSSOLHGDQG
the footprint of the gear motor (see the product data sheets on pages 17-28).
,03257$177KHZLQGLQJVKDIWPXVWEHFRQFHQWULFWRDQGDOLJQHGZLWKWKHPRWRULVHGVKDIWRWKHUZLVHXQEDODQFHVPD\EH
created that can cause damage or excessive wear on the drive mechanisms.
Make sure that there is no friction at any point when closing and opening the door; manoeuvring the door by hand should not
require a force of more than 300N (30 kg).
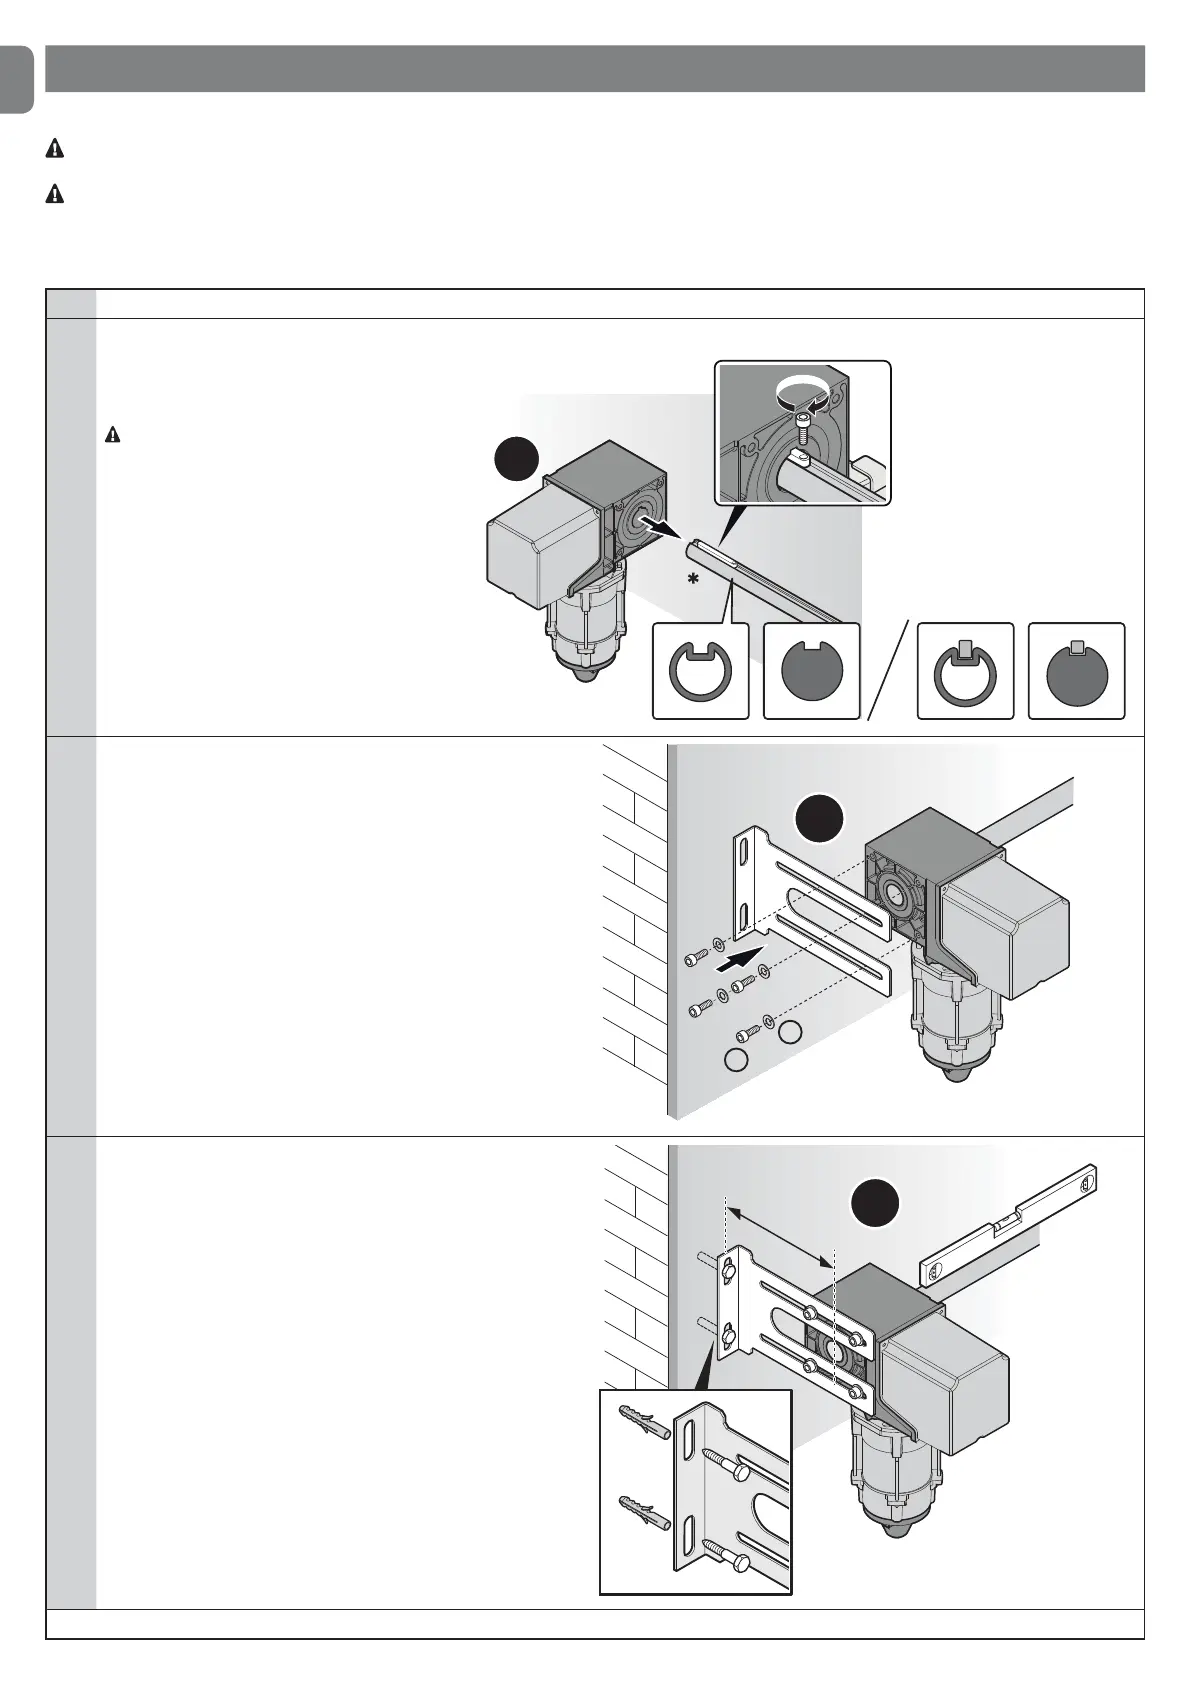
01. Grease the end of the winding shaft where the motor is coupled.
02. Insert the gear motor into the end of the winding shaft: check
whether there is a through-hole on the tab on the winding
shaft (A); if so, this must be blocked in place (B) to prevent
accidental axial movement.
4 There are two types of shaft
1
03. %HWSGDE@RSDMHMFAQ@BJDSSNSGDFD@QLNSNQTRHMFSGDRBQDVR
(C) and washers (D) supplied.
2
C
D
04. Secure the fastening bracket: the gear motor can be posi-
tioned either horizontally or vertically, as long as the winding
RG@ESHRGNQHYNMS@K@MCO@Q@KKDKSNSGDkNNQ
Tightening torque must be 20 Nm.
Note: if needing to position the gear motor differently, contact
the Nice technical service.
90÷195
3
Note: if the gear motor needs to be painted, the seal rings should be protected and must not come into contact with the paint.
 Loading...