STEP 1: Connecting the DVR to a TV or monitor
If your TV or monitor has RCA inputs (and no VGA input), follow these steps:
A. Locate the BNC-to-RCA video output cable (not included).
B. Connect the BNC end of the cable to a yellow Video Output port on the DVR.
C. Connect the RCA end of the cable to the yellow Video In port on your TV or monitor.
D. Turn your TV or monitor on and select the correct input (e.g., LINE or VIDEO).
If your TV or monitor has an HDMI input, follow these steps:
A. Locate the HDMI video cable (included).
B. Connect one end of the HDMI cable to the HDMI port on the DVR.
C. Connect the other end of the cable to the HDMI input on your TV or monitor.
D. Turn your TV or monitor on and select the correct input (e.g., LINE or VIDEO).
QUICK SETUP GUIDE
X SERIES SECURITY KITS
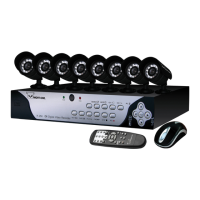
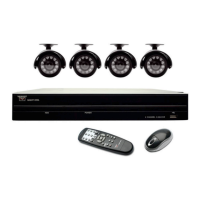
STEP 2: Connecting the USB mouse to the DVR
A. Locate the USB mouse.
B. Connect the USB cable of the mouse to the USB port on the DVR.
A B C
A
BEFORE YOU GET STARTED YOU WILL NEED
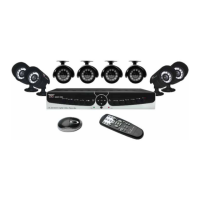
Included: Not included:
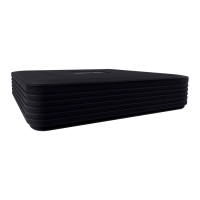
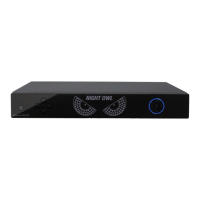
DVR with power adapter TV or monitor with HDMI, VGA or RCA input
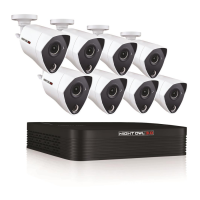
Cameras with 60 ft. BNC cables, power splitters, and power adapter BNC-to-RCA cable (if TV or monitor does not have VGA input)
HDMI cable Computer with Windows
®
Vista, Windows
®
XP, Windows
®
7, or Windows
®
8
Ethernet (RJ45) cable Router/modem with at least 2 empty ports
USB mouse
D-Connector for audio (only included on certain models)
A B
B C
STEP 3: Connecting the cameras to the DVR
A. Locate a 60 ft. BNC cable, power splitter, power adapter, DVR, and camera.
B. Locate the end of the 60 ft. BNC cable labeled “TO CAMERA.” Connect the
yellow BNC adapter on the 60 ft. BNC cable to the yellow BNC adapter on
the camera. Connect the red RCA power adapter on the cable to the red
RCA power adapter on the camera.
C. Locate the end of the 60 ft. BNC cable labeled “TO DVR.” Connect the
yellow BNC adapter on the 60 ft. BNC cable to a yellow Video In channel
input on the back of the DVR. The channel inputs are labeled by number.
D. Connect the red RCA power adapter on the 60 ft. BNC cable to the male
side of the power splitter.
E. Repeat steps A-D for all cameras.
F. If utilizing audio enabled cameras, you will need to connect the white RCA
connector from the camera to the DVR. NOTE: audio enabled cameras are
only available on certain models.
G. Connect the power adapter to the female side of the power splitter.
H. Connect the DVR power adapter into the 12V port on the back of the DVR.
I. Plug the camera and DVR power adapters into a wall socket, power strip, or surge protector.
NOTE: Connect the cameras and cables to the DVR before mounting to ensure that they work properly.