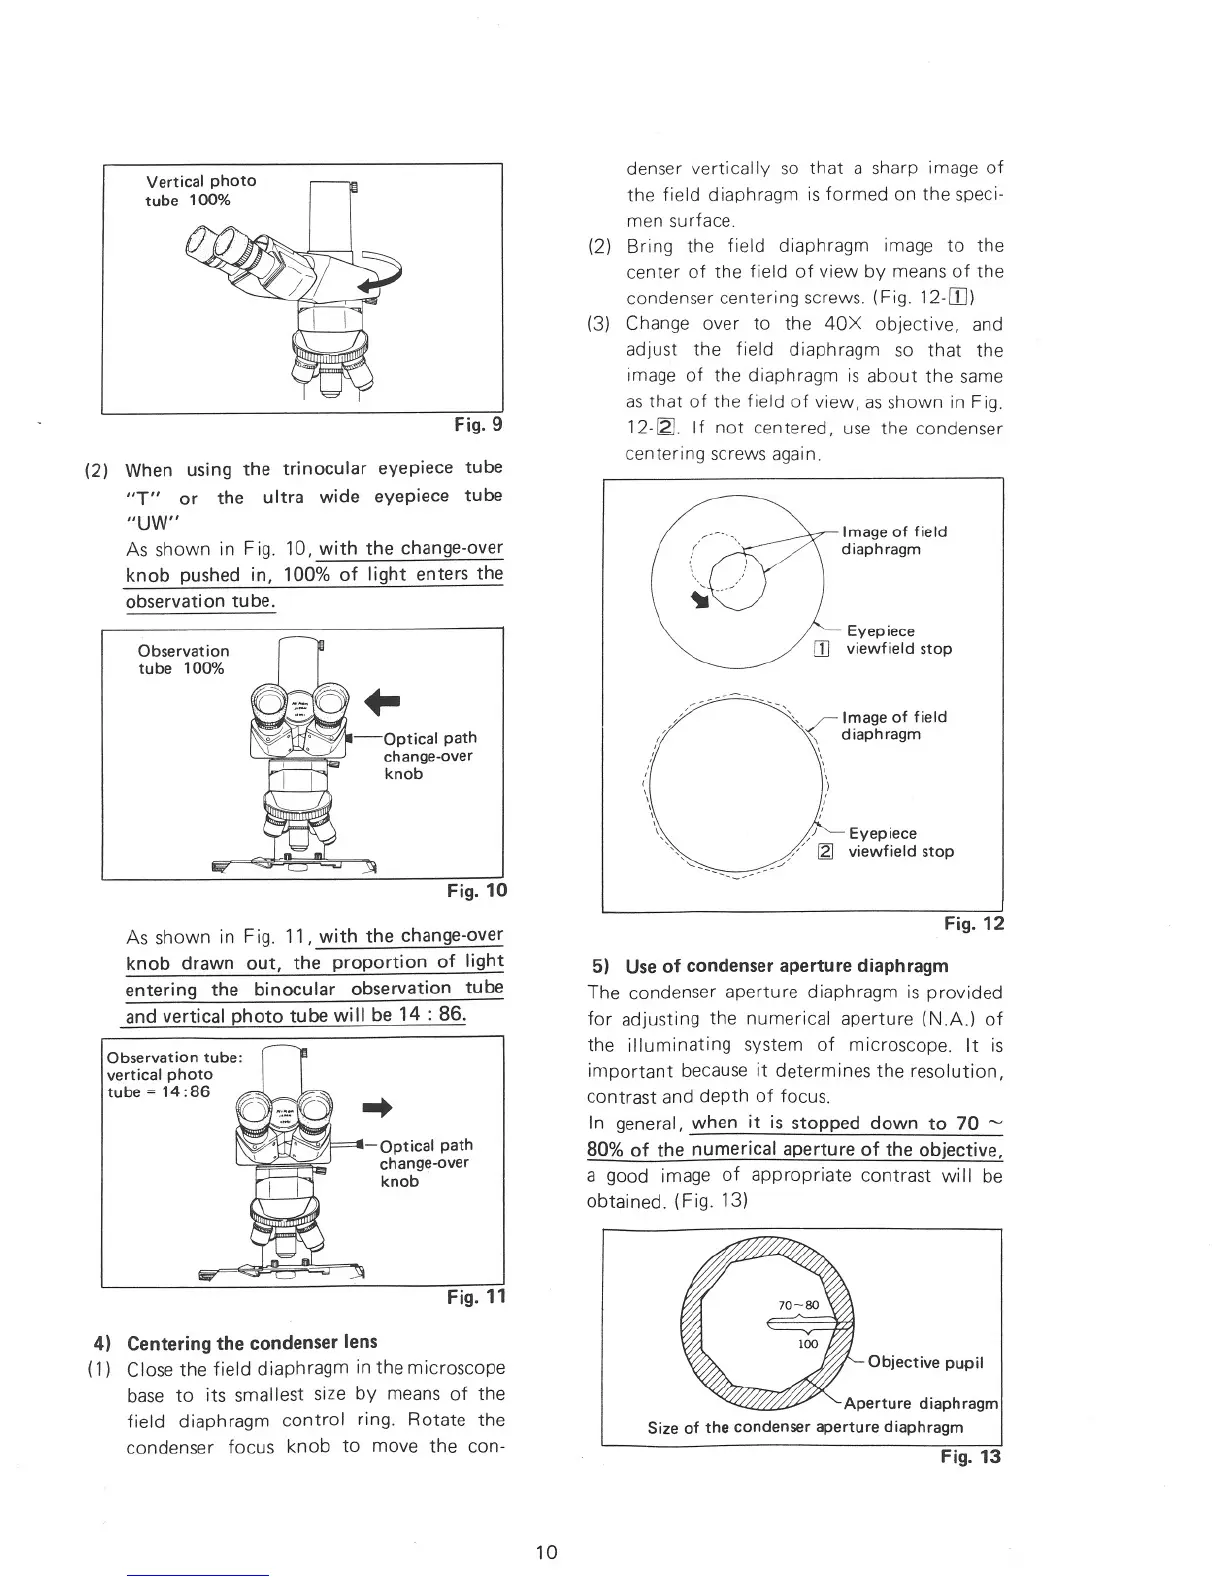
Vertical photo
tube 100%
Eyepiece
viewfield stop
Eyepiece
viewfield stop
Image of field
diaphragm
"",r Image of field
'\ diaphragm
---
denser vertically so that a sharp image of
the field diaphragm is formed on the speci-
men surface.
(2) Bring the field diaphragm image to the
center of the field of view by means of the
condenser centering screws. (Fig. 12-W)
(3) Change over to the 40X objective, and
adjust the field diaphragm so that the
image of the diaphragm is about the same
as that of the field of view, as shown in Fig.
12-[Z]. If not centered, use the condenser
centering screws again.
Fig. 9
Fig. 10
Optical path
change-over
knob
Observation
tube
100"10
(2) When using the trinocular eyepiece tube
"T" or the ultra wide eyepiece tube
"UW"
As shown in Fig. 10, with the change-over
knob pushed in, 100% of light enters the
observation tube.
As shown in Fig. 11, with the change-over
knob drawn out, the proportion of light
entering the binocular observation tube
and vertical photo tube will be 14 : 86.
Observation tube:
vertical photo
tube = 14:86
Optical path
change-over
knob
Fig. 11
4) Centering the condenser lens
(1) Close the field diaphragm in the microscope
base to its smallest size by means of the
field diaphragm control ring. Rotate the
condenser focus knob to move the con-
Fig. 12
5) Use of condenser aperture diaphragm
The condenser aperture diaphragm is provided
for adjusting the numerical aperture (N.A.) of
the illuminating system of microscope. It is
important because it determines the resolution,
contrast and depth of focus.
In general, when it is stopped down to 70 ~
80% of the numerical aperture of the objective,
a good image of appropriate contrast will be
obtained. (Fig. 13)
Objective pupil
Aperture diaphragm
Size of the condenser aperture diaphragm
Fig. 13
10