-BASIC
OPERATION-continued----------
8 Attach
the
flash
unit
to
.
the
camera's accessory
shoe.
Notes:
1)
If you are using an
F3
-series camera, make
sure that the ASAI
ISO
film speed is already
set on the camera before attaching the flash
unit,
as the camera 's
ASA
I
ISO
dial cannot
be changed after the flash
is aI/ached
to
the
accessory shoe.
2)
For the Nikonos-V camera, an optional
V-
Type
Sync Cord is
re
quired. For details about flash
unit
al/achmentto
the Nikonos-
V,
refer to the
Sync Cord's instruction manual.
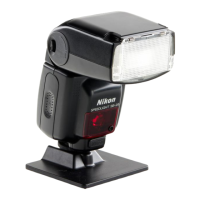
10
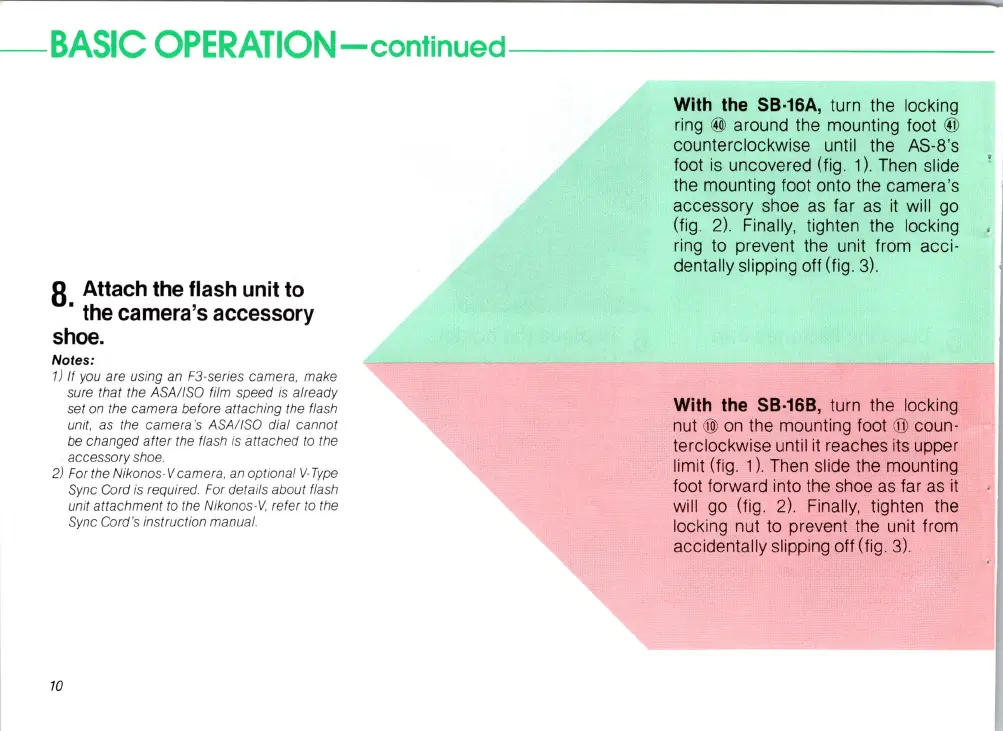
With
the
58
·
16A
, turn the locki
ng
ring
@ around the mounting foot @
counterclockwise until the AS-8's
foot
is
uncovered (fig. 1).
Then
slide
the mounting foot onto the camera's
accessory shoe
as
far
as
it
wi
ll go
(fig.
2)
. Fin
al
ly
, tighten the locking
r
in
g to prevent the unit from acci-
dentally sli
pp
ing
off (fig.
3).
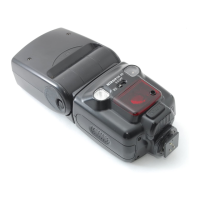
With the 58·168, turn the locking
nut
@)
on
the mounting foot @ coun-
terclockwise until
it
reaches its upper
limit (fig_
1)
.
Then
slide the mounting
foot forward into the shoe
as
far
as
it
wi
ll
go (fig.
2)
. Finally, tighten the
locki
ng
nut to prevent the unit from
accidentally slipping off (fig.
3)
.
 Loading...