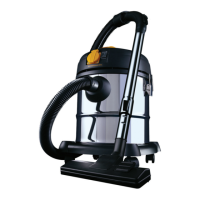
22
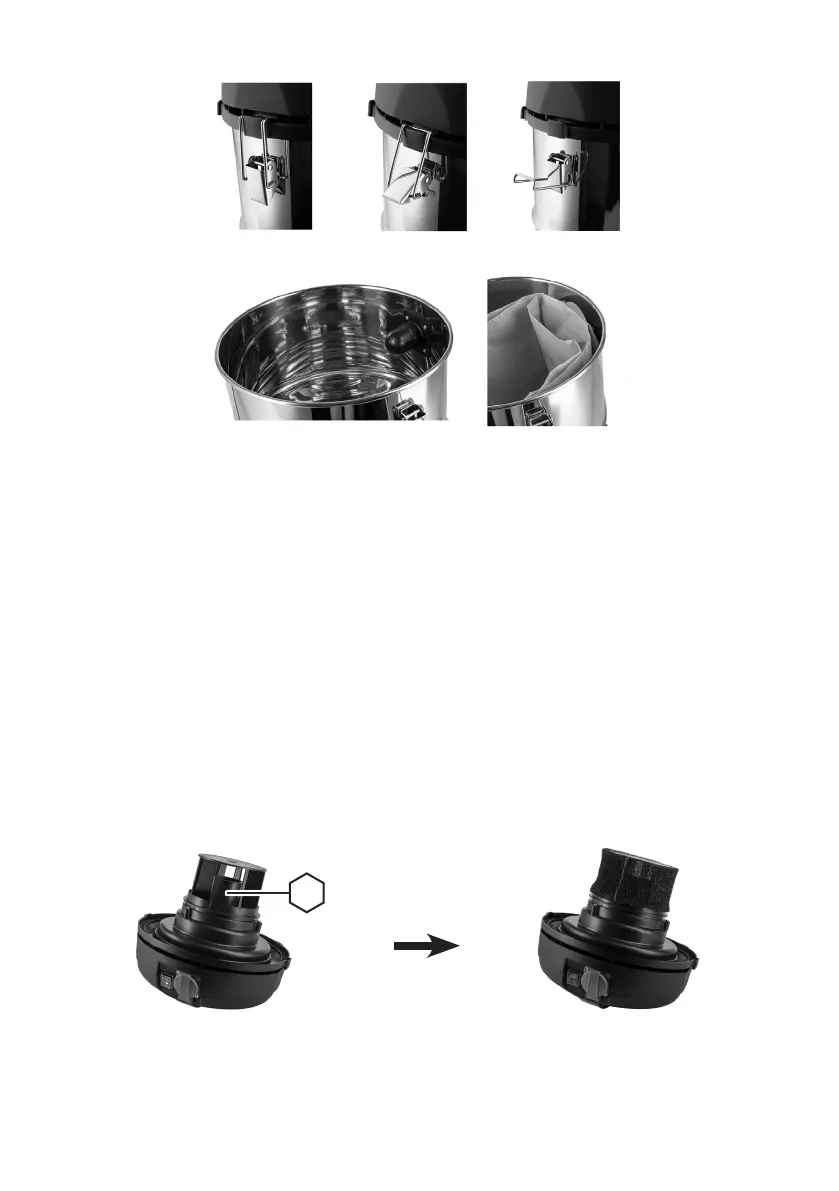
3. Remove the lid.
4. Install the dust bag so that the entire bag opening is situated in the internal part of the hose socket.
5. Place the lid on the vacuum cleaner body.
6. Close the latches on the lid.
7. Connect the plug to a power outlet.
8. Turn on the device.
Caution! Remember to use the textile ltering bag when vacuuming in order to prevent dust and other ne
particles entering into the motor and its mechanical parts.
Caution! The seal in the dust bag opening should completely ll the groove on the inlet part.
Caution! When the paper dust bag (14) is installed, use the vacuum cleaner only with the textile ltering
bag (21).
7.4 Wet operation – foam lter for wet operation / oat valve
When the foam lter is installed, the device can be used to vacuum spilled liquids.
1. Make sure that the device is disconnected from the power source.
2. Raise the latch release handles and take the latches off the lid.
3. Remove the lid.
4. Pull the foam lter (12) onto the cage (20). The foam lter (12) should completely cover the whole cage
(20), so that no water can penetrate into the cage. Then place the textile ltering bag (21) onto the foam
lter (12) to protect the motor from dust and ne particles that the foam lter cannot capture.
5. Place the lid on the vacuum cleaner body.
6. Close the latches on the lid.
7. Connect the plug to a power outlet.
8. For a description of the vacuum cleaner emptying procedure, see section 8.3 Paper dust bag emptying/
replacement.
22