9
2. Set up
2.1 Preparing the machine
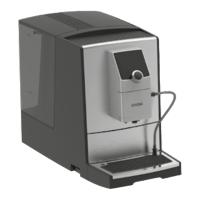
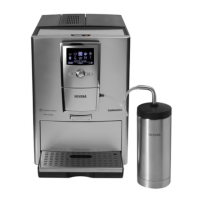
➔ Carefully remove the machine
and all parts from the packaging.
Note: If you need to return your
machine for servicing, it can be
sent by post in the original pack -
ag ing. Please keep all packag ing
and protective material for this
purpose.
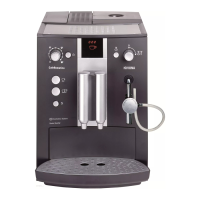
➔ Remove the water reservoir
(fig. 1/B and 2) and wash it out
with cold, clean tap water.
➔ Then fill the reservoir up to the
max. mark and replace it in the
machine. Make sure that it clicks
into place.
Note: Only fill the reservoir with
fresh, cold water. Do not use car-
bonated water or other liquids.
➔ Open the lid of the coffee con-
tainer (fig. 1/N) and add coffee
beans.
Note: Do not use beans which have
been treated with supplements,
such as sugar, during or after the
roasting. Supplements can damage
the grinding mechanism and any
repair costs arising as a result are
not covered by the guarantee.
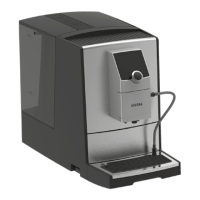
Please make sure the steam / hot
water valve control knob (fig. 1/Q
and 7) is turned to ‘0’!
2.2 Getting started
➔ Remove the plug from the
power cord compartment (fig. 1/V)
and plug the machine in.
➔ Switch the mains supply on
(fig. 1/S). The On / Off button (fig.
1/F) lights up.
➔ Press the On / Off button (fig.
1/F). The ‘cup’ symbol (Symbol 8)
starts to flash in the display.
➔ After the machine has warmed
up, the Service button (fig. 1/I)
flashes.
➔ Now place a cup under the
height-adjustable coffee spout
(fig. 1/J and 5). Press the Service
button (fig. 1/I).