9
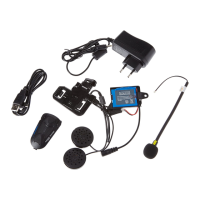
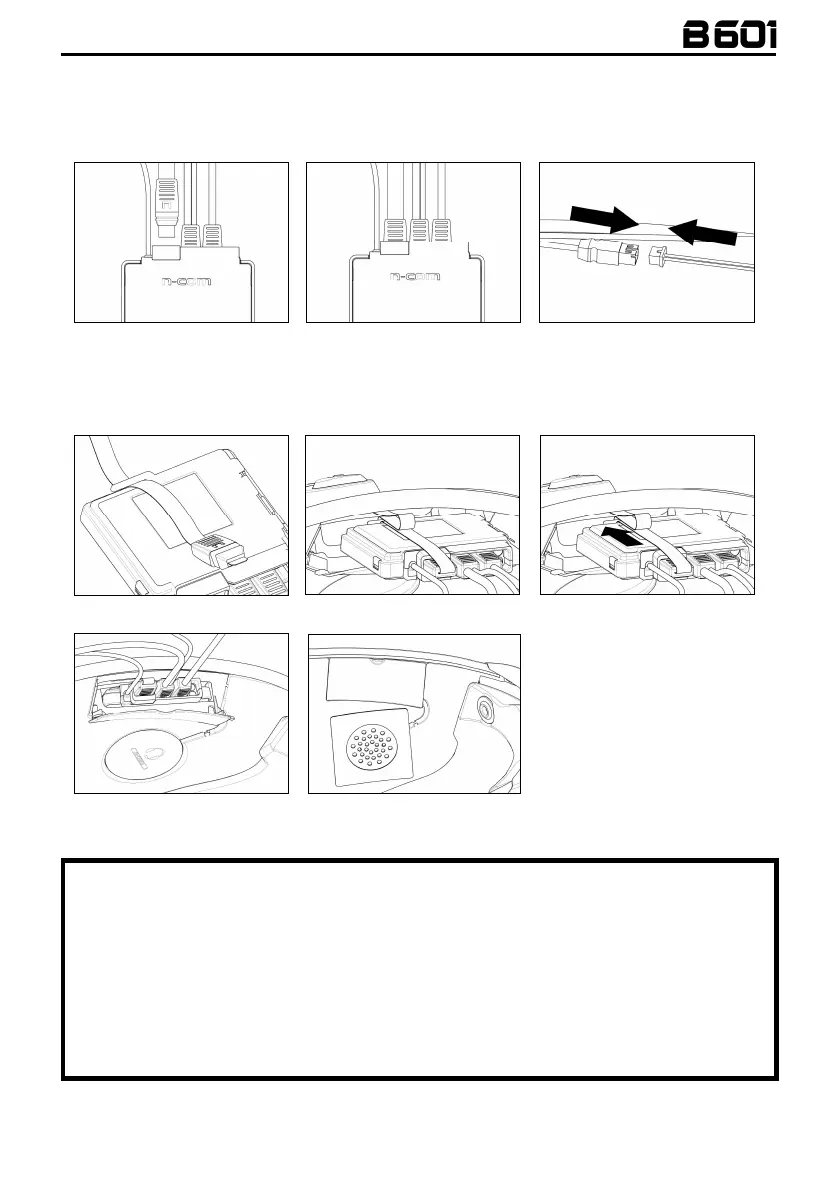
• Connect the battery to the wiring system (Fig. 8).
• Switch on the N-Com system (press “
ON
” for about 2 seconds) to verity its proper operation.
N.B.
If the system does not work, remove the flex and repeat the previous operation, making sure that the
“
n
” is positioned as in Fig. 6.
Fig. 6
Fig. 7
Fig. 8
• Secure the keypad flex in the specials stop (Fig. 9).
• Position the e-box in its seat, arranging the keypad flex cable so that it does not interfere with the
positioning of the e-box, as illustrated in figures 10-11-12.
Fig. 9
Fig. 10
Fig. 11
Fig. 12
Fig. 13
•
Position the left loudspeaker in
its seat, inserting the cable in
the special groo
earphone using the adhesive
equipment (Fig. 13).
3.3
Microphone positioning
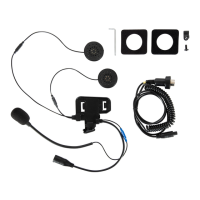
ONLY FOR X-1005 HELMETS
• With the help of the flat head tool supplied as standard equipment, open the microphone-holder clip
located on the right side of the helmet (Fig. 14-15).
• Position the microphone at the desired length, sliding the excess portion inside the cheek pad lining (Fig.
16).
N.B.: To ensure good voice transmission quality, it is recommended to adjust the length of the microphone
so that the foam part is in front of your mouth.
• Close the clip. Make sure that the microphone side with the letter “
n
” is facing the inside of the helmet (Fig.
17).
 Loading...