Customer Confidence 2
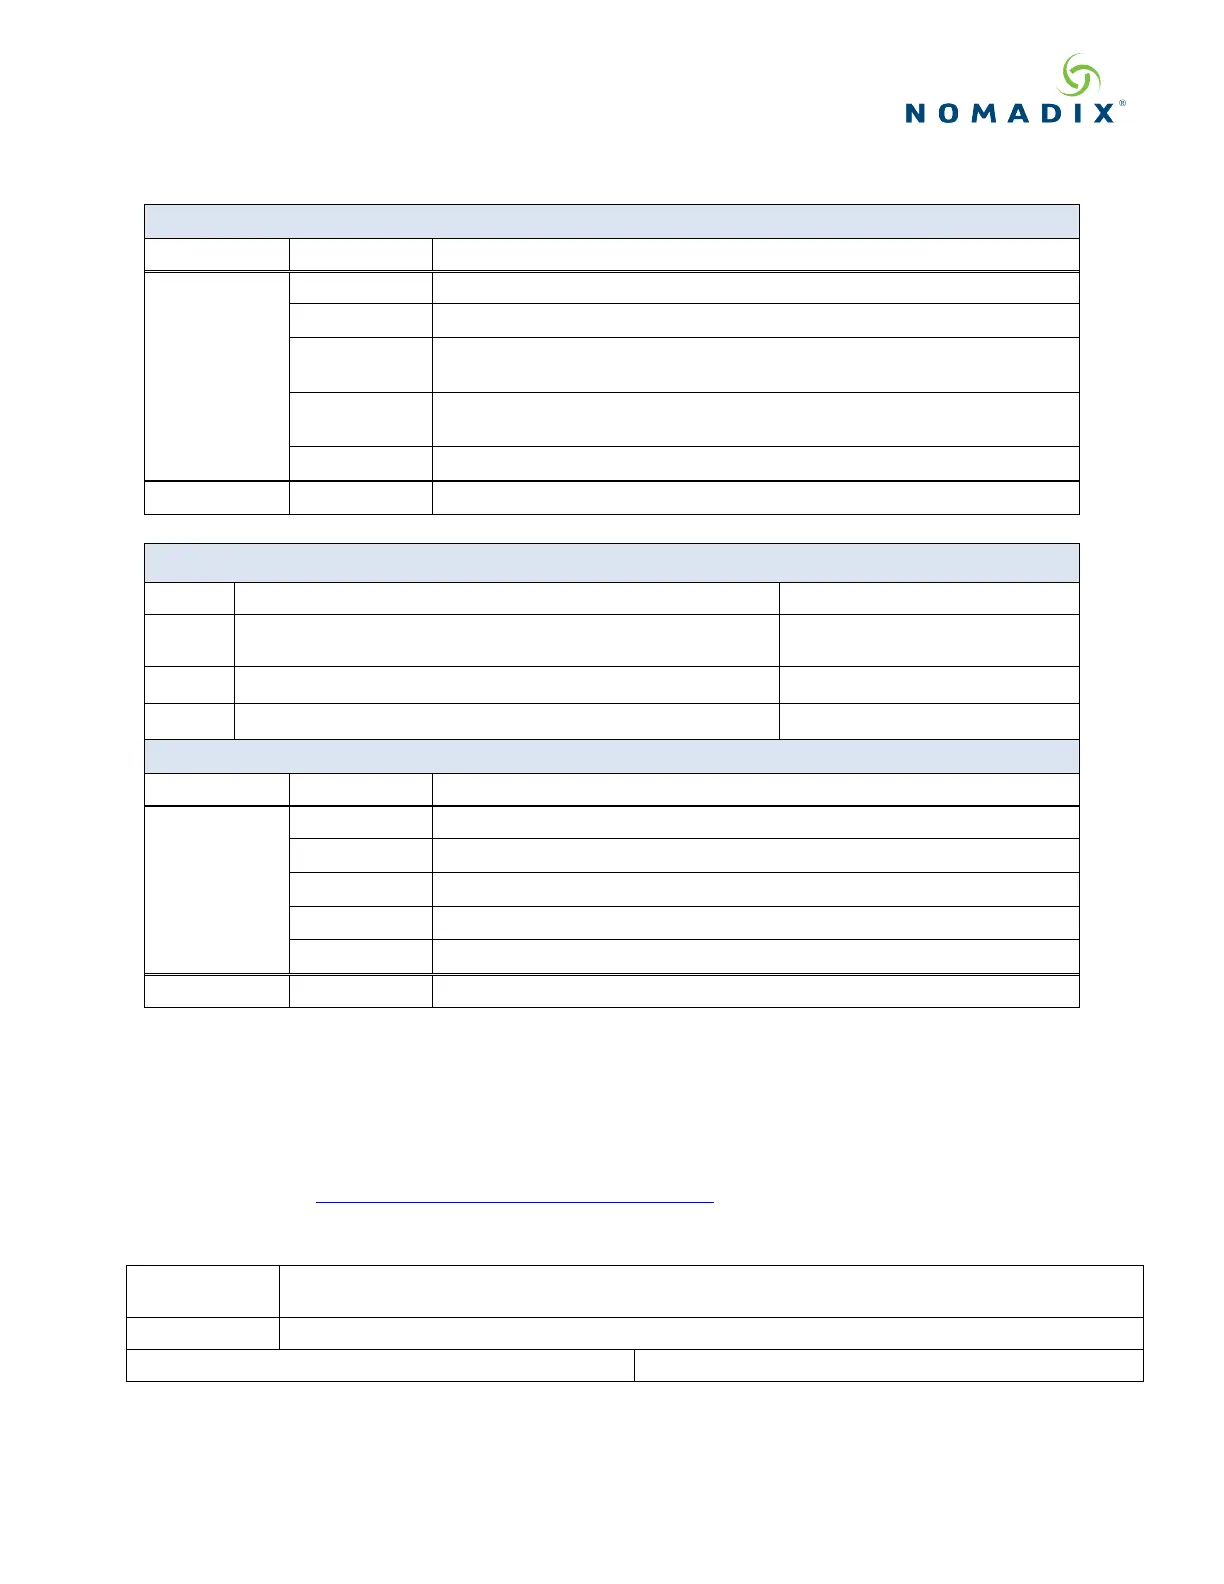
optional items available and sold separately
Country
Specific
Power Cables
Power Cord for AC Adapter - C5 to CEE 7/7 - 1.8m - EU/RU
Power Cord for AC Adapter - C5 to NEMA 5-15P - 1.8m - US/CA/MX/JP
Power Cord for AC Adapter - C5 to BS 1363-1/SASO 2203:2003 - 1.8m -
UK/IE/SG/HK/Arabia
Power Cord for AC Adapter - C5 to GB2099, AS/NZS 3112 - 1.8m -
CN/AU/NZ/AR
Power Cord for AC Adapter - C5 to SANS 164-3 - 1.8m - IN/ZA
EG-Series PMS Serial Interface Kit (Incl. cable and optical isolator)
Included with the EG 6000
Power Cord - C13 to NEMA 5-15P - 1.8m - US/CA/MX/JP
Other countries are sold
separately.
19” Rack Mount Brackets Kit and screws.
Bumper Kit for desktop installations.
optional Items available and sold separately
Country
Specific
Power Cables
Power Cord - C13 to CEE 7/7 - 1.8m - EU/RU
Power Cord - C13 to NEMA 5-15P - 1.8m - US/CA/MX/JP
Power Cord - C13 to BS 1363-1/SASO 2203:2003 - 1.8m - UK/IE/SG/HK/Arabia
Power Cord - C13 to GB2099, AS/NZS 3112 - 1.8m - CN/AU/NZ/AR
Power Cord - C13 to SABS 164-1 - 1.8m - IN/ZA
EG-Series PMS Serial Interface Kit
Installation
1. Unpack the Nomadix Edge Gateway and place the product on a flat and stable work
surface.
2. Register the Gateway for support services by completing and returning the Nomadix
Gateway Registration Form online at the following URL:
https://nomadix.com/product-registration/
3. Install the Edge Gateway into the 19” rack. (EG 3000 or EG 6000 only)
Install the Rack Mounting Flanges to each side of the EG 6000: using the (3) 6-32 flat head screws. Do not
over tighten.
Using (4) 10-32 rack mounting screws, position the EG 6000 in the rack and secure to the vertical rails.