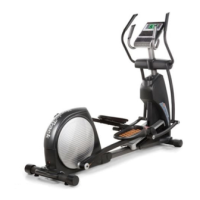
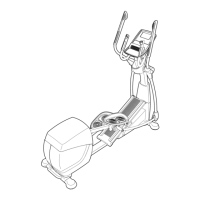
7
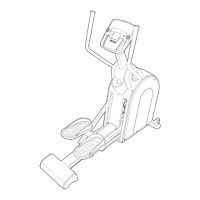
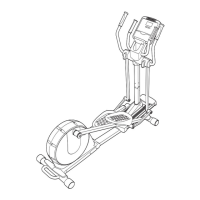
2. With the help of a second person, place some of
the packing materials (not shown) under the rear
of the Frame (1). Have the second person hold
the Frame to prevent it from tipping until you
complete this step.
If there are shipping supports attached to the
rear of the Frame (1), remove the screws from
the shipping supports, and discard the screws
and the shipping supports.
Next, attach the Rear Stabilizer (2) to the Frame
(1) with four M10 x 60mm Screws (90).
Then, remove the packing materials from under
the Frame (1).
2
1
2
90
90
ASSEMBLY
90
1
1. To register your product and activate your
warranty in the UK, go to iconsupport.eu. If you
do not have internet access, call Member Care
(see the front cover of this manual).
To register your product and activate your
warranty in Australia, email or post the
following information to the email address or
postal address on the front cover of this manual.
• your receipt (make sure to keep a copy)
• your name, address, and telephone number
• the model number, serial number, and name
of your product (see the front cover of this
manual)
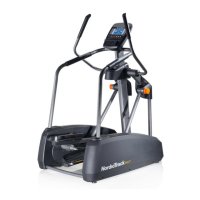
• Assembly requires two persons.
• Place all parts in a cleared area and remove the
packing materials. Do not dispose of the packing
materials until you nish all assembly steps.
• Left parts are marked “L” or “Left” and right parts
are marked “R” or “Right.”
• To identify small parts, see page 6.
• Assembly can be completed using the included
tools. Note: Keep the included tools. One or more
of the tools may be needed to make adjustments
in the future. To avoid damaging parts, do not use
power tools for assembly or adjustment.
 Loading...