E Series Automated Dispensing System
76 www.nordsonefd.com info@nordsonefd.com 800-556-3484 Sales and service of Nordson EFD dispensing systems are available worldwide.
Operation
After the system is installed and programmed, the only actions required from the operator are to switch on the
system, run the program for the workpiece, and shut down the system at the end of the work period.
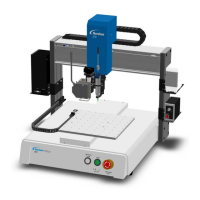
Starting the System for Routine Operation
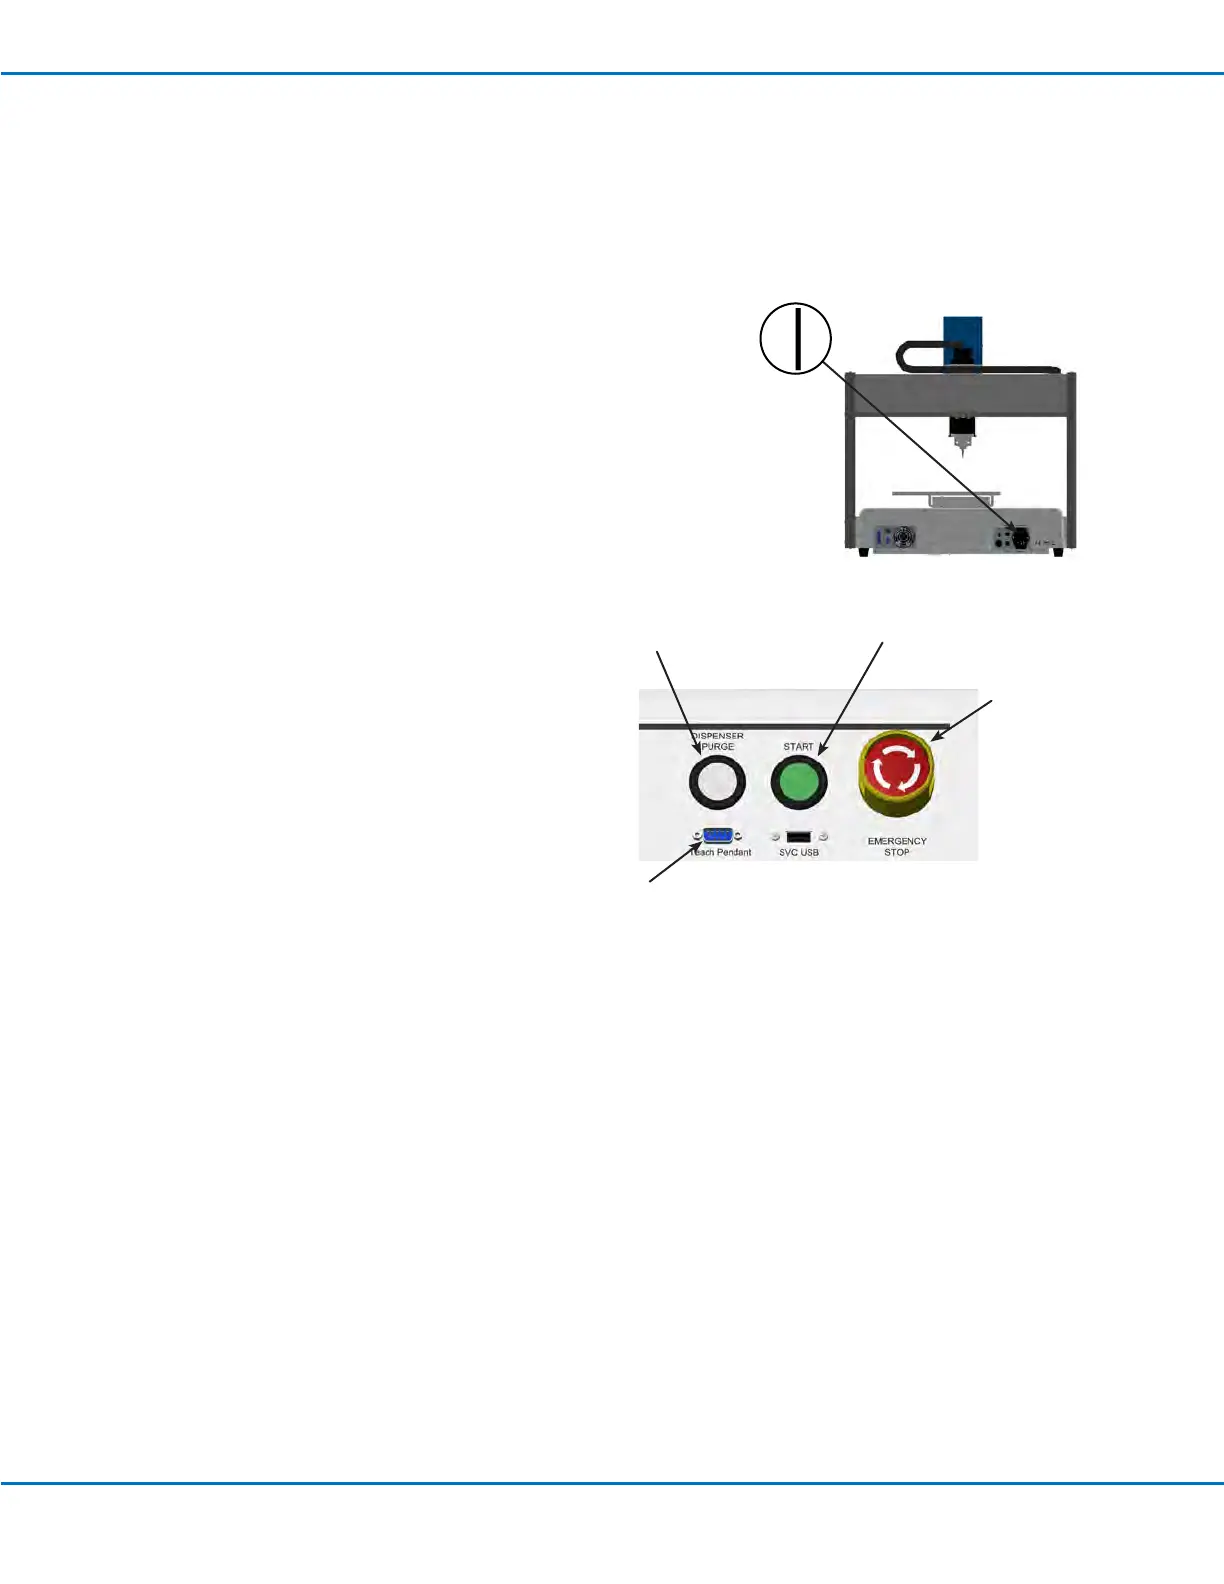
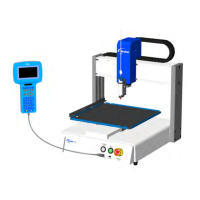
1. Connect the Teach Pendant to the Teach Pendant port on the front of
the robot.
2. Switch on the robot.
3. Enable the dispensing system, including the valve controller. Refer to
the dispensing equipment manuals as needed.
4. Open the dispensing program. Refer to “How to Open and Edit a
Program” on page45.
NOTE: To run a program by scanning a barcode, refer to “Running a
Program by Scanning a Barcode” below.
5. Properly position the workpiece on the xture plate.
6. Press the START button on the front of the robot.
7. When necessary, refer to the
dispensing system manuals to rell
the dispenser.
8. If an emergency occurs, press the
EMERGENCY STOP button.
NOTE: When the EMERGENCY
STOP button is pressed, the robot
moves to the home position (0, 0, 0).
EMERGENCY STOP
button
START button
DISPENSER
PURGE button
Teach Pendant port
Running a Program by Scanning a Barcode
PREREQUISITES
A barcode scanner is connected to the SVC USB port on the front of the robot.
The program to be used for barcode scanning has been created and is named.
A barcode with the program name embedded in it has been generated.
Barcode scanning is enabled. Refer to “Setting Up Barcode Scanning” on page42.
The system is in the Run Mode. Refer to “How to Switch from Run Mode to Teach Mode” on page44.
1. Position the workpiece on the xture plate.
2. Use the barcode reader to scan the barcode for the dispense program to be run.
The system opens and runs the program.