Installation
A1-14
E 2000 Nordson Corporation
All rights reserved
41-3000V
Issued 5/00
A3EN-04-[3V-A-AAXP]-12
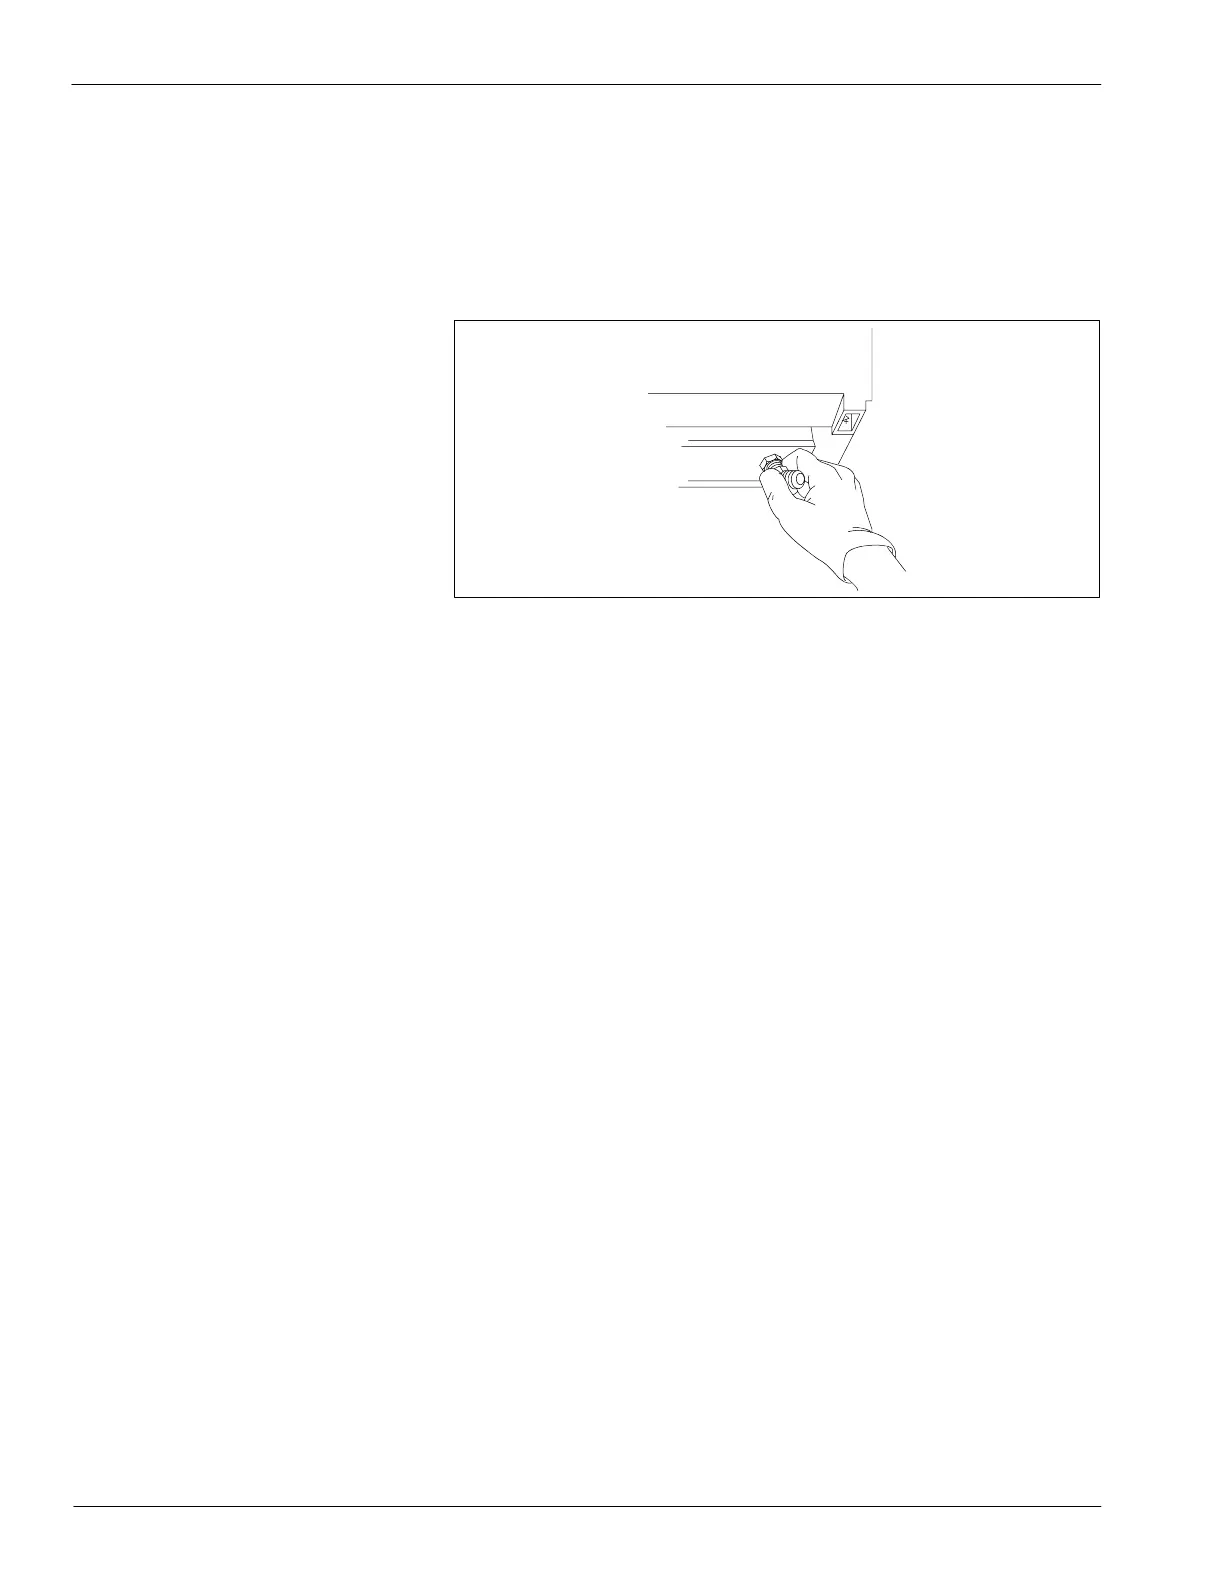
5. Remove the O-ring plug from the hose port where you plan to install
the first hose. Keep the O-ring plug for later use during maintenance
and servicing procedures.
6. See Figure A 1-9. Take one of the hose-connector fittings that was
shipped with the unit and apply an anti-seize compound to the
threads. Thread the fitting into the hose port.
4103398A
Fig. A 1 -9 Threading the Hose Connector Fitting into the Hose Port
7. Tighten the fitting with a wrench.
8. Connect a hose to the gun fitting. Use two wrenches to tighten the
hose as shown in Figure A 1-8.
9. Install any additional hoses by repeating steps 4--8. Be sure to
connect a second hose next to the first, working from right to left.
Depending upon your unit, you can connect a maximum of four or six
hoses this way.
a
g
o
e
(contd.)

 Loading...


