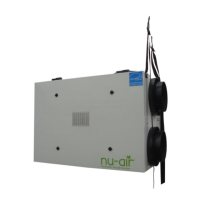
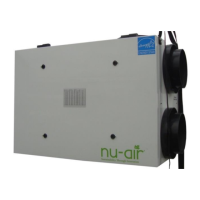
Nu-Air Ventilation Systems Inc. - HRV Operating & Installation Manual
Rev. 2.3 Aug. 19, 2014 - 24 -
10.15. DSTAT-1 Control Wiring
Connect 2-conductor wire to the 24V (10-wire) removable terminal block.
10.16. WIN-1 Control Wiring
Connect 4-conductor wire to the 24V (10-wire) removable terminal block.
Notes:
1. WIN-1 can be combined with ES Series controls or up to 6 WIN-20 controls.
UNIT 24 VAC REMOVABLE TERMINAL
BLOCK
Choose from the following operating modes:
1. Off
2. Standby
3. Continuous low speed
4. Intermittent high speed
5. Continuous high speed (CONSTANT)
For intermittent high speed operation, connect Nu-Air PN DSTAT-1
to R and Hi terminals.
For continuous low speed, connect jumper wire to R and LO
terminals.
For two-wire switching, and where local building regulations permit,
Nu-Air recommends a jumper wire between R and SB to engage the
unit in standby mode when intermittent operation is desired.
*It is not necessary to connect jumper wires R-SB and R-LO (low
speed overrides standby).
UNIT 24 VAC REMOVABLE TERMINAL BLOCK
 Loading...