nuwavenow.com | 7
ASSEMBLY GUIDE
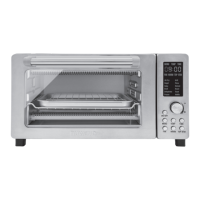
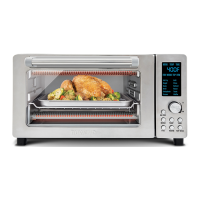
Parts
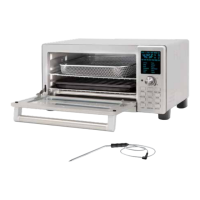
Cooking Rack
or
Baking Pan
Slot 1
Slot 2
Air Fry Basket
1. Place the Bravo on a level, even, and
stable heat-resistant surface.
2. Slide the Cooking Rack into either Slot
1 or 2 of the Bravo.
3. Place Baking Pan on Cooking Rack.
4. Place Crumb Tray into position by
sliding it into slot at bottom of oven. To
remove, pull out.
5. Plug the Bravo into a standard wall
socket. The power plug is located in
the rear of the Bravo.
Note:
DO NOT cover or block the intake air
vents located in the back and sides of the
Bravo, as doing so can prevent proper
ventilation.
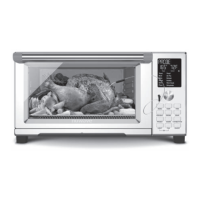
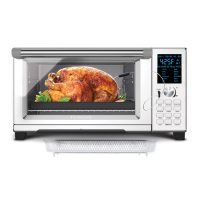
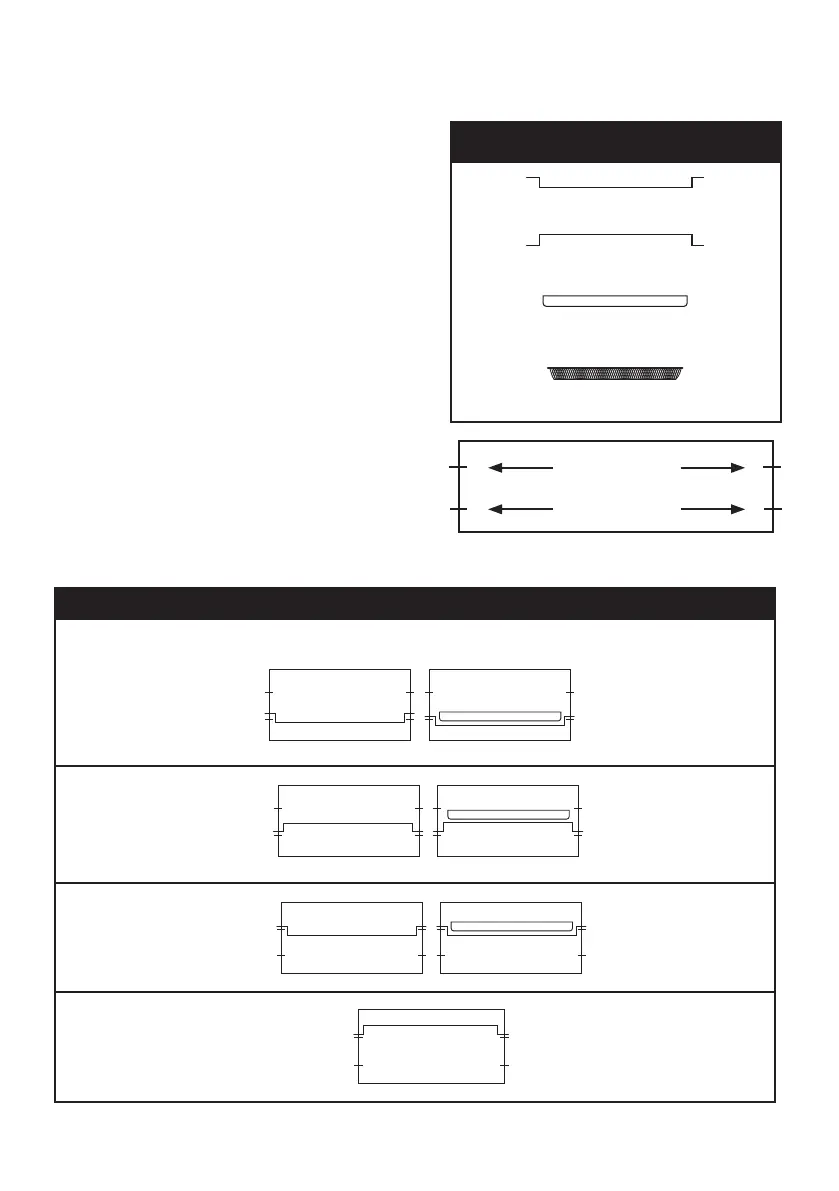
Oven Rack and Pan Positions
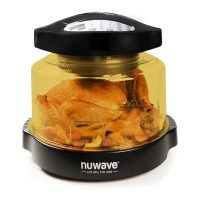
Position 1: For chicken or other large items (with Baking Pan) as shown.
Position 2:
Position 3:
Position 4: Dehydrating only