4 | nVent.com
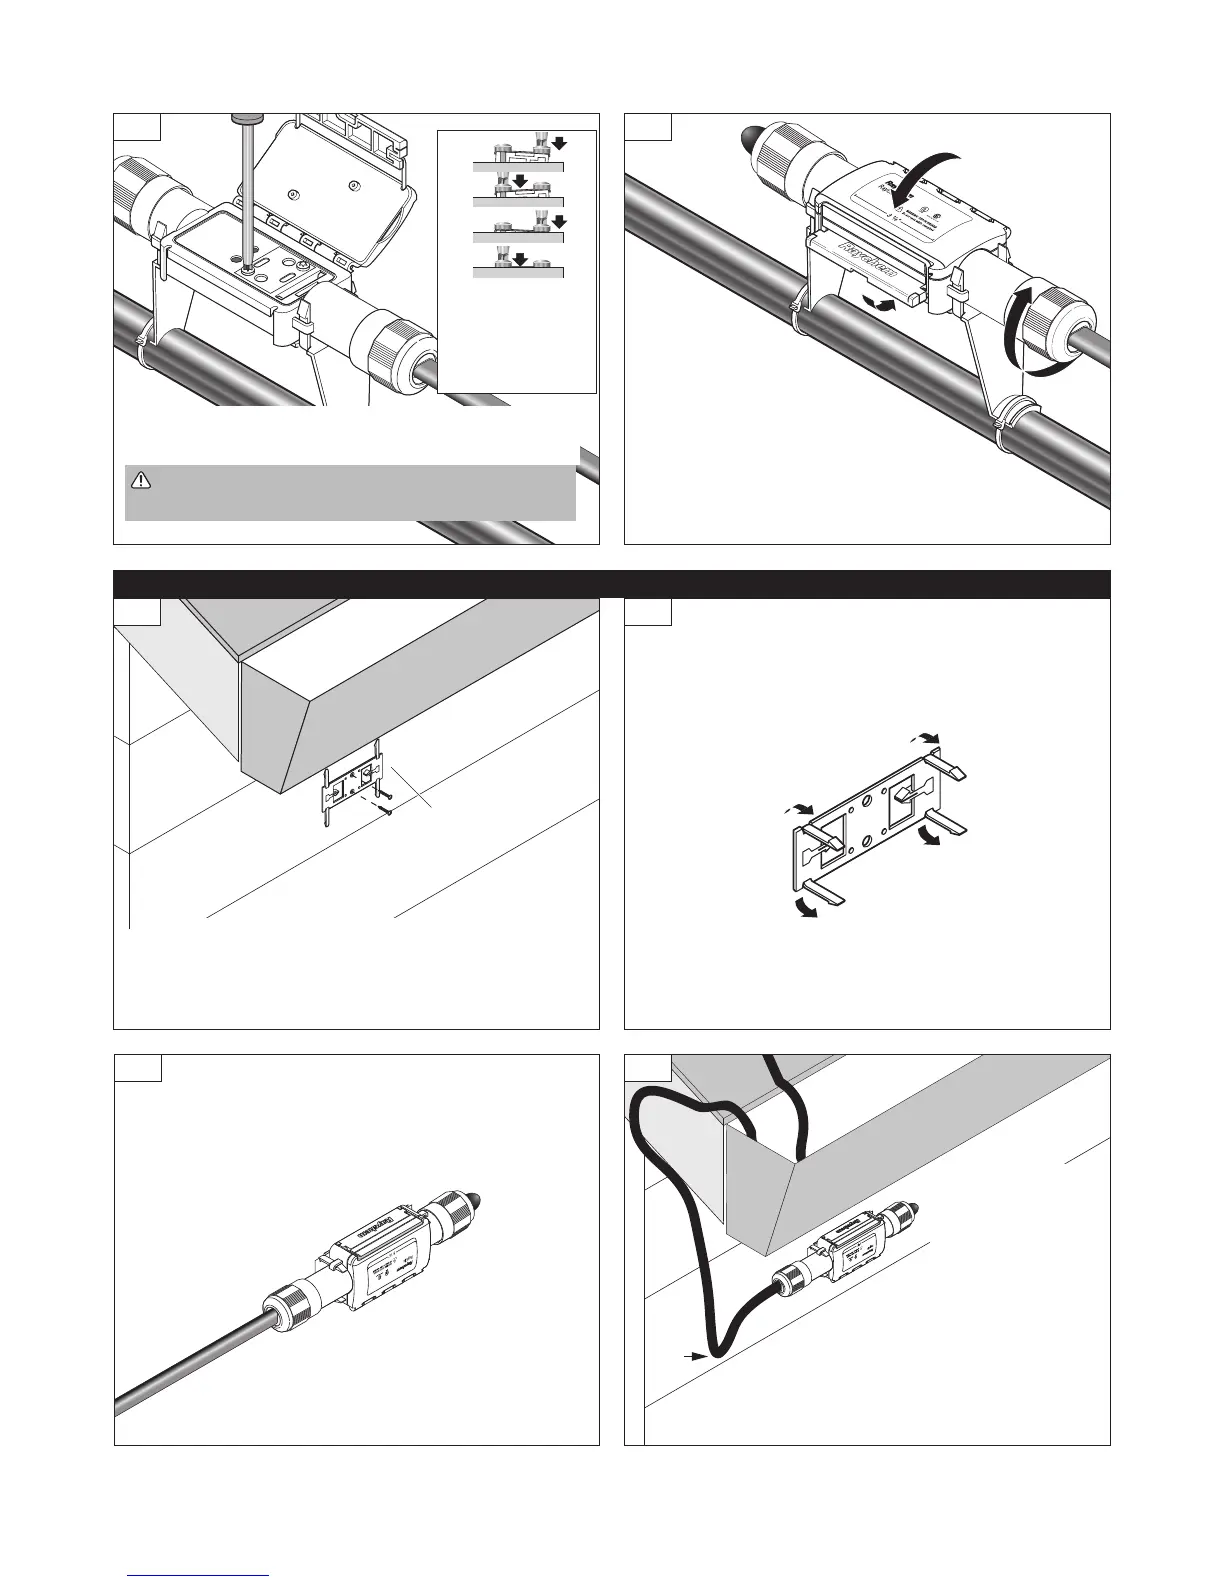
Tighten the screws
until the metal top
surface is at the
same height as the
inner clear plastic
module.
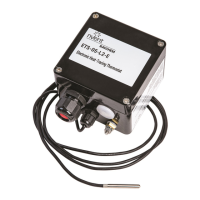
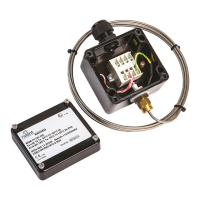
RayClic-SB-02
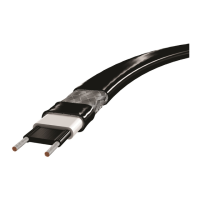
Drip
loop
9
1
3 4
10
2
• Securely tighten the two connection screws, alternating
as they are being tightened.
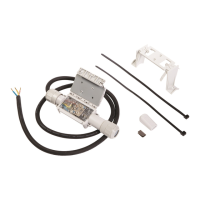
• Mount flat (wall mounting) bracket under eaves by
installing screws through the center holes.
Do not mount in gutter or where it may be immersed in water.
• Connect heating cable as detailed in steps 3 through 9
(pages 2–4).
• Close the lid and
snap the lever shut.
Do not force lid closed; if
lid does not close, check the
connection to ensure all screws are
fully tightened.
• Tighten the nuts on the heating cable entries
until grommets are compressed.
• Position attachment clips on mounting bracket as shown.
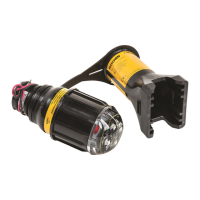
• Attach the
connector to the
mounting bracket
by pressing until it
snaps in place.
• Complete heating
cable installation
and install a drip
loop as shown.
• Protect heating
cable from sharp
edges.
Roof Installation
WARNING: Fire hazard. Loose screws can cause
excessive heating. Be sure screws are fully tightened.