3. Remove the remaining screws on the back of the card.
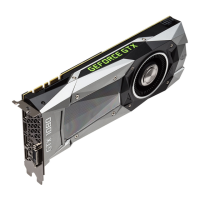
(a) For Founders Edition models (#A), use a Phillips #1 screwdriver to remove the 4 spring screws and a 4mm Hex
driver to remove the remaining 14 standoff screws circled below. This will allow the thermal module to be removed.
Carefully set these aside, as these screws will not be used again.
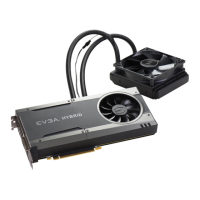
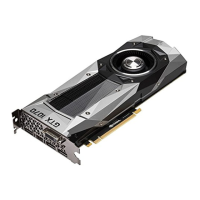
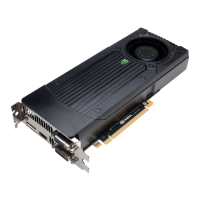
(b) For EVGA Blower models and all iCX models (#B,#C,#D), use a Phillips #1 screwdriver to remove the 4 spring
screws circled below. This allows the thermal module to be removed. Carefully set these aside, as these screws will
not be used again.
4. Remove heatsink and fan, while carefully disconnecting fan and LED connectors.
(a) For all cards, carefully remove the original heatsink and fan. You may need to gently twist the thermal module to
loosen up the heatsink from the thermal pads and GPU thermal grease. Once loose, gently lift the side of the
heatsink to expose the fan and LED wires/headers. Depending on your card model, you may have up to 2x fan
headers and 1 x LED header.
(b) Please be careful when removing the fan and LED headers; the wires can snap if pulled too hard. The safest way
to remove the connectors is with a small flat-head screwdriver, tweezers, or fingernails to raise the edge of the
headers a little at a time. It is recommended to remove the LED header (left circle) before removing any fan headers
(right circle). After removing the headers, set aside the heatsink/fan; it will no longer be needed for this Kit.
 Loading...