Too warm / too humidComfortableToo cold / too dry
Northern hemisphere Southern hemisphere
Weak signalStrong signal tsol langiSgnihcraes langiSNo sensor
WIRELESS SIGNAL RECEPTION
The sensor is capable of transmitting data wirelessly over an approximate operating of 150m
range (line of sight).
Occasionally, due to intermittent physical obstructions or other environmental interference, the signal
may be weaken or lost.
In the case that the sensor signal is lost completely, you will need to relocate the Display main unit or the
wireless sensor.
TEMPERATURE & HUMIDITY
Comfort Indication
The comfort indication is a pictorial indication based on indoor air temperature and humidity in an attempt
to determine comfort level.
Note:
1. Comfort indication can vary under the same temperature, depending on the humidity.
2. There is no comfort Indication when temperature is below 0°C (32°F) or over 60°C (140°F).
DATA CLEARING
During installation of the wireless sensor, the sensors were likely to be triggered, resulting in erroneous
rainfall and wind measurements. After the installation, user may clear out all the erroneous data from the Display
Main Unit, without needing to reset the clock and re-establish pairing.
Simply press and hold the [HISTORY] button for 10 seconds. This will clear out any data recorded before.
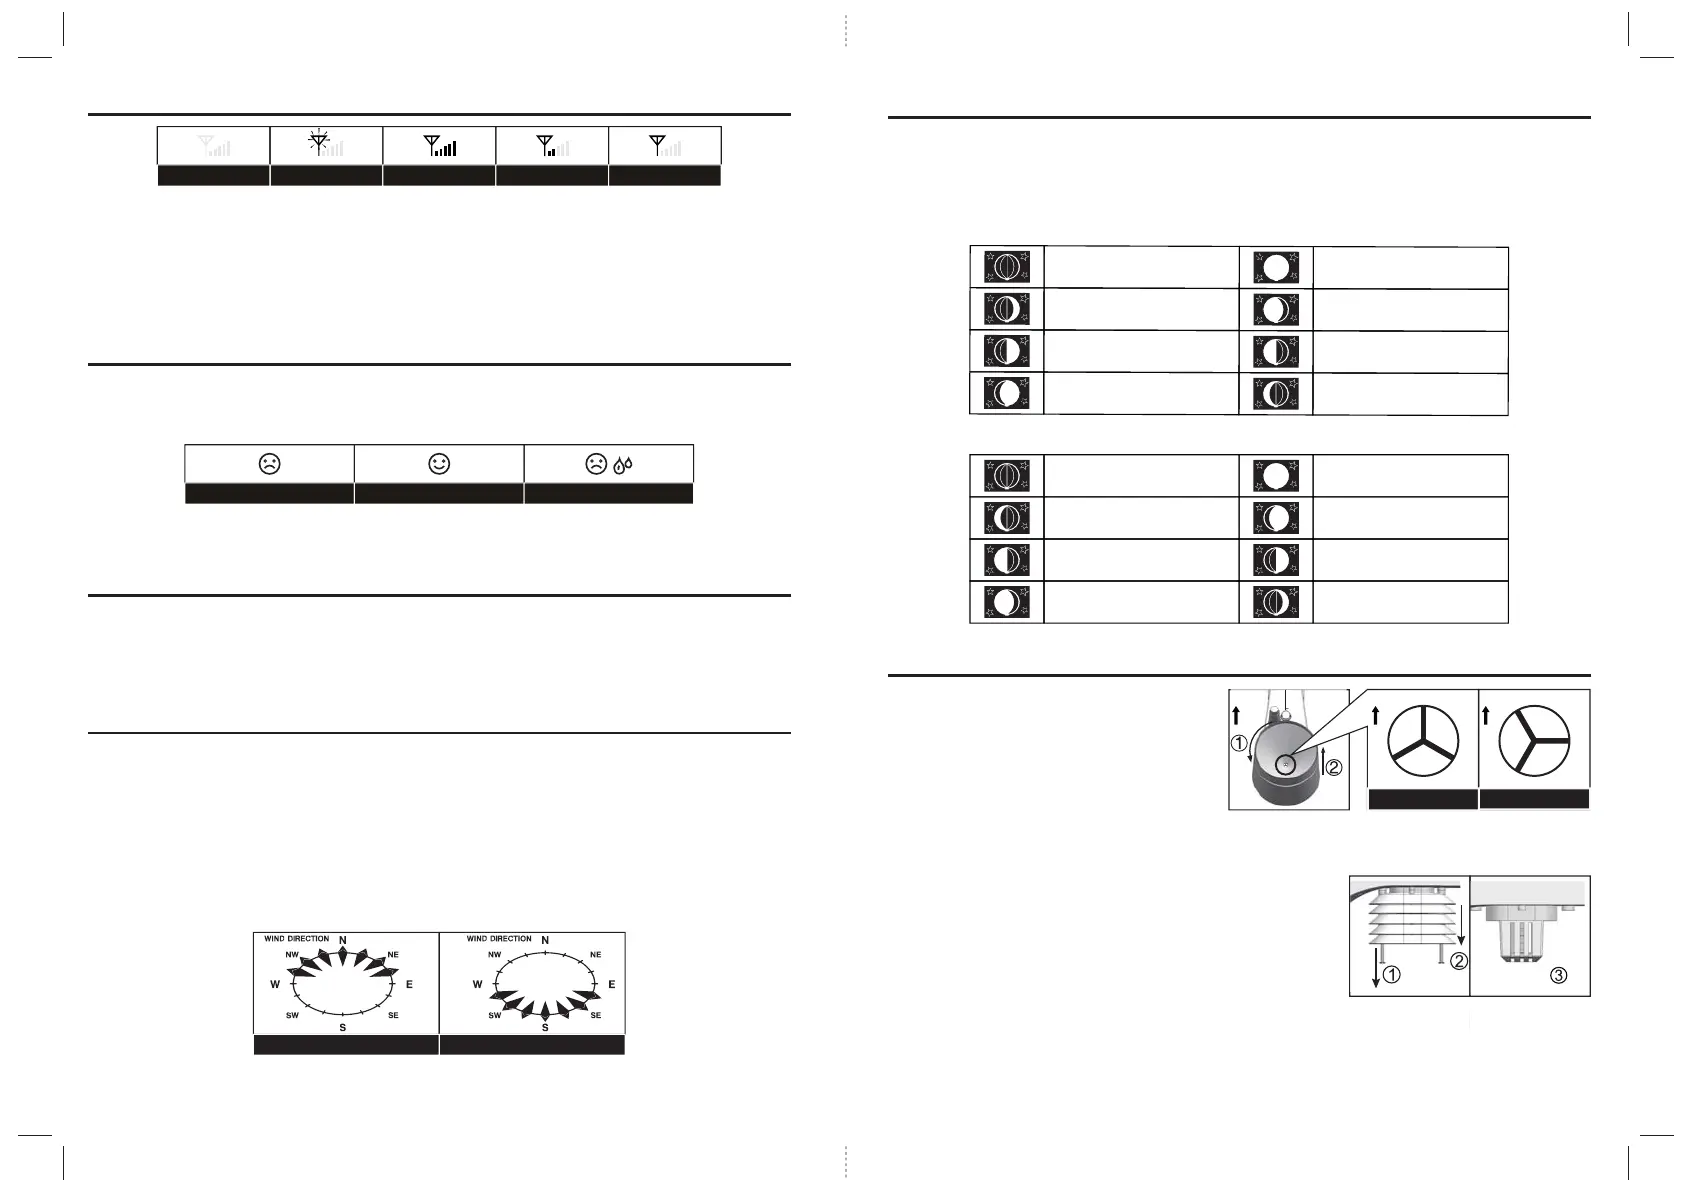
POINTING SENSOR TO THE SOUTH
The outdoor sensor is calibrated to be pointing to North by default. However, in some cases, users
may wish to install the product with the arrow pointing towards the South, especially for people living in
the Southern hemisphere (e.g. Australia, New Zealand).
1. First install the outdoor sensor with its arrow pointing to the South. (Please refer to Installation
session for mounting details)
2. On the Display main unit, press and hold [WIND] button for 8 seconds until the upper part (Northern
Hemisphere) of the compass lights up and blinking.
3. Use [UP] / [DOWN] to change to lower part (Southern Hemisphere).
4. Press [WIND] button to confirm and exit.
Note: Changing from hemisphere setting will automatically switch the direction of the moon phase on the display.
15
nooM weN
tnecserC gnixaW
retrauq tsriF
suobbiG gnixaW
nooM lluF
suobbiG gninaW
retrauq drihT
tnecserC gninaW
New Moon
Waxing Crescent
First quarter
Waxing Gibbous
Full Moon
Waning Gibbous
Third quarter
Waning Crescent
N
N
“Unlock” Position
“Lock” Position
N
N
ABOUT THE MOON PHASE
In the Northern hemisphere, the moon waxes (the part of the moon we see that glows after the New Moon)
from the right. Hence the sun-lit area of the moon moves from right to left in the Northern Hemisphere,
while in the Southern Hemisphere, it moves from left to right.
Below are the 2 tables which illustrate how the moon will appear on the main unit.
Northern hemisphere:
Southern hemisphere:
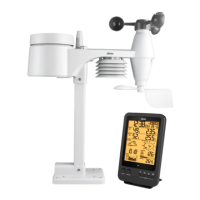
MAINTENANCE
To clean the rain collector
1. Rotate the rain collector by 30° anticlockwise.
2. Gently remove the rain collector.
3. Clean and remove any debris or insects.
4.
Install all the parts when they are fully clean and dried.
To clean the Thermo / Hygro sensor
1. Unscrew the 2 screws at the bottom of the radiation shield.
2. Gently pull out the shield.
3. Remove carefully any dirt or insects inside the sensor casing
(Do not let the sensors inside get wet).
4. Clean the shield with water and remove any dirt or insects.
5. Install all the parts back when they are fully clean and dried.
16