Tape measure
Top quality adhesive/ sealer
Check what is suitable for the
roof of your particular vehicle.
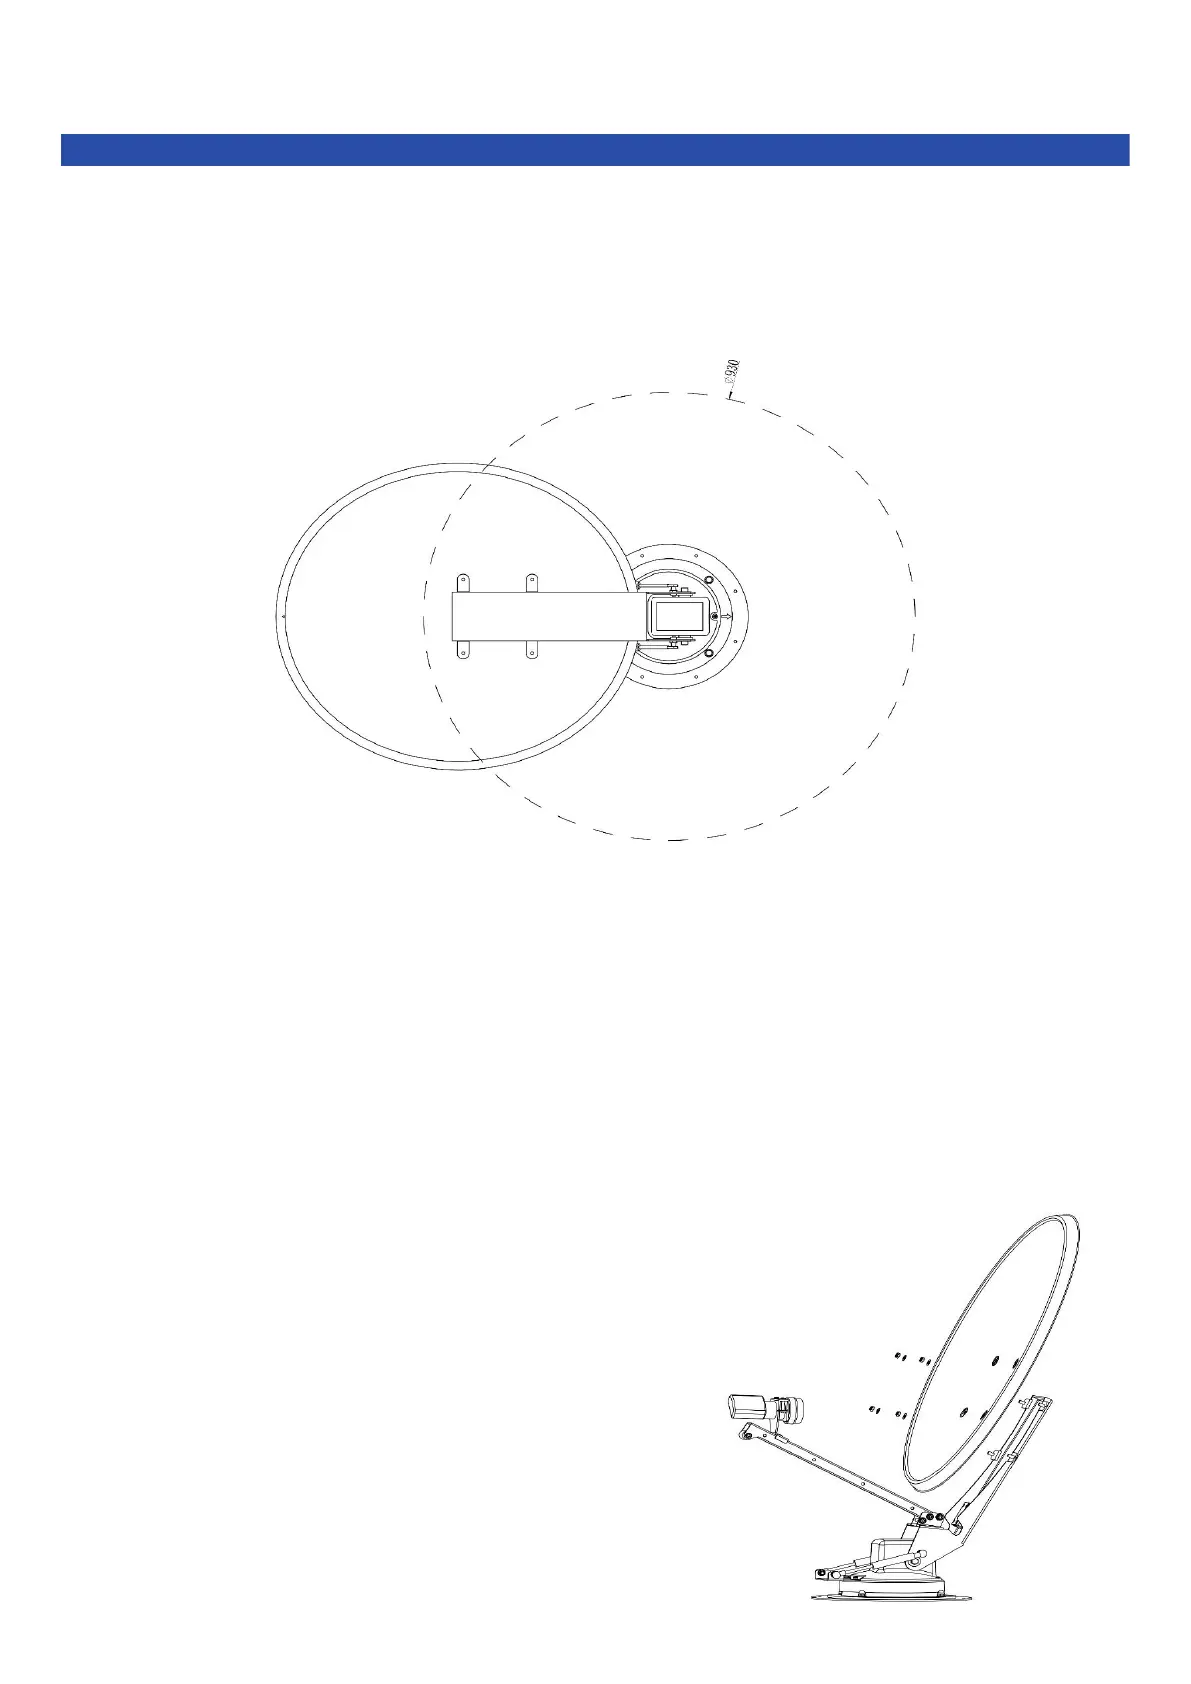
STEP 1. Determine a suitable position on the roof of your vehicle by measuring and using the dimensions and
template provided. (Roof surface and ceiling surface must be parallel to each other and also a flat surface
for ease of operation and installation).
STEP 2. Drill a 38mm diameter hole through the roof once you have confirmed where you will mount this item.
NB: Be careful not to drill through existing wiring, plumbing or other essential items within your vehicle.
We highly recommend the dish be mounted on the centre-line of the roof, however this is not essential.
STEP 3. Attach dish to main unit (Fig F).
STEP 4. Mount dish on roof in upright position then rotate
so that the dish is facing the rear of the vehicle.
Fig F
NB: Dish will point towards the back of vehicle when in the
Park/Travel position. Secure to roof using screws provided.