43
About Tiny 2
OBSBOT Tiny 2 is an AI-powered PTZ webcam equipped with a two-axis gimbal. It
further innovates the algorithm technology, adds a variety of intelligent shooting
modes, and is supplemented by a variety of gesture control and voice control
functions to meet users’ needs from different scenarios.
OBSBOT Tiny 2 is connected to the computer via USB, plug and play. It also comes
with OBSBOT WebCam software to expand more advanced functions.
⚠ Connecting Suggestions: USB 3.0 Port
If the following phenomena occur when using the OBSBOT Tiny 2 for the first time:
screen delay/lag/flash, device automatic reset and restart, your Tiny 2 may be
connected to a USB 2.0 port. Please switch to a USB 3.0 port to ensure normal
operation.
⚠ System Requirements
Windows 7, Windows 8, Windows 10 or later
macOS 10.13 or later
7th Gen Intel® Core™ i5 or later
⚠ Recommended for 1080p 60fps and 4K
Recommended Apple computers:
① MacBook Pro (2018, 8th Gen Intel® Core™ i5 Processors or later)
② MacBook Air (2018, 8th Gen Intel® Core™ i5 Processors or later)
③ iMac Retina (2019, 8th Gen Intel® Core™ i5 Processors or later)
Recommended PC configuration:
① CPU: 7th Gen Intel® Core™ i5 Processors or later
② RAM: 8GB
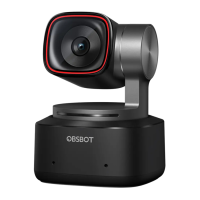
OBSBOT Tiny 2 Overview
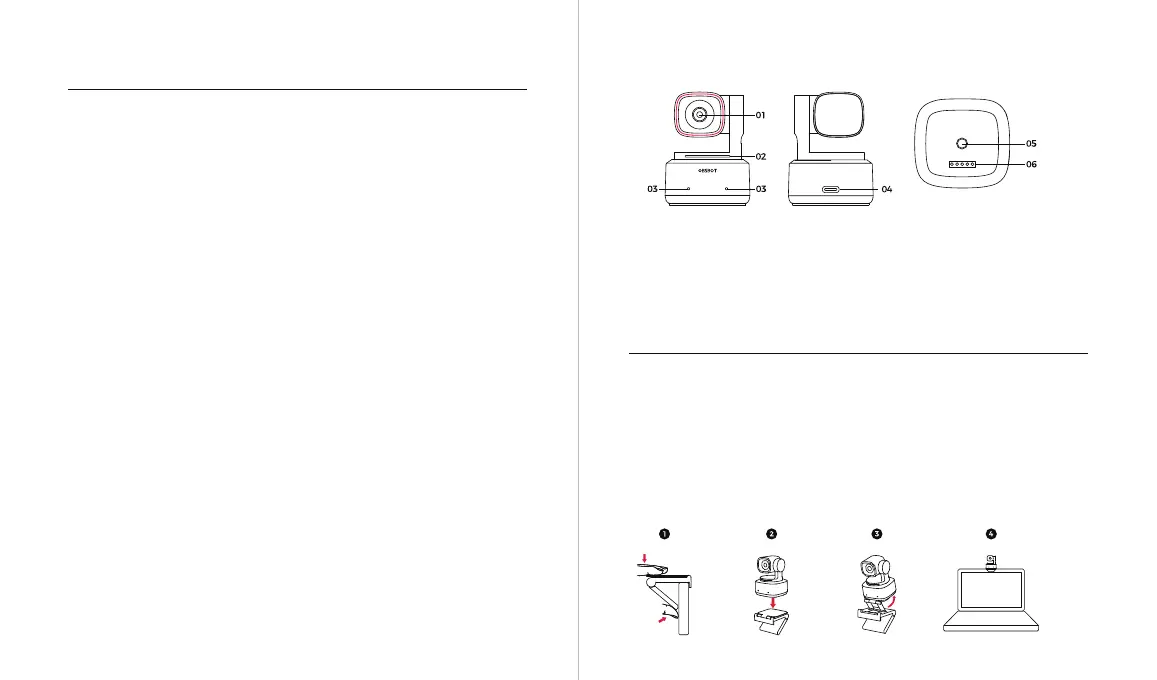
Placement Instructions
1. Placement on a Monitor
Please operate as shown in the following figure:
① Open the adjustable stand and place it on the monitor.
② Put OBSBOT Tiny 2 on the adjustable stand.
③ Adjust the camera to the best viewfinder position by tilting the camera properly
as needed.
Setting Up Tiny 2
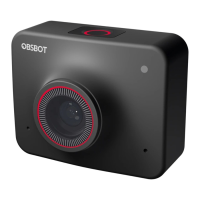
Parts Info
1. 4K Ultra HD lens
2. Camera Indicator
3. Dual Microphones
4. USB-C Port
5. UNC 1/4-20 Interface
6. Extension Port