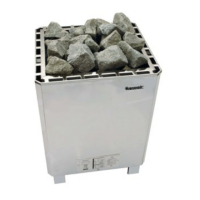
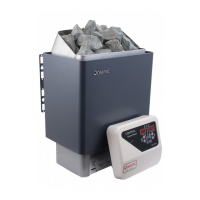
Oceanic Sauna Heater
11
2. Installation for sauna heater
• Refer the installation drawing fig 7A, 7B, Fix screws and hang sauna heater on wall
• Remove the cover panel & connect power supply wire & control cable through the knock-out holes to
the Terminal as per fig 8 and replace the cover panel.
3.Installation for controller
• Controller should be installed on the outside dry wall
• Fix a screw at 1200-1500 mm high on the wall outside wall of the sauna cabin leaving approximately
3mm protruding. Fix retaining screws through 2 of the round holes.
• Remove the screw on the base of controller & open the cover, remove the knock out for the control
wire entry.
• Locate the hole of controller on to the protruding screw, then fix in place using 2 further screws through
the holes in the back of the control box directly into the sauna cabin wall.
• Connect the wires in accordance with the drawing and ensure all connections are tightly fastened.
• Replace the cover and fasten.
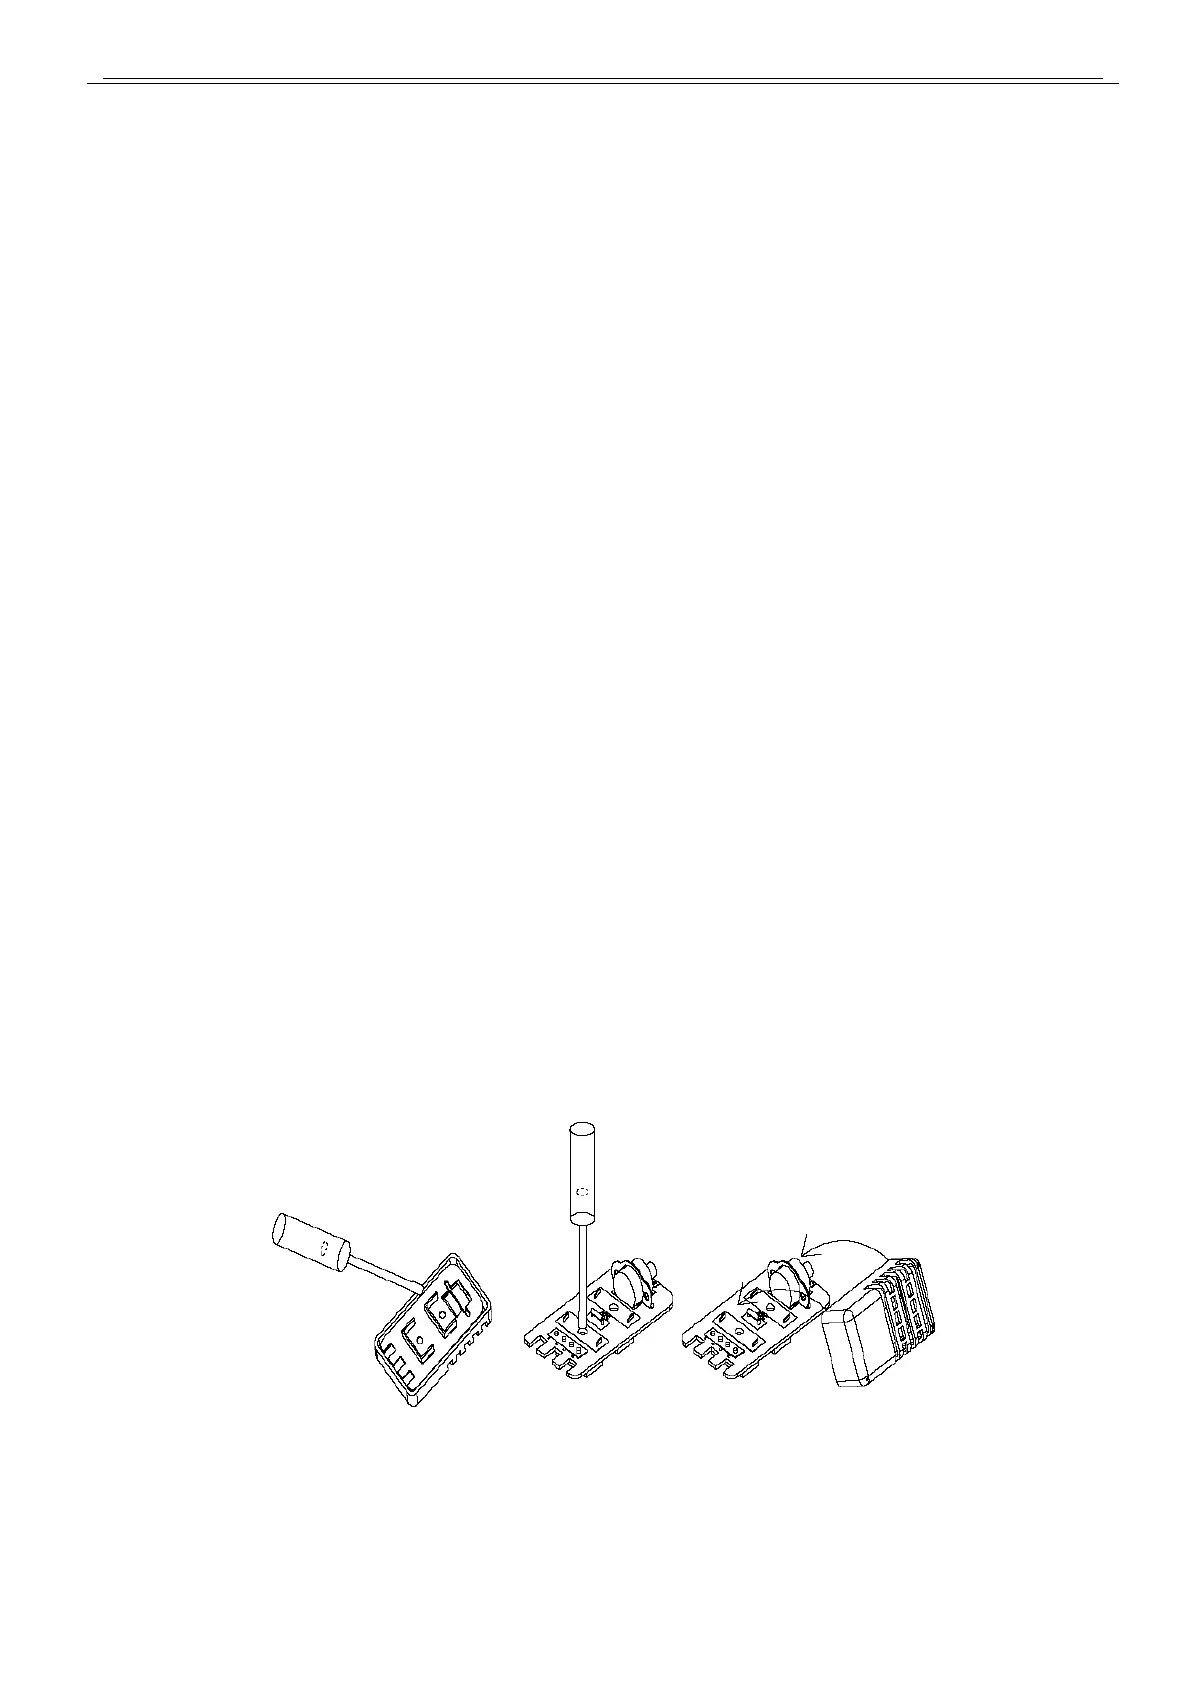
4. Installation for Temp sensor (fig 9)
• Install the temperature sensor on the height between 1500-1800MM in sauna room
• Open the cover with a screwdriver
• Fix the bottom of the temperature sensor on to wall with screw
• Replace the cover.
(Fig 9)
 Loading...