2
34
5
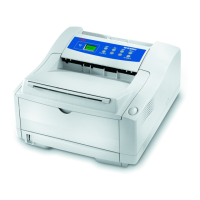
B4100 Software
Installation Guide
Before you use your printer, you must set up the hardware
and install the printer software:
• Have a USB interface cable available.
• Set up the printer using the enclosed setup
diagram.
• Install the software following instructions in this
guide.
• See the online User’s Guide for more information
about your printer.
Install the Printer Driver
1. Make sure the USB cable is connected to your printer
and PC and your printer is turned OFF.
2. Insert the driver CD supplied with your printer into your
CD-ROM drive. The CD will autorun. (If it doesn’t, click
Start → Run → Browse. Browse to your CD-ROM
drive and double-click Install.exe, click OK.)
3. The License Agreement appears. Click Next if you
accept the terms.
4. Select your language.
5. Select the printer model. Click Continue.
6. The Software Installation screen appears. Click the
Printer Driver Installer button.
7. Click Local printer. Click Next.
8. Select USB port. Click Next.
9. Printer model displays. Click Next.
10. If prompted, type a printer name for your printer. Click
Next.
11. If prompted, select “do not share this printer” Click
Next.
12. Drivers are copied. Connect cable message may
appear.
13. Switch the printer ON.
14. Click Finish to complete the driver installation.
15. If Connect cable screen is open, click Finish to close it.
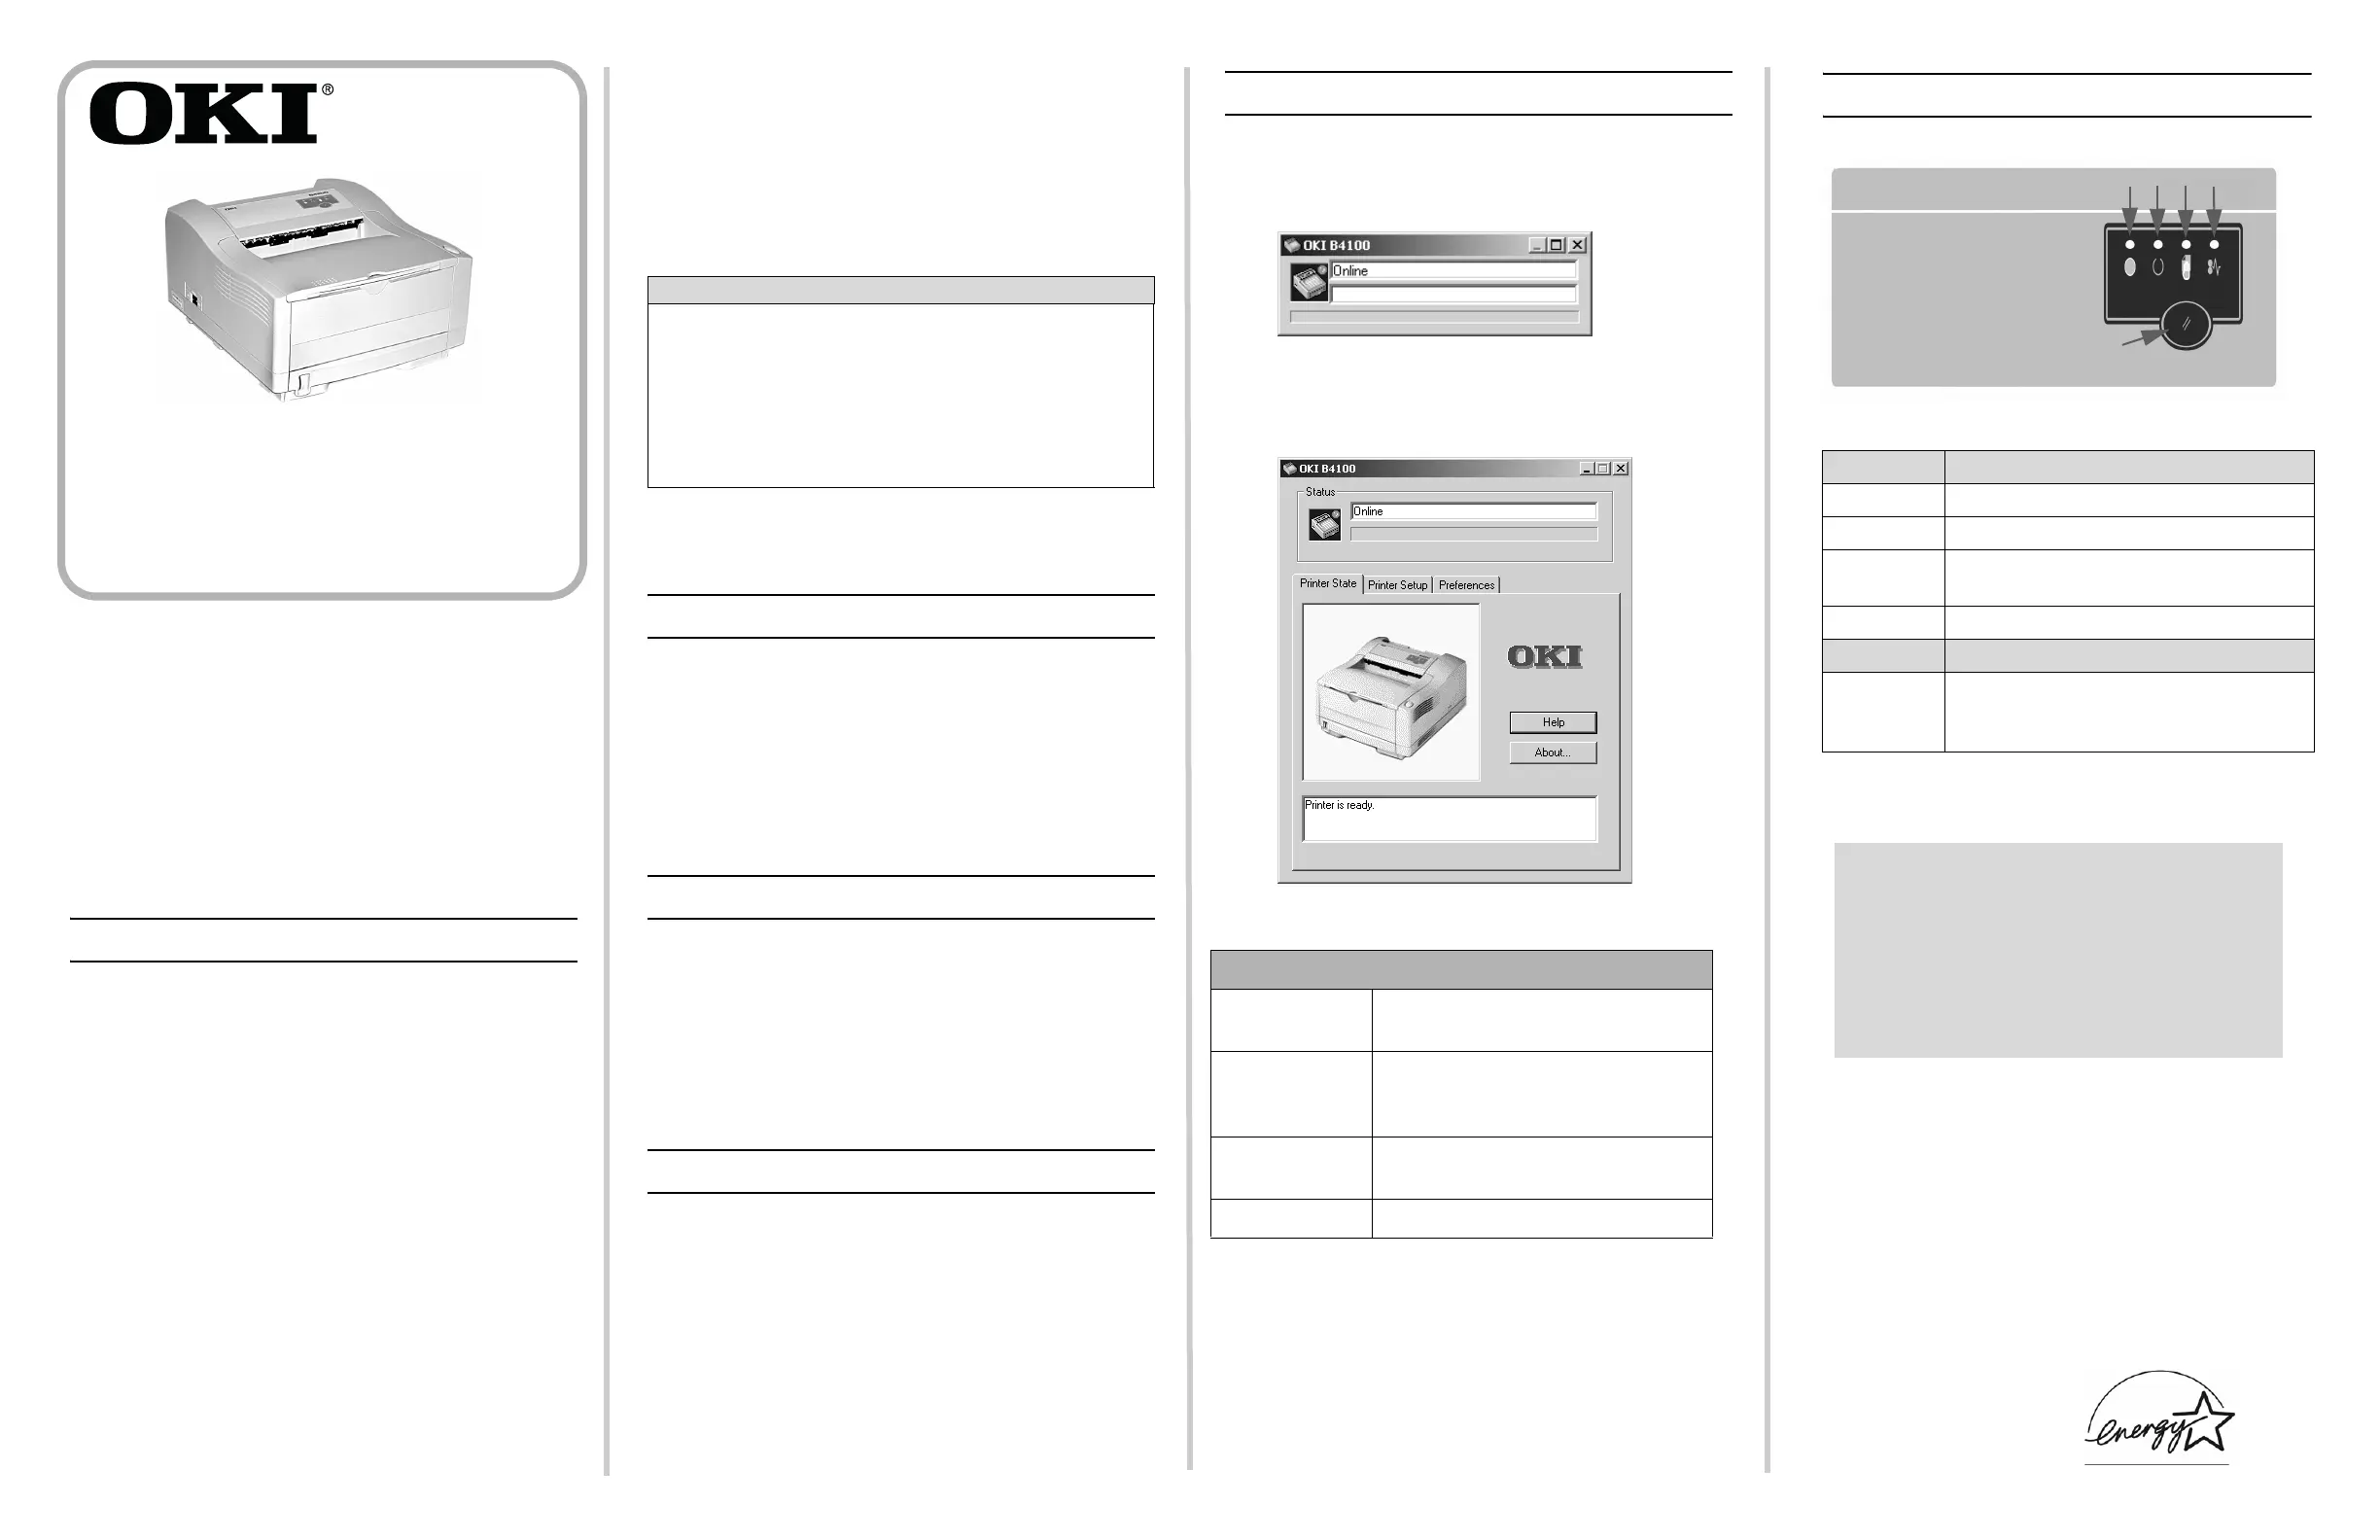
B. Install the Printer Status Monitor
The Status Monitor monitors your printer and provides an
on-screen operator panel.
1. Click the Status Monitor Installer button on the
Software Installation screen.
2. InstallShield Wizard appears. Click Next
3. Follow the on-screen instructions to complete the
installation.
Install the On-Line User’s Guide
In order to open the on-line User’s Guide, you must have
Acrobat Reader installed.
1. From the Software Installation screen, click the
Documentation button.
2. Click the Install User’s Guide button.
3. Follow the on-screen instructions.
Print a Test Page
1. From Windows
©
desktop, click Start →Settings→
Printers (and Faxes).
2. Right-click the OKI B4100 icon.
3. Click Properties.
4. Click the General Tab.
5. Click the Print Test Page button.
Open the Status Monitor
1. From Windows
©
desktop, click Start →Programs→
Okidata→ OKIB4100→ OKIB4100Status Monitor.
The Status Monitor displays the current printer status.
2. Click the maximize button to expand the view to
include the Printer State, Setup and Preferences
tabs.
NOTE
If New Hardware Found Wizard displays:
Win 98: Select “Search for the best driver for your device”.
Click Next. Select CD-ROM drive, clear other choices.
Click Next twice.
Win XP and Win Me: Select “Automatic Search for a
better driver.” Click Next.
59361901
Copyright 2004 by Oki Data Americas, Inc.
Oki Data Americas, Inc., 2000 Bishops Gate Blvd., Mt. Laurel, NJ 08054
http://www.okidata.com 1-800-OKI-DATA (1-800-654-3282)
OKI and Oki Data are registered trademarks of Oki Electric Industry Company,
Ltd. Windows, Windows NT and DOS are either registered trademarks or
trademarks of Microsoft Corporation in the United States and/or other countries.
As an Energy Star Program participant,
the manufacturer has determined that this
product meets the Energy Star guidelines
for energy efficiency.
If you need further assistance:
• See our web site: http://my.okidata.com
• In the U.S. and Canada, Call:
1-800-OKI-DATA (1-800-654-3282)
24 hours a day, 7 days a week.
STATUS MONITOR TABS
Printer State: Displays real-time printer status and
operations.
Printer Setup: Click on the Printer Menu button on
this tab page to setup your printing
specifications.
Preferences: Set the appearance and response of
the status monitor display.
Help Button: Provides detailed help.
Front Panel Operations
LEDS
(1) Power Indicates power is on.
(2) Ready Printer is ready to receive data.
(3) Manual
Feed
Printer is requesting manual paper feed.
(4) Error Error condition is present.
BUTTON
(5) Control Turn printer on-line/off-line.
Resume printing after an error condition.
Interrupt/resume data processing.
1
 Loading...