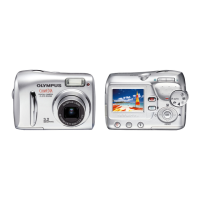
38
Selected images can be reserved in a card for printing on a printer or at a
photo lab that supports the DPOF (Digital Print Order Format) system.
● Print reserve cannot be performed for a picture displayed with .
Single-frame print reserve
1
Play back a still picture. Press to display the top menu.
2
Press ñ to select PRINT ORDER in the top menu. The PRINT
ORDER screen appears. Press
Ññ on the arrow pad to select ,
then press .
3
Select a frame you want to print using single-frame playback or
index display. Press . The menu appears.
4
Select an appropriate Print reserve setting (see below) using the arrow
pad.
MORE: Sets the number of prints, date/time and trim size. T Go to Step 5.
SINGLE PRINT: Sets single-frame print and the date. Trimming setting is not
available. T Go to Step 6.
CANCEL: Cancels the Print reserve. T Go to Step 6.
END: Completes the Print reserve. T Go to Step 7.
5
In the screen, set x (number of prints), (date/time) and
(trimming). When setting is complete, press . A picture is
played back.
6
Press to display the top menu again (as in Step 4). Press É to
select END. The PRINT ORDER screen appears. To perform Print
Reserve for more pictures, repeat steps 3 – 6.
7
Press É repeatedly until the PRINT ORDER screen disappears. The
top menu appears.
8
Press to exit the top menu. Make sure that the Print Reserve
mark, number of prints and date/time are displayed on the selected
images.
PRINT SETTINGS
1 C-40ZBasic-E1 01.10.11 9:39 AM Page 38
 Loading...