Chapter 3 Cleaning, Disinfection and Sterilization Procedures
35
EVIS EXERA GIF/CF/PCF TYPE 160 Series REPROCESSING MANUAL
Performing the leakage test
• During leakage testing, a continuous series of bubbles
emerging from a location on the endoscope indicates a leak
at that location. This means that water will be able to
penetrate the inside of the endoscope. If you locate a leak,
remove the endoscope from the water and contact Olympus.
• Never connect or disconnect the water-resistant cap(s) or the
leakage tester’s connector cap while immersed. Doing so
could allow water to enter the endoscope and equipment
damage can result.
• Rotate the leakage tester’s connector cap until it stops. If it is
not fully and properly attached, the endoscope’s interior will
not be pressurized and accurate leakage testing will be
impossible.
• When attaching the leakage tester’s connector cap to the
water-resistant cap’s venting connector, make sure that the
inside of the leakage tester’s connector cap and the outside
of the water-resistant cap’s venting connector are thoroughly
dry. Water remaining on either component may penetrate the
inside of the water-resistant cap (MH-553) and could cause
endoscope malfunction.
• Detaching the leakage tester’s connector cap from the
venting connector while the leakage tester is still connected
to the light source will not allow the endoscope to
depressurize properly. This may damage the endoscope.
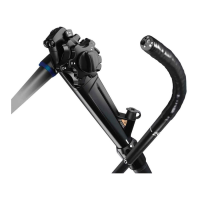
When the leakage tester connector is in place, the covering
of the bending section will expand as the air pressure inside
the endoscope increases. This is normal.
1. Fill a basin with clean water. Use a basin which is at least 40 cm by 40 cm
(16” by 16”) in size and deep enough to allow the endoscope to be
completely immersed.
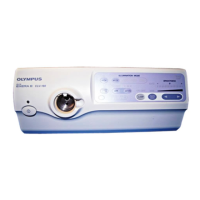
2. Insert the leakage tester connector into the output socket of the
maintenance unit or the light source and turn the maintenance unit or the
light source ON. Set the light source’s airflow regulator switch to “HIGH” or
“3”.
3. Confirm that the leakage tester is emitting air by gently depressing the pin
located inside the leakage tester’s connector cap.
 Loading...