Setting Time/Date (Time&Date)
If you set the date and time beforehand, the information when the file is recorded
is automatically stored for each file. Setting the date and time beforehand enables
easier file management.
When you use the recorder for the first time after purchasing it,
or turn the power on after having removed the batteries for one •
minute or longer to change them or for other purposes, the -
"Set Time&Date" message may appear. If the "Hour" indicator
flashes, follow the steps below to set it.
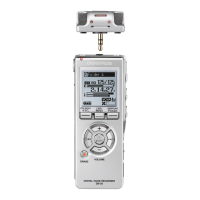
1
Press the
~
or
~
button to select the item to
set.
Select the item from "hour", "minute", "year" "month" and "day"
with a flashing point.
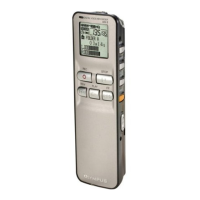
2
Press the + or - button to set.
Follow the same steps by pressing the
~
or
~
button to
select the next item, and press the
+ or - button to set.
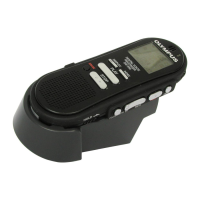
3
Press the OK button to complete the setup screen.
The clock will start from the set date and time. Press the OK
button according to the time signal.
Time & Date
I
M-~,'
2006y
- -:-45 PM
"
, I "
1.11
dra
~
Time & Date
1M
70"1'1'
5-!-
PM
"
# • • '
1.11
dra
~
10
• If you press the OK button during the setup operation, the recorder will save the items that were set to that
point.
• After setup, a message will sound saying that If the guidance is not required, select "Off", and the screen
goes into "Voice Guide" setup.
(~
P.26)
If you don't want the gUidance feature, select "Off".