Getting Started
22 i--SPEED
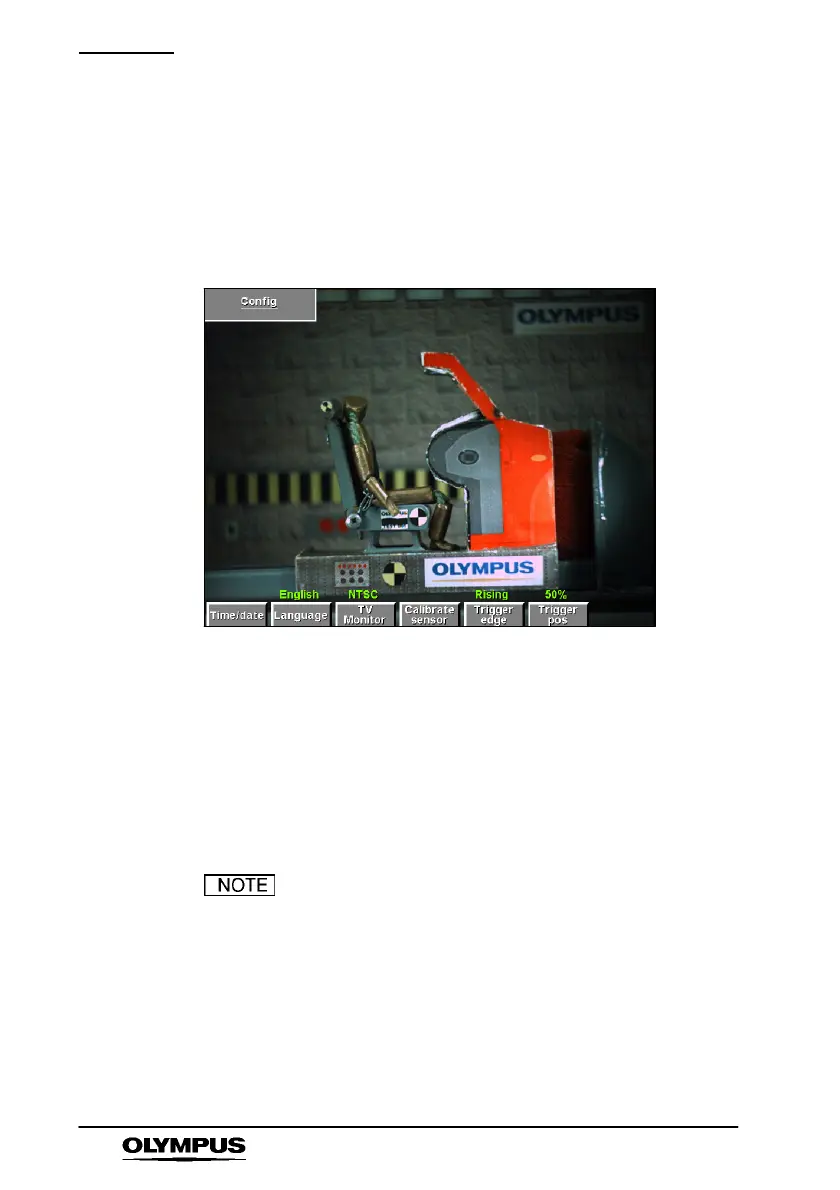
3. Once the camera has been switched on, the image will contain
fixed noise. This must be removed by pressing “Config” then
“Calibrate sensor”. Immediately the “Calibrate sensor” button is
pressed, the lens must be completely covered to provide total
darkness to the sensor for the duration of the process. An
on--screen message will show the progress of the calibration
process. Press “Back” to return to the i--SPEED Home screen.
4. Adjust t he l ens f ocus and i r i s as requir ed to achieve a sharp, bri ght
image.
5. Depress the Speed and Shutter buttons to select the desired frame
speed (def: 60fps) and shutter speed (def: x1). You may need to
re--adjust t he lens focus and ir is to achieve a shar p, bri ght image.
6. Depress the Record button, a camera icon is displayed and the
camera records v ideo into its circular buffer until the Stop button is
depressed or the trigger button is pressed.
If the trigger is used, recording will stop after a delay.
This delay depends on the trigger position setting and
frame speed.