3
2-2 Detailed Assembly Procedure
Fig. 3
Fig. 4
Fig. 5
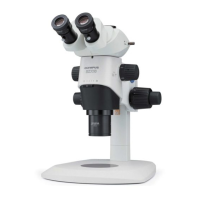
1 Installing the Pillar
(Fig. 3)
1. Using the Allen wrench provided with the base, loosen the 2 clamping
screws @ on the pillar support sleeve completely.
2. Hold the pillar ² with the white rubber cap at the top, and insert it into the
pillar support sleeve until it reaches the bottom.
3. Using the provided Allen wrench, tighten the 2 clamping screws ²
securely.
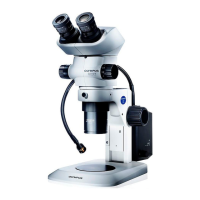
2 Mounting the Focusing Assembly
(Figs. 4 & 5)
1. First loosen the focusing assembly clamping knob @ completely, and
while holding the focusing assembly with both hands, insert the pillar ³
into the mounting hole ² from below. (Fig. 4)
#Insert slowly. Do not apply excessive force.
2. Lower the focusing assembly until it stops, then tighten the focusing
assembly clamping knob @. (Fig. 4)
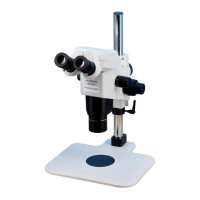
To prevent the microscope from turning over, the focusing assembly
must be installed on the same side as the stage plate in the stand,
as shown in the illustration marked “ ” in Fig. 5, and its pivot angle
must be limited to 30°. If the focusing assembly is placed on the
wrong side, the microscope will turn over.
#If the clamping knob @ is tightened while the pillar ³ is not com-
pletely inserted into the mounting hole ², the plate spring support-
ing the pillar will deform and the pillar will not be able to penetrate
into the hole. (Fig. 4)
@
²
³
@
²
30°or less
 Loading...