33
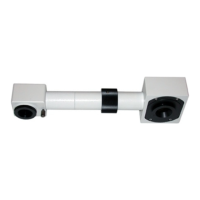
Fig. 12
3 Attaching the Mercury Burner
(Figs. 12 - 15)
1. Loosen the socket clamping screw @ using the Allen screwdriver.
2. Hold the upper section of lamp housing and pull it upward to remove the
socket section.
#To prevent malfunctions, do not hold the lamp housing by the cen-
tering knobs ².
3. Place the socket section upside down as shown in Fig. 13.
}The lamp housing is equipped with the holder for transportation in the
factory shipment condition, or with an old burner when the burner is
replaced. Remove the holder or old burner by loosening the two burner
holding screws ³.
4. Attach the + (positive) pole of a specified mercury burner | to the fixed
mount on the upper side, and the - (negative) pole to the mount on the
lower side.
#Be sure to use the USH-103OL (mfd, by USHIO Inc.) or HBO103W/2
(mfd. by OSRAM) burner.
!Be careful and avoid leaving fingerprints or contaminants on the
mercury burner. Otherwise, there is a danger of explosion due to
distortion of glass caused by the stains. If the burner is contami-
nated, clean it by wiping gently with gauze slightly moistened with
absolute alcohol.
5. Attach the socket section with burner to the original position and tighten
the clamping screw @.
#Align the external edges of the lamp housing with those on the
socket section, and push the lamp housing straight downward.
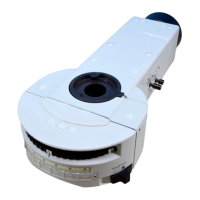
Fig. 13
@
²
³
|
 Loading...