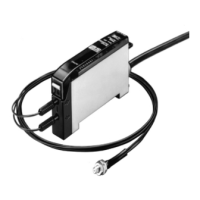
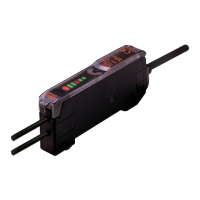
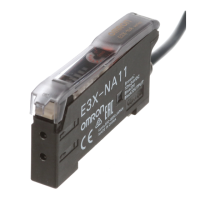
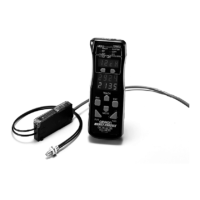
A-88 Photoelectric Sensors
Connection
• Do not strain the fiber unit, e.g. do not apply tensile or com-
pression force. (Within 9.8 Nm or 29.4 Nm) Use special care
since the fiber is thin.
• The bending radius of the fiber unit should be more than the
permissible bending radius given in "Type/standard price"
and "Ratings/performance".
• Do not bend the edge of the Fiber Units (excluding the E32-
T#R and E32-D#R).
• Do not apply excess force on the Fiber Units.
• The Fiber Head could break by excessive vibration. To pre-
vent this, the following is effective:
E39-F11 Sleeve Bender
• The bending radius of the stainless steel tube should be as
large as possible. The smaller the bending radius becomes,
the shorter the sensing distance will be.
• Insert the tip of the stainless steel tube to the Sleeve Bender
and bend the stainless steel tube slowly along the curve of
the Sleeve Bender (refer to the figure).
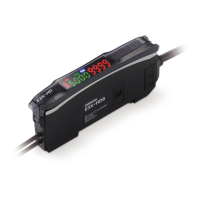
Amplifier Unit Connectors
Installation
Installation Connectors
1. Insert the Master or Slave Connector into the Amplifier Unit
until it clicks into place.
2. Join Amplifier Units together as required after all the Master
and Slave Connectors have been inserted.
3. Apply the supplied seal to the non-connection surface of the
master/slave connector.
Note: Apply the seal to the grooved side.
Removing Connectors
1. Slide the slave Amplifier Unit for which the Connector is to
be removed away from the rest of the group.
2. After the Amplifier Unit has been separated, press down on
the lever on the Connector and remove it. (Do not attempt
to remove Connectors without separating them from other
Amplifier Units first.)
Amplifier Unit
Fiber
Unit
20 mm min.
20 mm min.
Tape
A one-turn loop can
absorb vibrations.
1.2-mm dia. max.
R12.5mm
R7.5mm
1.3-mm dia. min.
R10mm
Fiber tip
position mark
Stainless steel tube
R5mm
90˚ max.
10mm
10mm
Do not bend here.
Insert
Sticker
Sticker
Remove
Lever
Press down

 Loading...