7
IO-Link Connection Procedure
7. IO-Link Connection Procedure
This section describes the procedures for connecting Photoelectric Sensor to IO-Link Master
Unit via IO-Link and for connecting Controller to Slave Terminal configured of IO-Link Master
Unit on the EtherCAT network. The explanations of procedures for setting up Controller and
Slave Terminal given in this document are based on the factory default settings.
For the initialization, refer to Section 8. Initialization Method.
7.1. Work Flow
Take the following steps to connect Photoelectric Sensor to IO-Link Master Unit via IO-Link
and to connect Controller to Slave Terminal configured of IO-Link Master Unit on the
EtherCAT network.
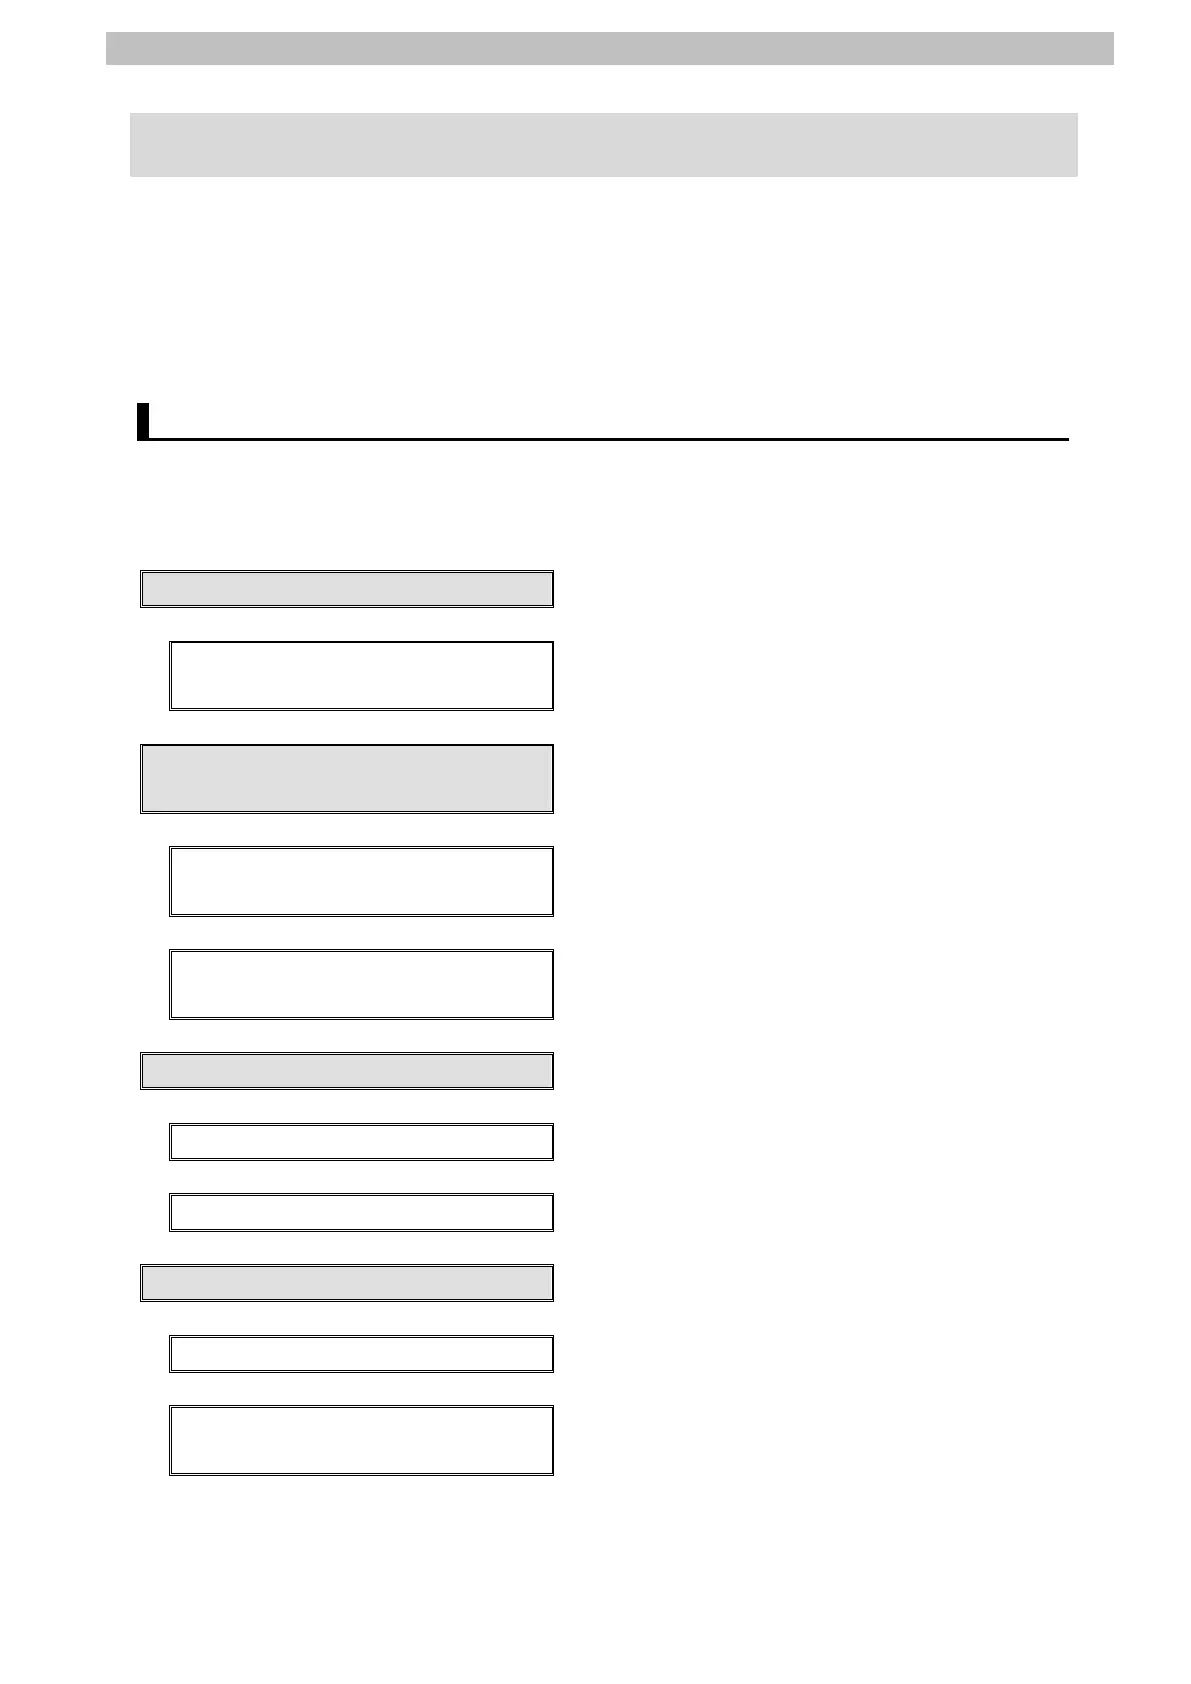
7.2. Slave Terminal Setup
Set up Slave Terminal.
↓
7.2.1. Hardware Settings Configure Slave Terminal, set hardware switches,
and connect Photoelectric Sensor.
↓
7.3. Network Configuration for Host
Set up the network configuration for host
communications.
↓
7.3.1. Starting Sysmac Studio Start Sysmac Studio and connect online with
Controller.
↓
7.3.2. Setting up the EtherCAT
Network Configuration
Set up the EtherCAT network configuration.
↓
7.4. IO-Link Master Unit Setup
Set up IO-Link Master Unit.
↓
7.4.1. Parameter Settings Set the parameters for IO-Link Master Unit.
↓
7.4.2. I/O Allocation Settings Set the I/O allocations for IO-Link Master Unit.
↓
Set up Controller.
↓
7.5.1. Setting the Device Variables Set the device variables to use for Slave Terminal.
↓
7.5.2. Transferring the Project Data Connect online with Sysmac Studio and transfer
the project data to Controller.
↓
 Loading...