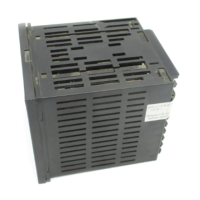
20 Basic-type Digital Temperature Controller E5AN/E5EN
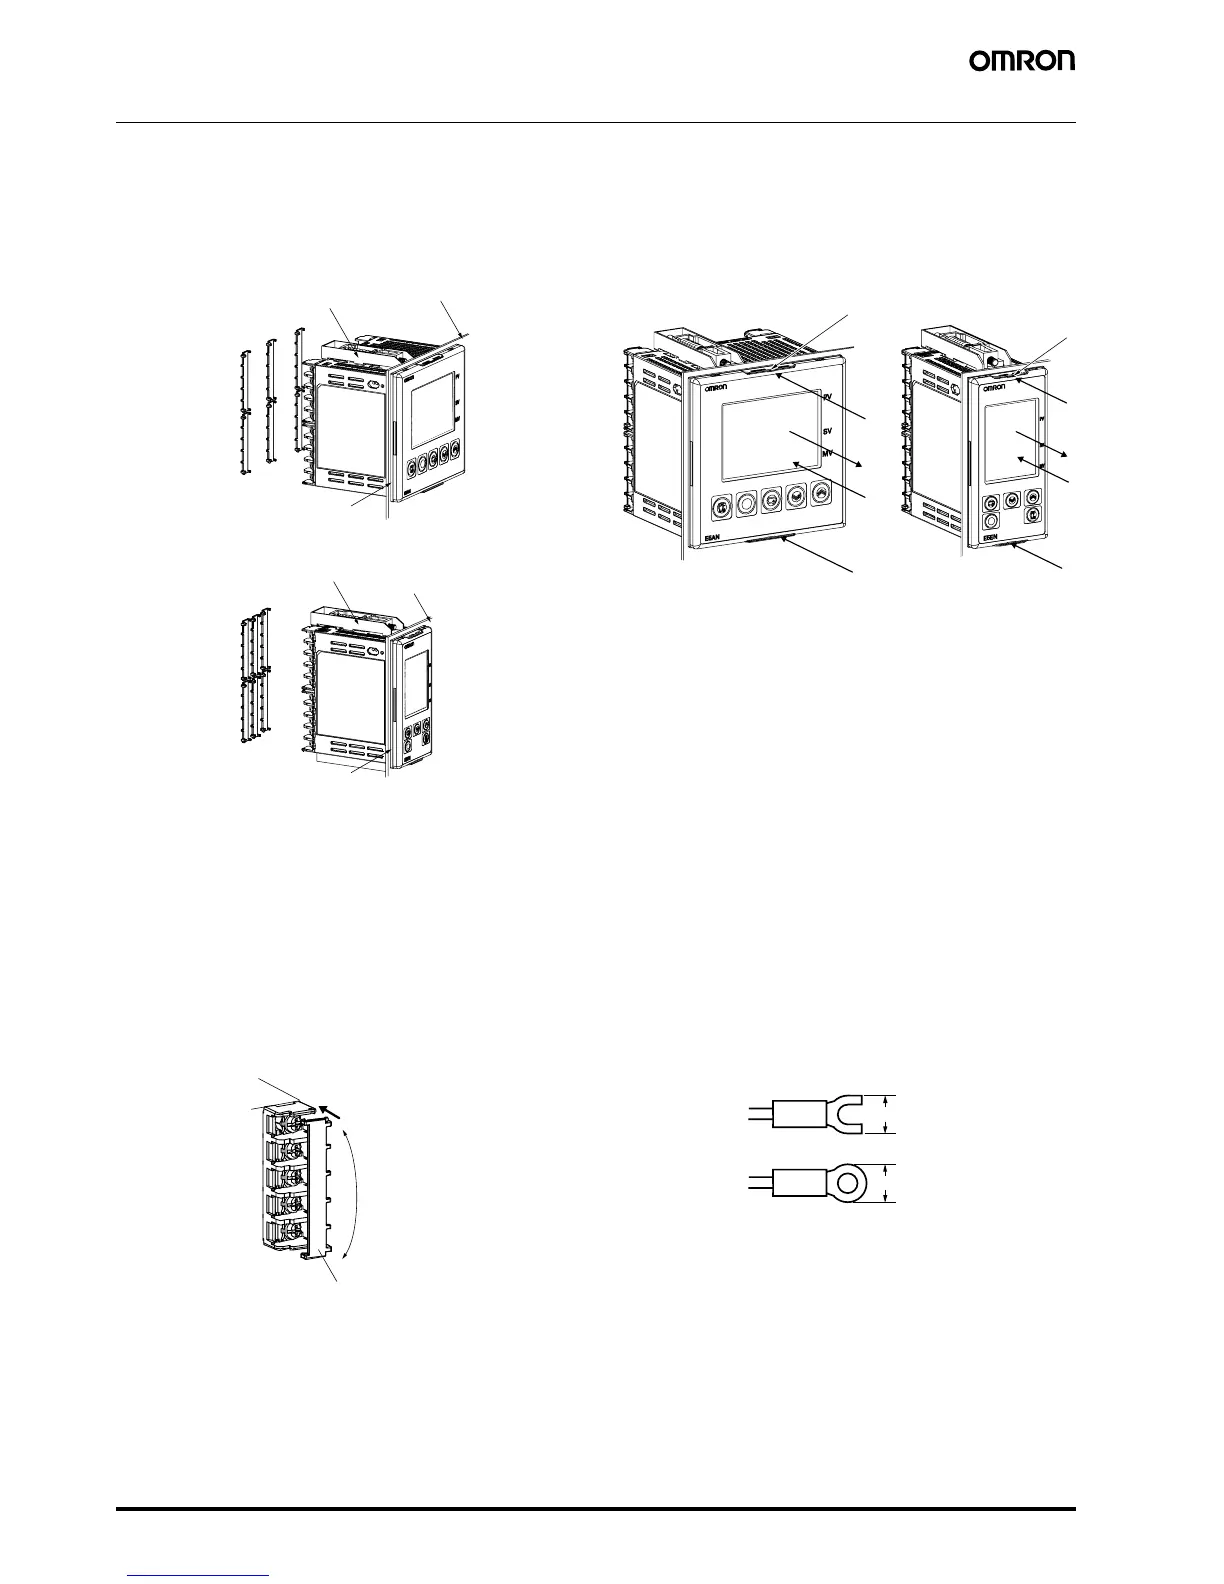
Mounting
Mounting to a Panel
For waterproof mounting, waterproof packing must be installed on the
Controller. Waterproofing is not possible when group mounting
several Controllers. Waterproof packing is not necessary when there
is no need for the waterproofing function.
1. Insert the E5AN/E5EN into the square mounting hole in the panel
(thickness: 1 to 8 mm). Attach the Mounting Brackets provided with
the product to the mounting grooves on the top and bottom
surfaces of the rear case.
2. Use a ratchet to alternately tighten the screws on the top and
bottom Mounting Brackets little by little to maintain balance, until
the ratchet turns freely.
Mounting the Terminal Cover
Slightly bend the E53-COV16 Terminal Cover to attach it to the
terminal block as shown in the following diagram. The Terminal Cover
cannot be attached in the opposite direction.
Removing the Temperature Controller from the
Case
The Temperature Controller can be removed from the case to perform
maintenance without removing the terminal leads. This is possible for
only the E5CN, E5AN, and E5EN, and not for the E5CN-U. Check the
specifications of the case and Temperature Controller before
removing the Temperature Controller from the case.
1. Insert a flat-blade screwdriver into the two tool insertion holes (one
on the top and one on the bottom) to release the hooks.
2. Insert the flat-blade screwdriver in the gap between the front panel
and rear case (two on the top and two on the bottom), and use it to
pry and pull out the front panel slightly. Then, pull out on the front
panel gripping both sides. Be sure not to impose excessive force
on the panel.
3. When inserting the body of the Temperature Controller into the
case, make sure the PCBs are parallel to each other, make sure
that the sealing rubber is in place, and press the E5AN/E5EN
toward the rear case until it snaps into position. While pressing the
E5AN/E5EN into place, press down on the hooks on the top and
bottom surfaces of the rear case so that the hooks securely lock in
place. Make sure that electronic components do not come into
contact with the case.
Precautions when Wiring
• Separate input leads and power lines in order to prevent external
noise.
• Use wires with a gage of AWG24 (cross-sectional area:
0.205 mm
2
) to AWG14 (cross-sectional area: 2.081 mm
2
) twisted-
pair cable (stripping length: 5 to 6 mm).
• Use crimp terminals when wiring the terminals.
• Tighten the terminal screws to a torque of 0.74 to 0.90 N·m,
however the terminal screws on the E5CN-U must be tightened to
a torque of 0.5 N·m.
• Use the following types of crimp terminals for M3.5 screws.
• Do not remove the terminal block. Doing so will result in
malfunction or failure.
Mounting Bracket
(Accessory)
Mounting Bracket
(Accessory)
Panel
Panel
Waterproof
packing
(Accessory)
Waterproof
packing
(Accessory)
E53-COV16
Terminal Cover
(Accessory)
E5EN
E5AN
E53-COV16
Terminal Cover
(Accessory)
Slightly bend the
E53-COV16
Terminal Cover in
the direction shown
by the arrows to
attach it to the
terminal block.
E53-COV16
Terminal Cover
(Accessory)
(1)
(1)
(2)
(3)
(1)
(1)
(2)
(3)
Tool insertion
hole
Tool insertion
hole
E5AN E5EN
7.2 mm max.
7.2 mm max.