11
3.5 Data Connections
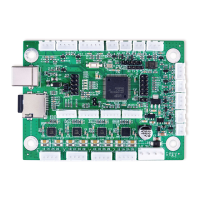
The microSD card goes into its port on the side of the card. The pins on the card should face down and go in first.
The slightly raised handle should face up and protrude slightly after insertion. Do not force the card into place.
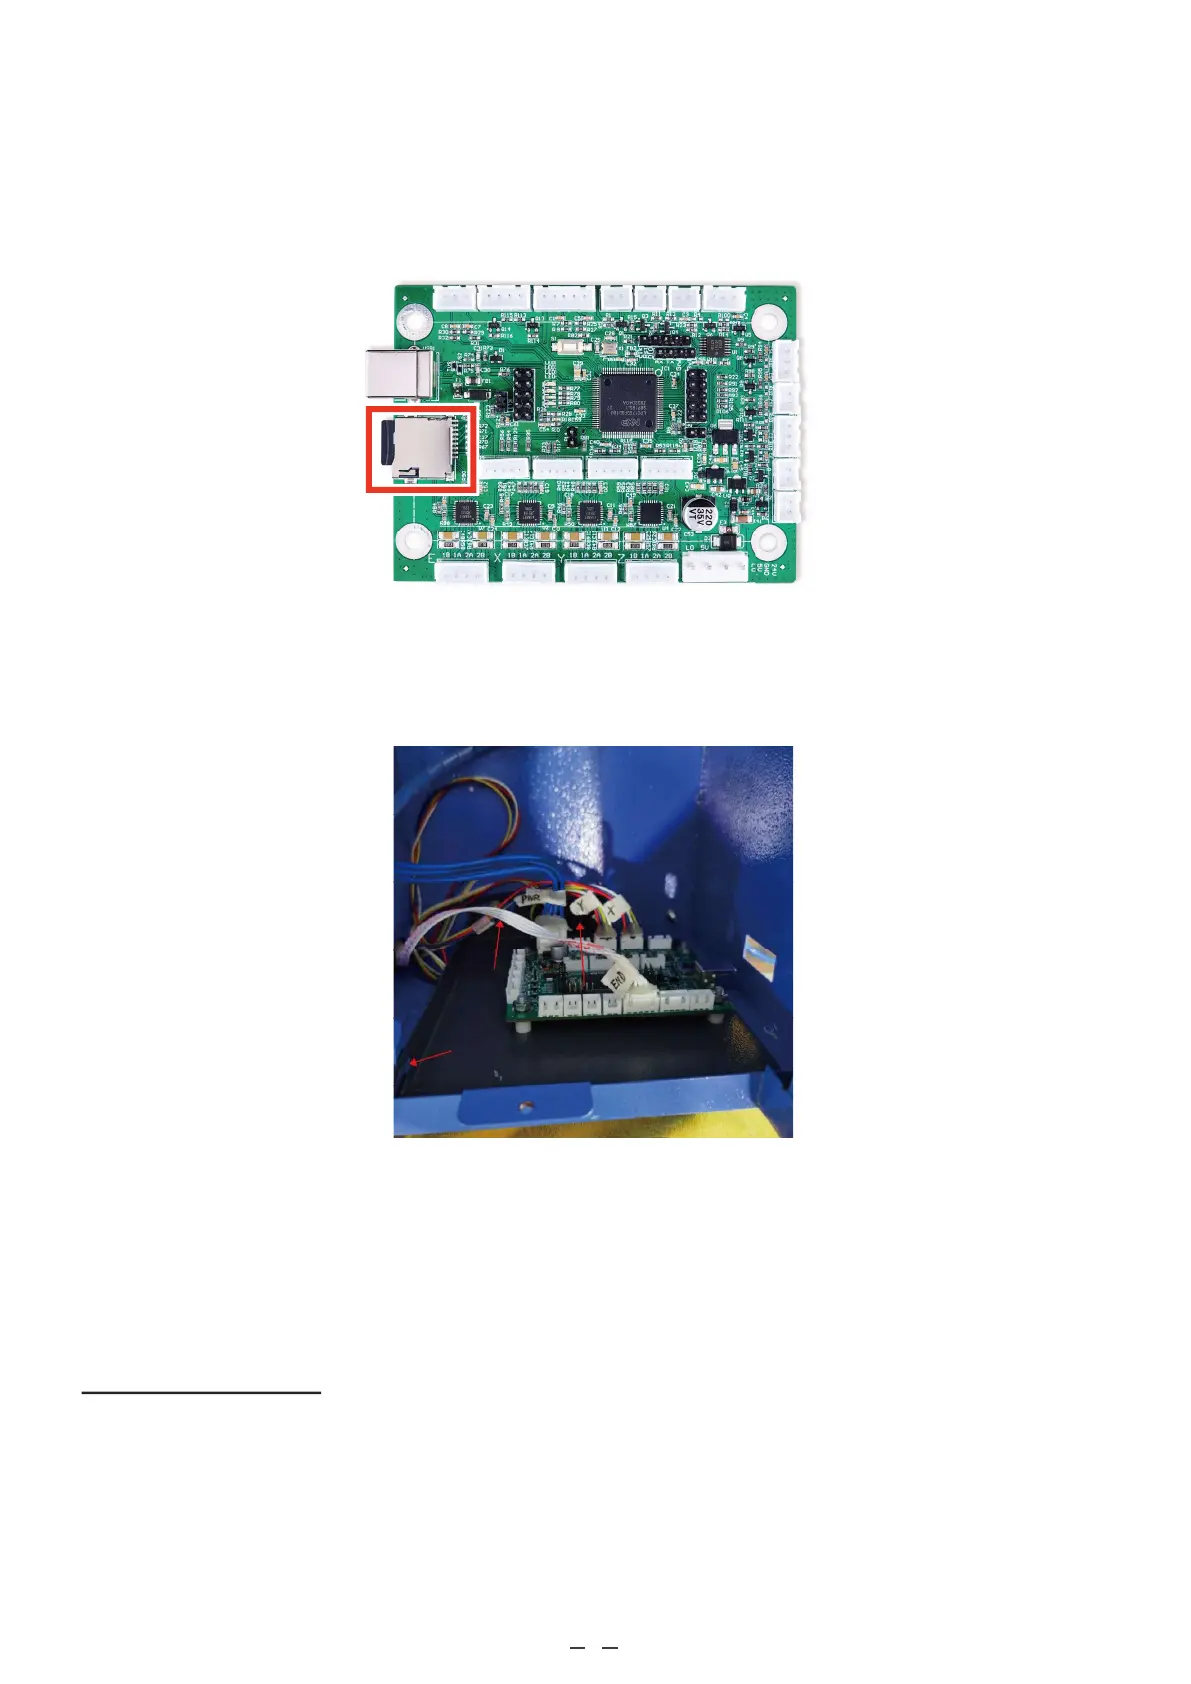
If you did not already do so, bolt your new control board to its holding plate, making sure that the USB port will
face the casing’s access hole. Slide it back into your engraver and bolt the holding plate into place inside the casing.
Use your type-B USB cord to connect the card to your control computer. It is recommended that you configure your
machine not to automount the control board’s microSD card. Again, leaving it mounted during engraving can lead
to unexpected pauses and glitches when the control computer periodically reads and writes to it.
3.6 Software Configuration
3.6.1 Device Drivers
For most editions of Windows, you will need to download device drivers to allow control computer to recognize and
communicate with your new motherboard. Go to www.smoothieware.org/windows-drivers and follow the instructions
there. For Linux and MacOS systems, no drivers are required but if you experience problems or excessive lag when using
your control board, the “Linux Drivers” and “Mac Drivers” pages at www.smoothieware.org provide guidance on
improving your system’s configuration.