32
4. Press the ◄ button to go through the stored records.
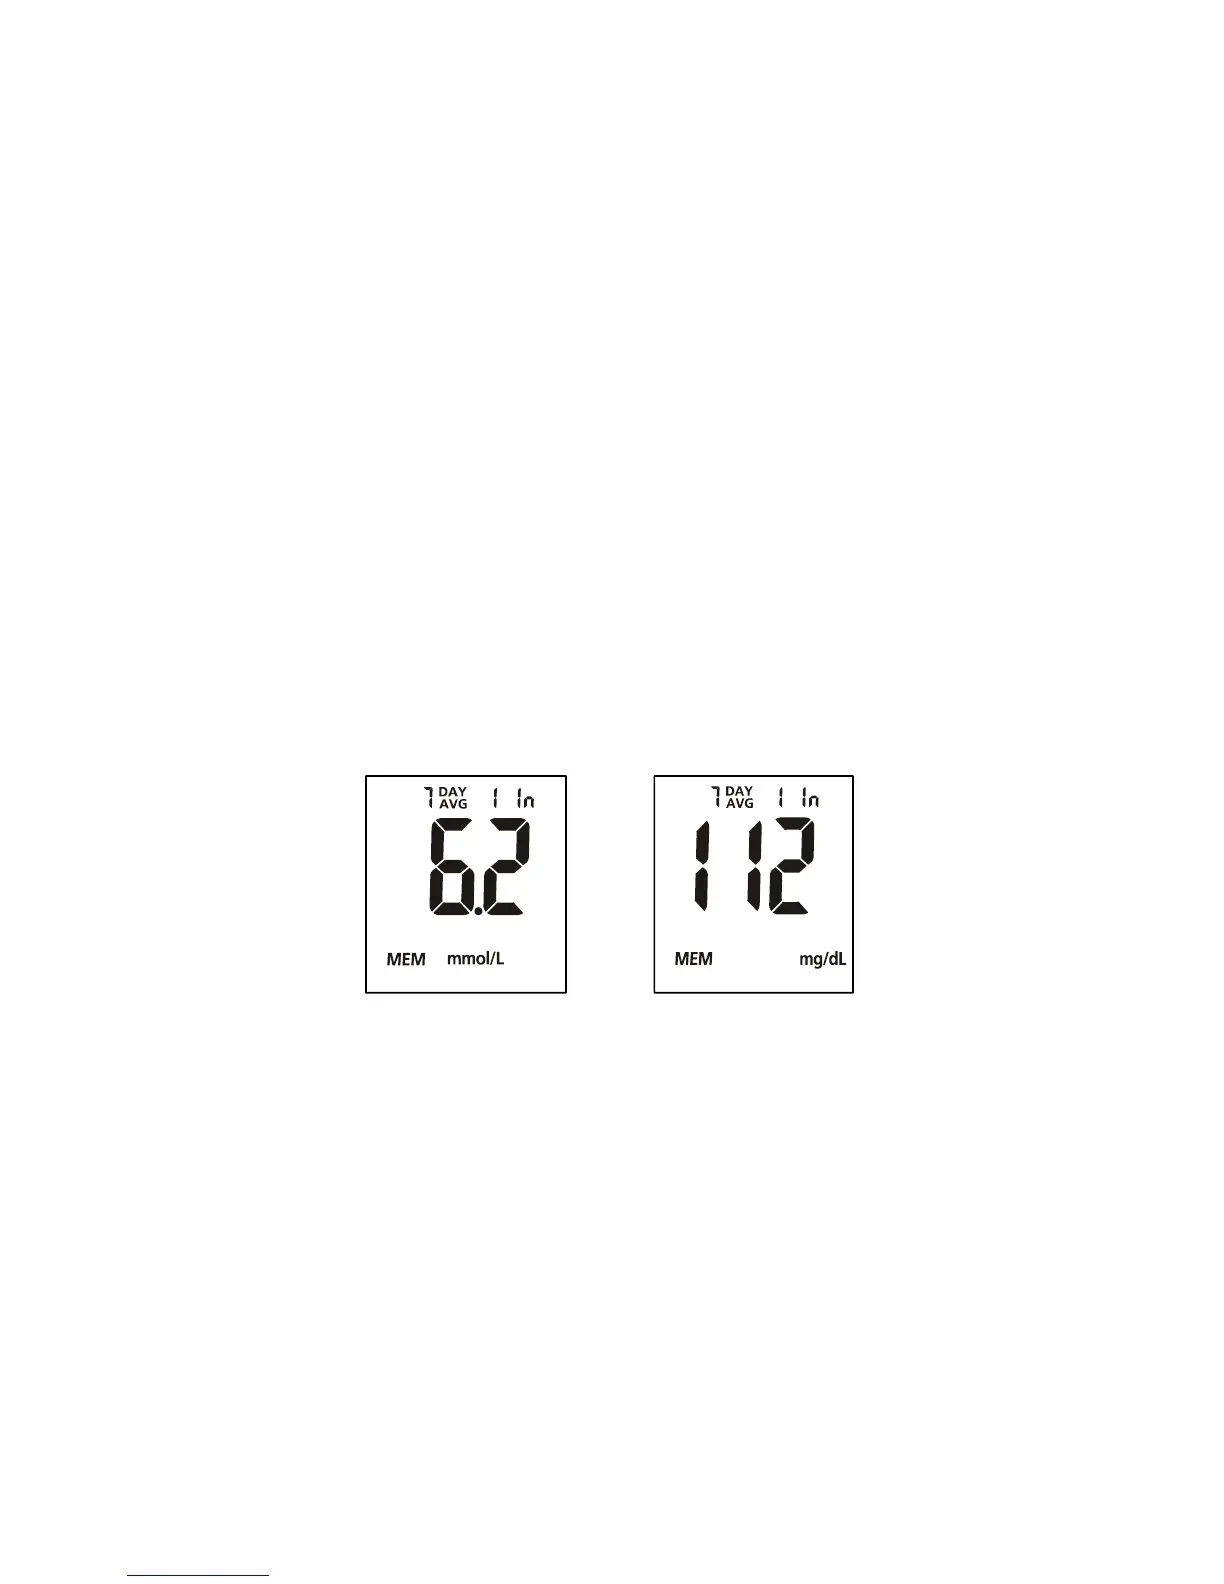
Press the ► button to view the data averages. The words “DAY AVG” will
appear on the screen. You can also view the data averages by pressing the ►
button when the meter is off.
Note: If you do not wish to view your average glucose measurements, you can
press the ► button again to turn off the display.
5. While in data average mode:
• If the meal marker feature is off, press the ◄ button to switch between the
general 7, 14, 30, 60 and 90-day averages.
• If the meal marker feature is on, press the ◄ button to switch between the
general, pre-meal and post-meal 7, 14, 30, 60 and 90-day averages.
The meter will calculate the average that you selected. The number of
records used in the DAY AVG will also appear in the display.
Note: Pre-meal averages only include the test results that have been
marked as “before meal”. Post-meal averages only include the test results
that have been marked as “after meal”. General 7, 14, 30, 60 and 90-day
averages include all blood glucose results.
6. If there are fewer than 7, 14, 30, 60 and 90 days in memory, all the readings
without the pound sign (#) currently stored in memory will be averaged.
If you are using the meter for the very first time, no value will appear on the
display. This means that no records have been stored in memory. If you have
not marked any results as “before meal” or “after meal”, there will be no value
for the pre-meal or post-meal averages. This means that no records have been
stored as “before meal” or “after meal” in memory.
7. Press the ► button to turn off the display.
Note: Results from quality control tests will not be included in the averages.
When viewing results in memory, the values are marked with a pound sign (#)
to show that they will not be included in the 7, 14, 30, 60 and 90-day averages.
OR