12
Meter Setup Before Testing
Before using your meter for the first time, you will need to adjust the settings that
are listed in detail below.
1. Meter Setup Mode: When meter is off, in memory mode or in average mode,
press and hold the ► button for two seconds to eneter meter setup mode. The
meter will automatically enter the setup mode when turned on for the first time
by any method.
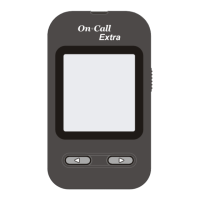
2. Clock: Set the clock to 12 or 24 hour mode. Press the ◄ button to switch
between the two settings. Then press the ► button to save your choice and
then you can start to set the year, month and date.
Note: The clock needs to be reset after replacing the battery.
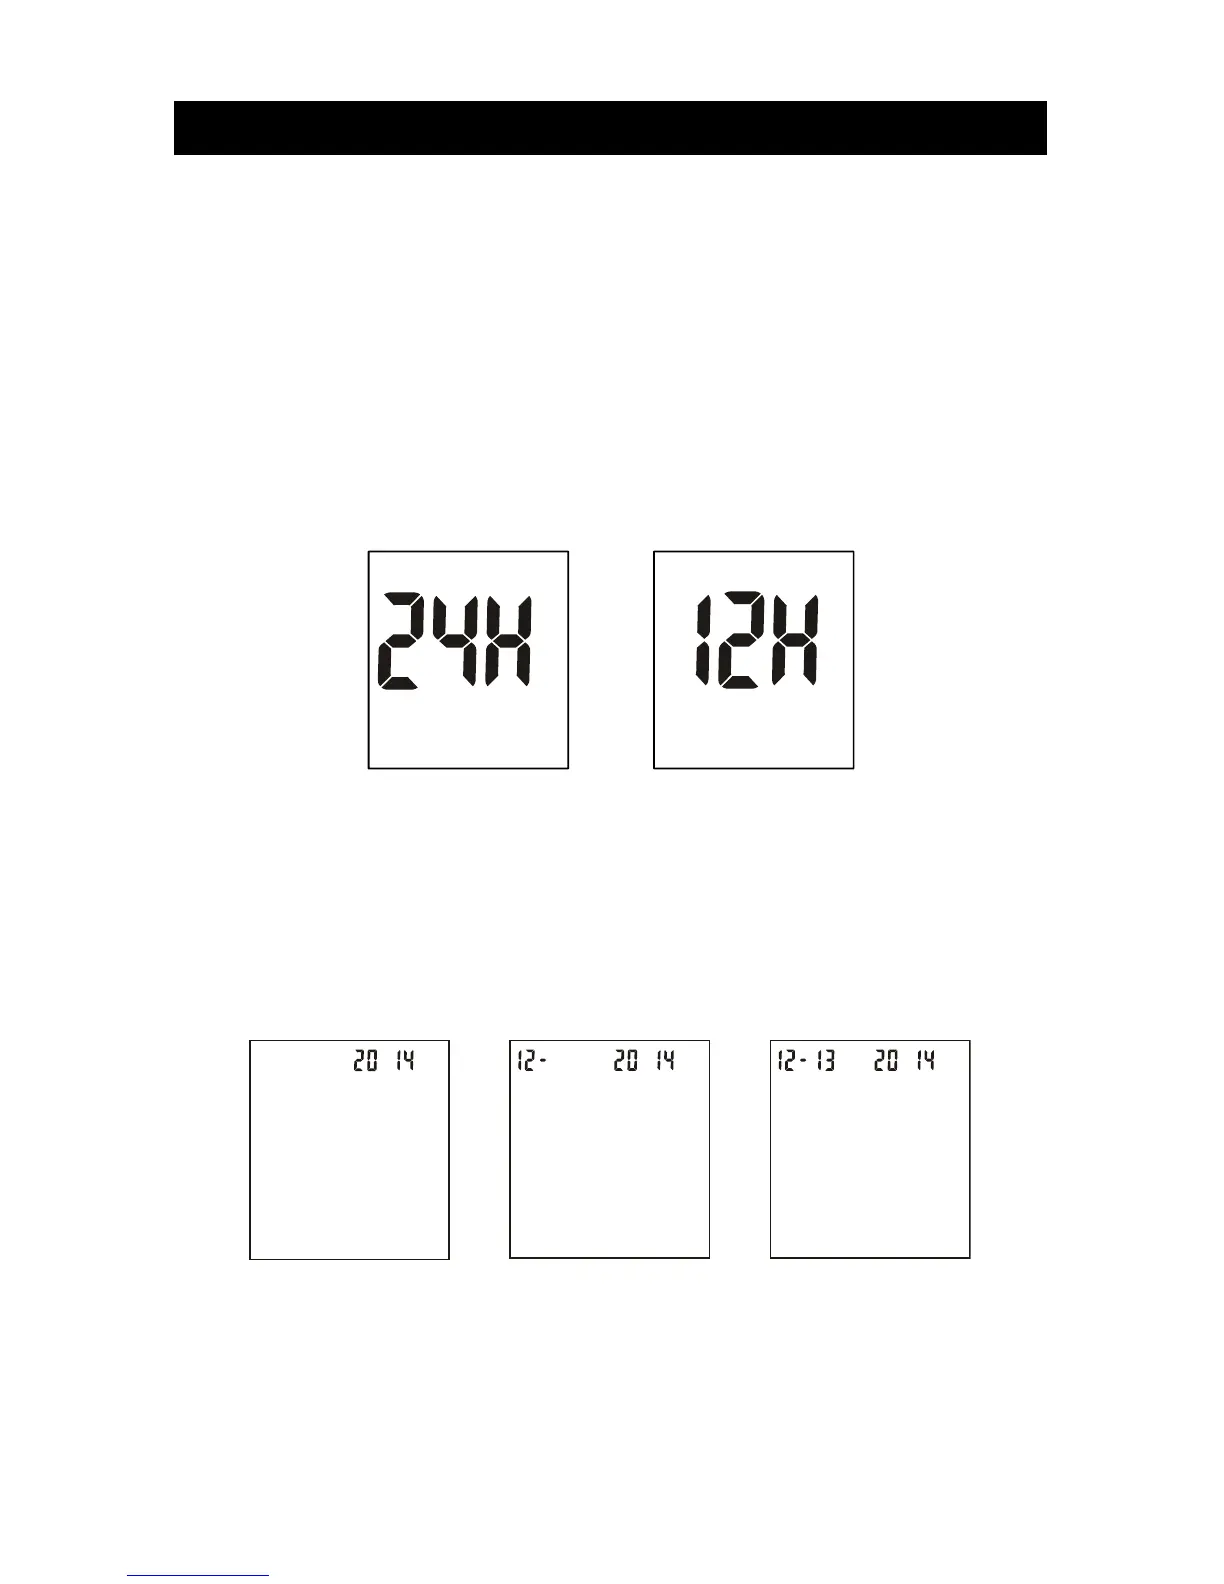
3. Date: The year will appear at the top of the display. Press the ◄ button to
increase the year. Once you have selected the correct year, press the ►
button to save your choice and start setting the month. Press the ◄ button to
increase the month. Then press the ► button to save your choice and start
setting the date. Press the ◄ button to increase the date. Then press the ►
button to save your choice and start setting the time.
4. Time: The hour will appear at the top of the display. Adjust the hour with the ◄
button until the correct hour is displayed. Press the ► button to save your
choice and set the minutes. Press the ◄ button to change to the correct minute.
Press the ► button to save your choice and move to set the meal marker
feature.
OR