9
User Manual
Dolphin Fluid Immersion Simulation
®
System
Dolphin Fluid Immersion Simulation
®
is a registered trademark of Joerns
Grounding Instructions
Warning: Use a properly grounded, three-prong,
120V AC outlet for this product. Failure to use a
grounded outlet could result in personal injury or
damage to equipment or house wiring, including risk
of re. A qualied electrician should be contacted to
correct the wiring and ensure a properly grounded
outlet.
Before installing this product, have the electrical
system checked to make sure the electrical circuits
and the electrical service are properly grounded.
Having a three-prong outlet does not necessarily
mean it is grounded. Sometimes two-prong outlets
are replaced with a three-prong type even though
there is no ground wire.
There is always a chance of a loose connection or
poor installation of a ground wire that causes the
loss of proper ground at the outlet. Inadequate
grounding at electrical outlets can occur even if there
is a ground wire. Wires can become loose over time
at the connection to the outlet.
Note: To install new wires on a circuit requires a
qualied electrician.
How to Determine if Your Outlet has the
Proper Grounding
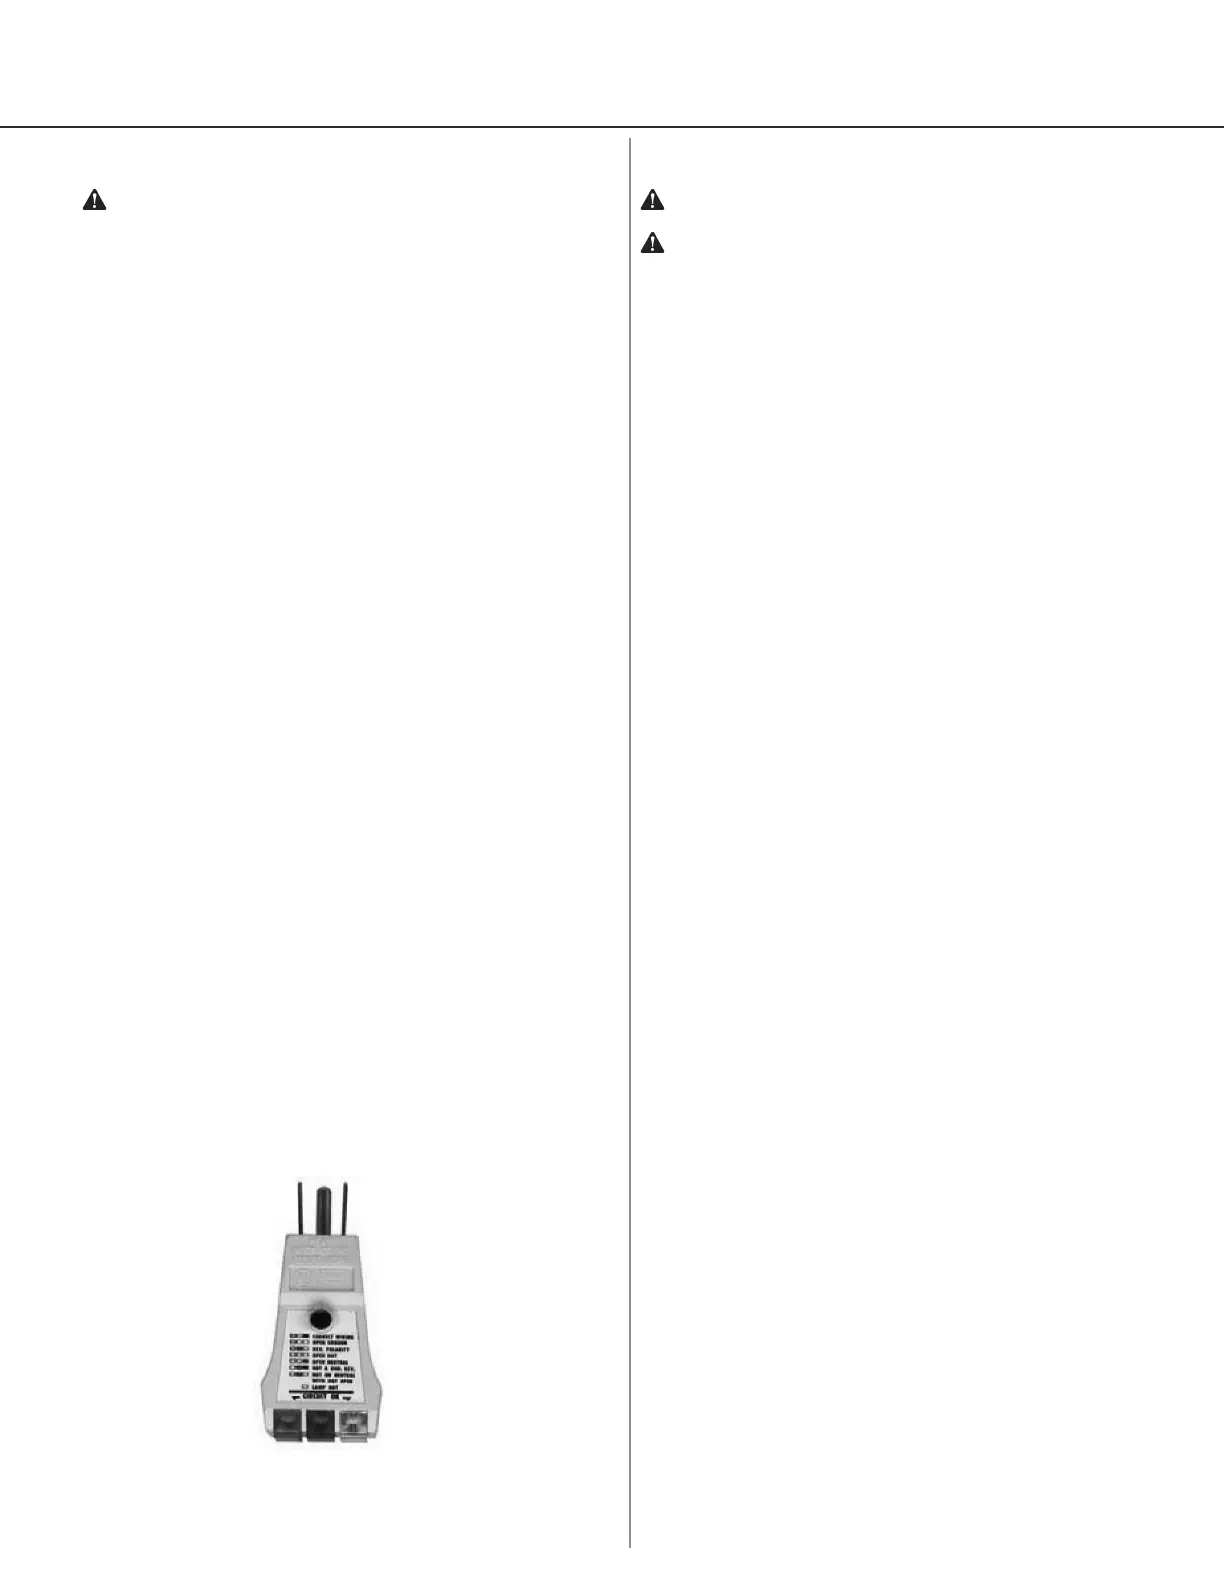
Most hardware stores sell circuit testers (Figure
7) that can be used to test an outlet for proper
grounding. The tester plugs into an outlet and by
observing the indicator lights you can determine if
the outlet is properly grounded. For a higher level
of assurance, an electrician should be requested
to thoroughly test the electrical system with more
reliable equipment.
If repair or replacement of the cord or plug is
necessary, please contact OnCare for assistance.
Setup
Warning: For important precautions, see page two.
Caution: Do not place the control unit on the oor.
Position the power cord to prevent tripping hazards.
Therapy Mattress
• Remove the existing mattress from the bed.
• Unpack the therapy mattress with the hose
connection at the foot end of the bed and the
therapy cells facing up. Secure the therapy
mattress straps to the movable part of the bed
frame.
• If the therapy pad is not already on the therapy
mattress, place it on the therapy mattress. Attach
the zipper around the perimeter of the therapy
mattress.
• Hang the control unit on the foot of the bed facing
away from the bed.
• Connect hose set from the therapy mattress to the
control unit securely. When properly installed, the
hose connectors should click into place.
• Turn Storage Switch to Battery On position. The
Storage Switch is located on the underside of the
unit.
• Plug in the control unit and the yellow Standby
light will illuminate. Press the Power button. The
control unit will start and the green light will
illuminate. Keep the control unit ON while the
patient is on the therapy mattress.
• The control unit must be set to the Bed setting
using the Mode button when connected to a
therapy mattress. Use the Chair/Stretcher mode
when the control unit is connected to a specialty
surface.
• Inate the therapy mattress using the Autorm
button. The therapy mattress is fully inated when
the immersion prole is indicated in green.
• Place the patient on the therapy mattress and
allow system to optimize. Note: If patient is over
250 lbs., moving the Comfort Adjust indicator
to one LED above the Auto Feedback LED may
improve comfort. If patient is less than 100 lbs.,
moving the Comfort Adjust indicator to one LED
below Auto Feedback may improve comfort.
• When the Dolphin FIS System is working properly,
no hand check is normally recommended.
If needed, a traditional hand check may be
preformed as outlined below:
1. Begin by placing the back section of the bed in
the appropriate position based on the patient’s
clinical condition.
2. Select the highest or most rm Comfort Adjust
setting.
Figure 7