A
Anne RichardsAug 8, 2025
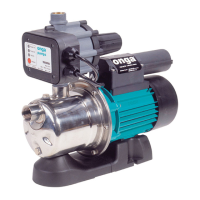
What to do if my onga JS110 Water Pump does not start?
- BBrandy HartAug 8, 2025
If your Onga Water Pump isn't starting, ensure it's connected to a live outlet. Also, check the circuit breakers and fuses. If the pressure controller detects no water in the tank, make sure there's enough water and press the reset or start button. A blocked pump can also be the cause; disconnect it from the power and inspect the housing and discharge for any obstructions. If none of these steps work, the capacitor may be defective, and you should call a qualified service technician.