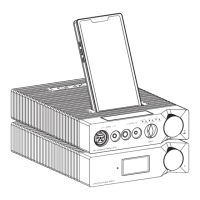
1. Firstly, connect the XPS10 power supply to a power outlet. Then Connect the XPS10 Power supply to
the XP10 DAC/AMP, using the provided power supply cable. Put XP10 either alongside or on the top of
the XPS10. Finally, insert the XM10 Player into the top slot of the XP10 DAC/AMP.
2. Turn on the XPS10, using the power switch on the back, put it into ON position. XPS10 standby
indicator will light up red and the device will enter standby mode. Press and hold the Power Wheel on
XPS10 for 2 seconds to power on the system. XP10 will automatically power on and "enter AUX/ "
state. Status indicator will turn purple and then goes black.
3. To power off the XP10, press and hold the Power wheel for 2 seconds. Indicator will turn red and the
device will enter standby mode.
4. To power off the XPS10, press and hold the Power wheel for 2 seconds. Indicator will turn red and the
device will enter standby mode. To completely cut off power, switch the power switch on the rear to
the OFF position.
5. If the machine will not be sued for longer period of time, please disconnect it from power outlet.
Operation Instructions
Setup
10
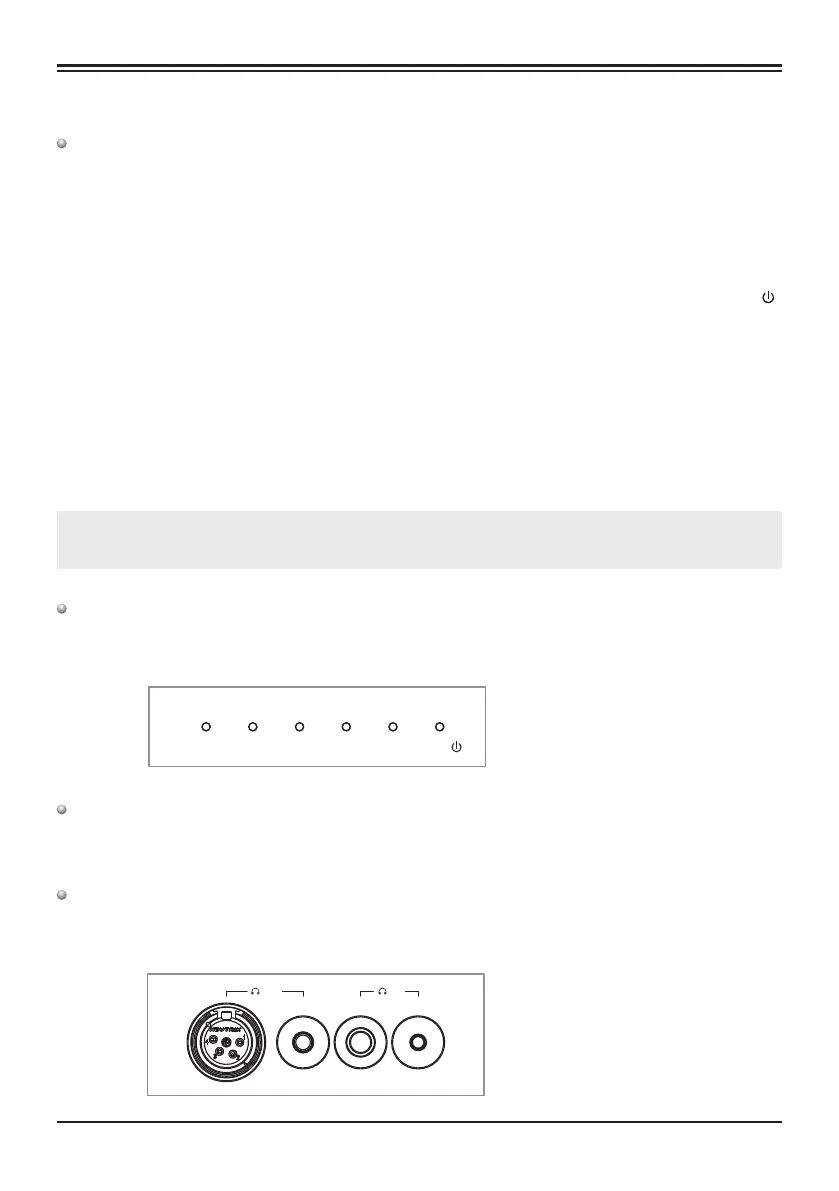
Turn the wheel to increase or decrease volume.
Volume Control
Headphone Outputs
Source Input Selection
COAXIALLOCAL/BT
DAP
USB DAC
OPTICAL
AUX/
BAL SE
Note: 1. When connecting XPS10 and XP10, please make sure XPS10 is powered off completely.
2. When connected, if the XPS10 is powered off, XP10 will also automatically power off.
Rotate the Input knob or go to Audio Source Switching in the menu to switch between different
inputs.
" " " "
Offering 4 standard outputs – balanced 4-pin XLR, balanced 4.4mm, single-ended 6.35mm and
single-ended 3.5mm.
XP10 DAC Headphone Amplifier