31
Basic operation
The remote controller is used to set the clock.
Setting the day & time
1 Press the TIMER button repeatedly until
“ADJUST” appears on the display, and
then press the ENTER button.
The day of the week flashes on the dis-
play.
2 Use the SETTING ( / ) buttons, or the
numeric keypad to select the day of the
week, and then press the ENTER button
(the time flashes on the display).
Days are selected using the numeric key-
pad as follows:
1: SUN 2: MON 3: TUE 4: WED
5: THU 6: FRI 7: SAT
Note that the clock must be set to the 24
hour format in order to use the numeric key-
pad to set the day and time.
3 Use the SETTING ( / ) buttons, or the
numeric keypad to set the time, and
then press the ENTER button (the clock is
now set.).
The time is entered using the numeric
keypad as follows:
To enter 09:38 a.m., press the following
buttons: 10/0, 9, 3, 8, and then ENTER.
To enter the time 11:00 a.m., press the fol-
lowing buttons: 1, 1, 10/0, 10/0, and then
ENTER.
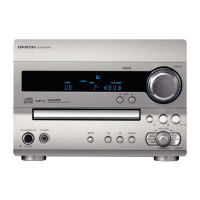
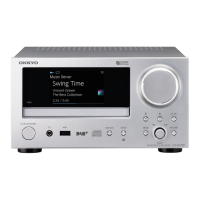
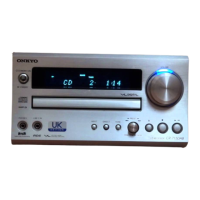
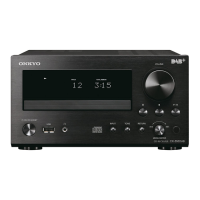
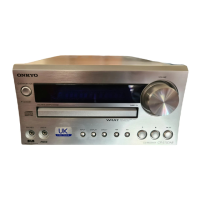
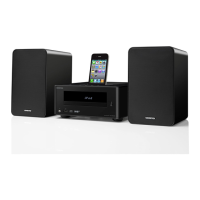
If you set the clock while the CR-N1 is in
Standby mode, the time is displayed. If
you set it while the CR-N1 is on, the previ-
ously displayed information reappears.
Setting the clock
TIMER ENTER
SETTING ( / )
Numeric keypad
Remote controller
Remote controller
 Loading...