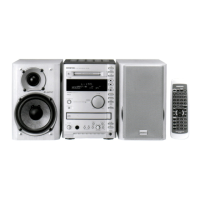
FR-N3X
1
3
4
5
2
P101
DISASSEMBLING PROCEDURES (CD) -1
CD MECHANISM : REPLACEMENT OF OPTICAL PICKUP
The laser diode in the optical pickup block is so sensitive to static electricity, surge current and etc.
That the components are liable to be broken down or its reliability remarkably deteriorated.
During repair, carefully take the following precautions.
When you remove CD mechanism, please be sure to perform optical pickup short-circuit before removing the
connection line between an optical pickup and CD & microcomputer board (NADG-7557).
In exchanging optical pickups, remove the plate(s) at the
bottom of the set first. And jumper wire in CD connector
board is short-circuited with solder.
--Bottom view--
Remove the plate(s).
Short-circuit the LD short
terminal J101 (Jumper wire)
of CD connector board
(NAETC-7558) with solder.
1. Remove the MD mechanism and front section from
main chassis.
2. Remove the bracket (CD).
Remove the four screws which fix CD mechanism.
screws
screws
--Top view--
Remove the CD mechanism form main chassis.
Remove the two screws which fix CD connector
PC board.
--Bottom view of CD mechanism--
[NONE]
Must not remove the Flat cable P101 yet at this time.
Screw
Screw
CD connector PC board
NAETC-7558
 Loading...