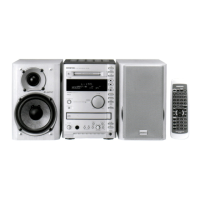
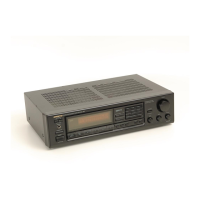
FR-N3X
TEMP ADJUST
LDPWR ADJUST
LDPWR CHECK
LOAD CHECK
SLEVEL CHECK
EFBAL ADJUST
FBIAS ADJUST
FBIAS CHECK
CPLAY MODE
CREC MODE
EEP MODE
POINT ADJUST
TEMP ADJUST
ADJUSTMENT PROCEDURES-2
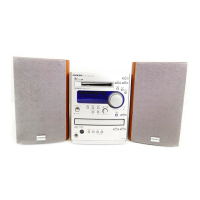
MD ADJUSTMENT
4. Test mode
4-1. How to test mode to enter
(1) Connect the power supply cord in the wall socket.
(2) Turn on power by Pressing Press STANDBY/ON.
(3) Select the MD by pressing the CD/MD.
FL display ---"
No Disc
"
(4) While hold down MODE/YES button, press DISPLAY.
FL display --- For example "
020328EXX-a
"
(5) Press STANDBY/ON.
When the unit is not a clock display at this time, continue pushing STANDBY/ON
again and set the state of a clock display.
FL display --- "
--:--
"
(6) While hold down MODE/YES, press the MD EJECT.
4-2. How to cancel test mode
Disconnect the power supply cord from the wall socket.
4-3. Cautions on Test Mode
(1) Don't use the disk which you must not eliminate in test mode.
(2) Push the EJECT button after pressing EDIT/CLEAR/NO, when taking out disk in test mode.
4-4. Basic operation in Test Mode
4-5. Select the test Mode
Record of the fiducial point of temperature data.
Laser power adjustment
Check the laser power
Check the loading operation.
Check the lens of the pickup.
Traverse (EF balance) adjustment
Focus bias adjustment
Check the focus bias adjustment
Continuous recoding mode
Continuous play back mode
Data memorized in non-volatile memory
Setting the access point on CREC and CPLAY mode.
Returns to a front step
Cancel
Progresses to the following step.
Select the test mode
adjustment
Go to test select mode.
Cancel
FL Display
Go to next step
FL Display
EDIT/CLEAR
/NO
JOG PUSH
 Loading...