14
Turning On the T-433
Using the A-933’s Remote Controller
If you’re using the T-433 together with the A-933
amplifier from the Onkyo Separate Collection, press the
remote controller’s [ON] button once to turn on the
A-933, and press it again to turn on the T-433.
To set the entire system to Standby, press the remote
controller’s [STANDBY] button.
Note:
To turn on only the A-933 and T-433, press T-433’s
[BAND] button or the remote controller’s [FM] or
[AM] button.
First Time Setup
(European models only)
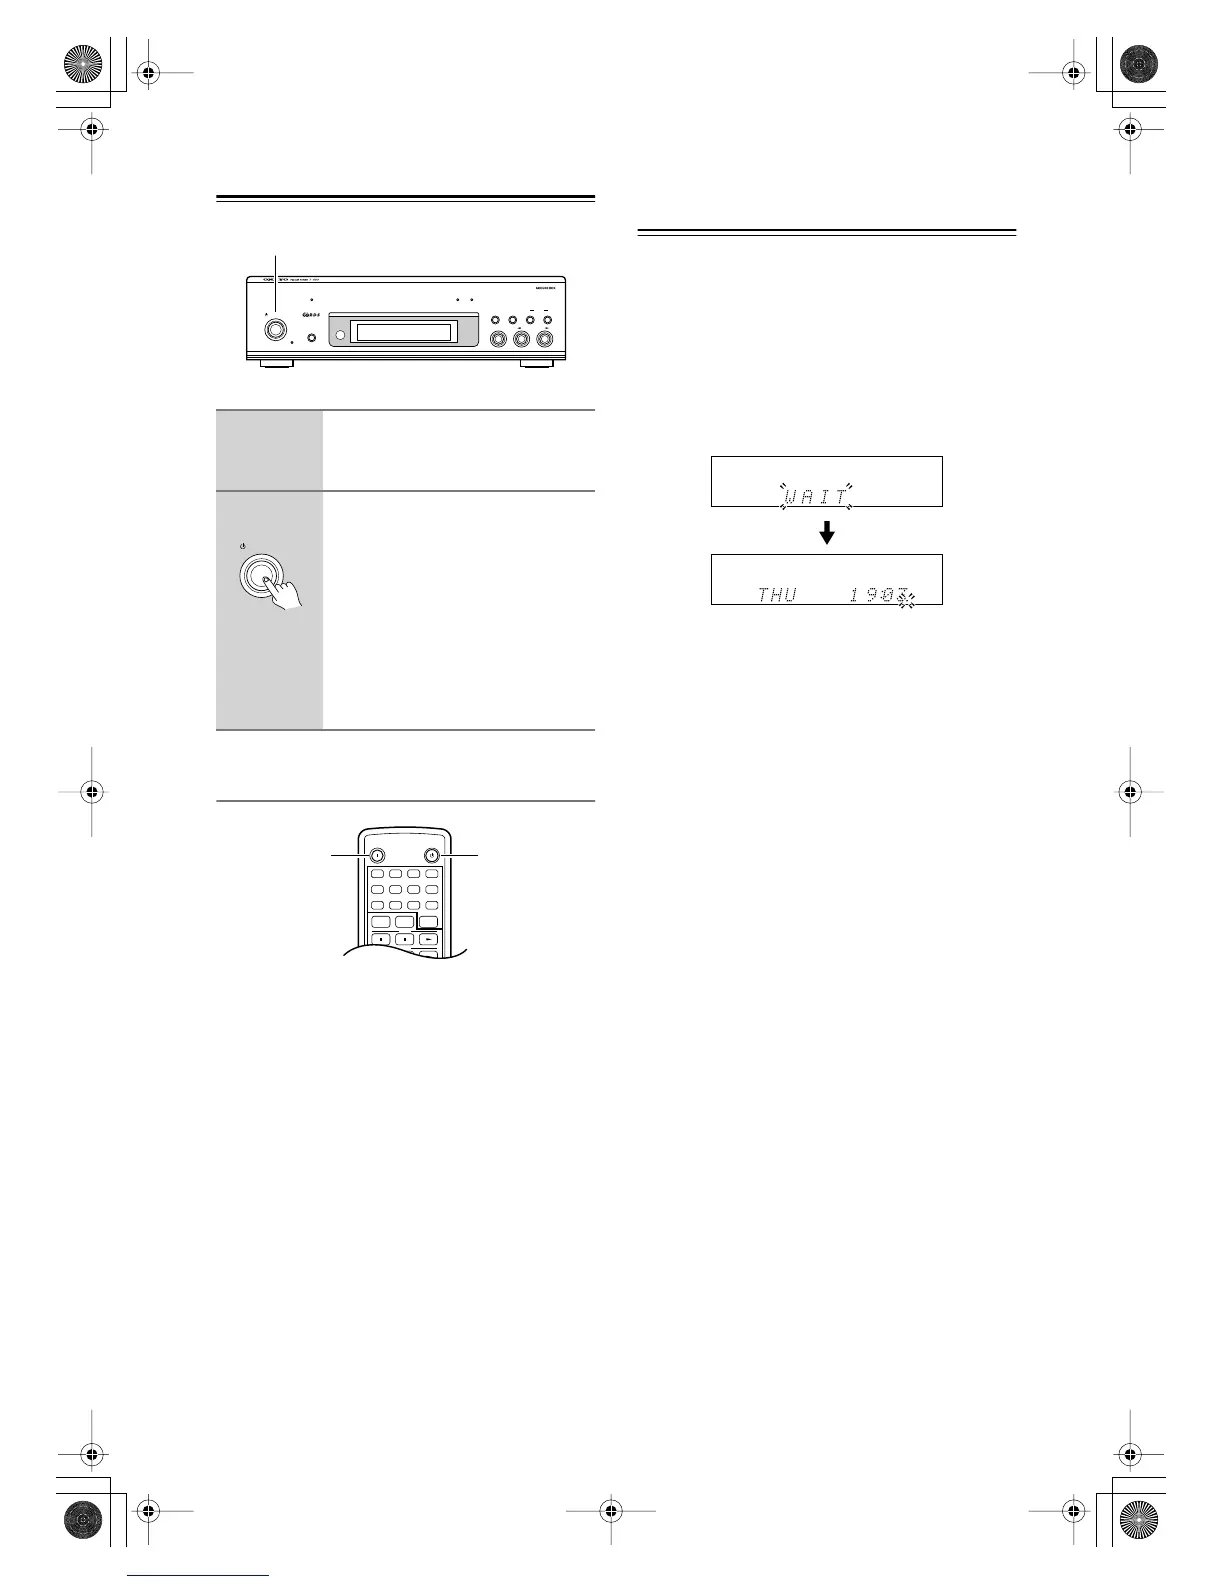
The very first time you turn on the T-433, the Accuclock
function automatically sets the clock by using the CT
(Clock Time) information present in RDS radio broad-
casts. While the clock is being set, “WAIT” flashes on
the display, as shown. It may take up to 5 minutes to set
the clock.
When the clock has been set, the message “CLOCK
ADJUSTED” scrolls across the display, then the day
and time are displayed for a while, as shown.
The Accuclock function automatically updates the clock
daily at 2 A.M., 3 A.M. and 2 P.M.
If the clock is incorrect, see “Setting the Clock Manu-
ally” on page 21.
1
Plug the power cord into a suit-
able wall outlet (or the AC OUT-
LET on the A-933’s rear panel).
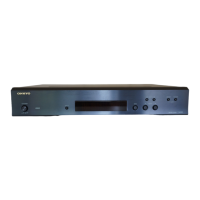
2
Press the T-433’s [STANDBY/ON]
button.
The T-433 turns on, and the
STANDBY indicator goes off.
To turn off the T-433, press the
[STANDBY/ON] button. The T-433
will enter Standby mode.
The T-433 is not completely shutdown
in Standby mode.
STANDBY/ON
STANDBY
DISPLAY
ACCUCLOCK TUNING PRESET
KEY MODE TIMER
BAND TUNING
/
PRESET
FM MODE
CLEAR
MEMORY
STANDBY/ON
STANDBY/ON

 Loading...