3.INSTALLATION
3-1.Before the Installation
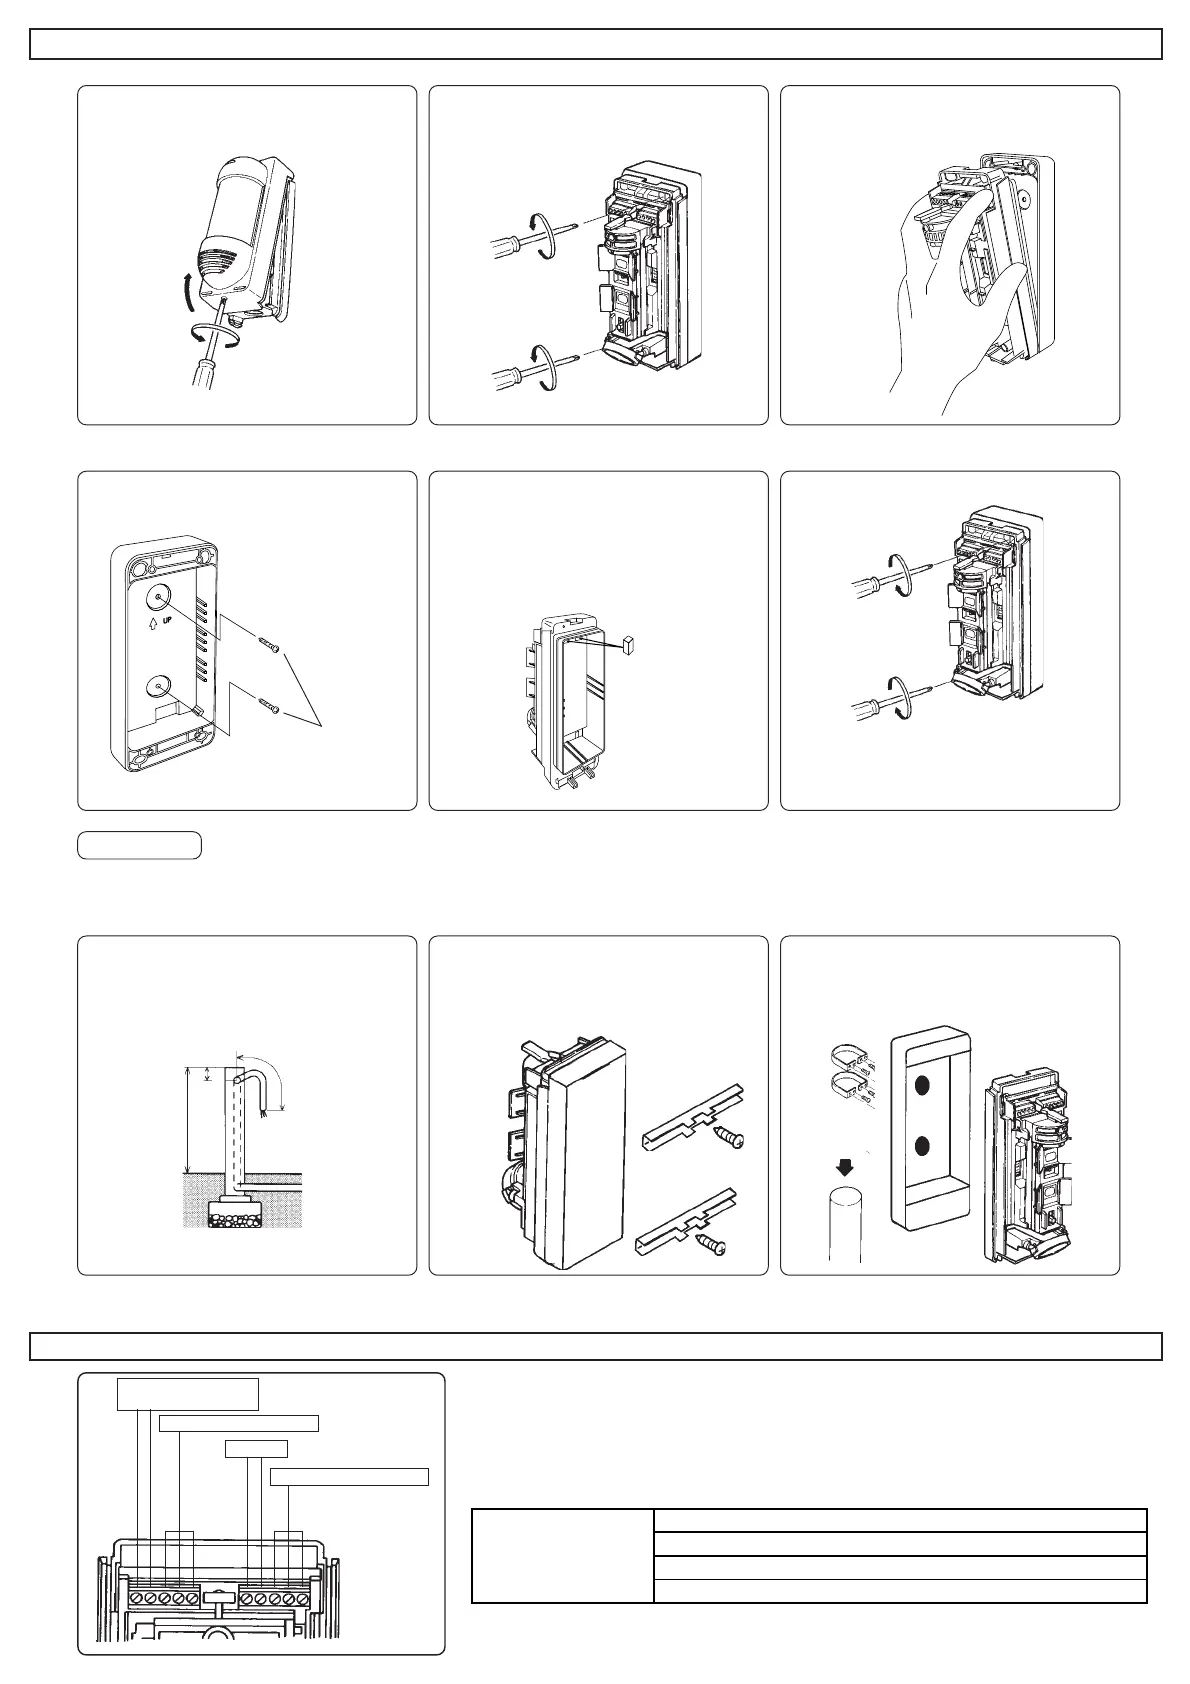
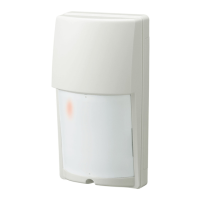
3-2.Wall Mount
·Install the unit perpendicular to the ground.
·Installation height must be between 0.8m and 1.2m (2.7 ft and 4 ft).
·Secure a space 110mm (4.4") or more to the upper part of plate for opening and closing of the cover.
·Make sure that the rubber packing is seated correctly in its goove when you connect the detector with its back box.
(1)Install the back box on the wall with the
mounting screws provided (two places).
(3) Fasten with screws
(2) Pass the wiring through the wiring port
of the detector. After connecting the wires
to the terminals (See 4. Wiring), insert the
water protection sponge so that it blocks
the wiring port as shown in the figure.
Mount the detector on the back box.
(4) Adjust the DIP switch (See 6 Switch set up),
detectio area and sensitivity (See 5 Setting &
Adjustment). Secure the cover with the lock
screw.
Mounting Screw
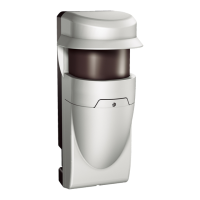
Fasten the U-brackets on the polw with
the M4 x 30 screws provided. Mount in
accoundance with the wall mounting
procedure.
3-3.Pole Mount
An installation pole with an outside
diameter of 43-48mm (1.66"-)
must be used.
4.WIRING
Mount the mounting brackets on the back
box with tap screws (two places).
ALARM:[N.C./COM./N.O.]
POWER INPUT•F:3-9VDC
TAMPER:[N.C./COM./N.O.]
•{ •|
SPARE
(1)Loosen the lock screw and remove the
cover.
(2)Remove the screws fastening the back
box.
(3)Remove the back box.
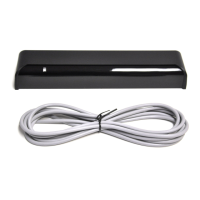
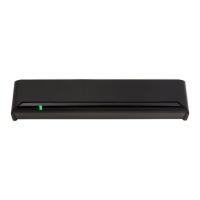
When using VX-402R and transmitter together, the buttery life will be shortened depending on
the transmitter type (Current Draw). Only the expected battery life of VX-402R is shown in the
following chart. Battery life will change according to the temperature.
Approx. 3 years / 9V Alkaline Battery(560mAh)
,
Interval 120sec
Approx.2 years / 9V Alkaline Battery(560mAh)
,
Interval 5sec
Approx. 8 years / 3V Lithium Battery(1300mAh)
,
Interval 120sec
Approx. 5 years / 3V Lithium Battery(1300mAh)
,
Interval 5sec
Battery Life
(VX-402R only)
IMPORTANT!